Address
304 North Cardinal St.
Dorchester Center, MA 02124
Work Hours
Monday to Friday: 7AM - 7PM
Weekend: 10AM - 5PM
Address
304 North Cardinal St.
Dorchester Center, MA 02124
Work Hours
Monday to Friday: 7AM - 7PM
Weekend: 10AM - 5PM

I finally finished my Guacamole installation for my homelab, and I wanted to share how it went.
For those of you who are unfamiliar, Apache Guacamole is “a client less remote desktop gateway”.
I’ve wanted the ability to remote to my machines for a while now, and this should solve the problem.
First, I downloaded a CentOS ISO. I went with the CentOS-7-x86_64-Minimal-1708.iso version, as I shouldn’t need many features.
Next, I created a new VM in ESXi. I went with a 12GB HDD and 2GB of RAM, but this is probably overkill.
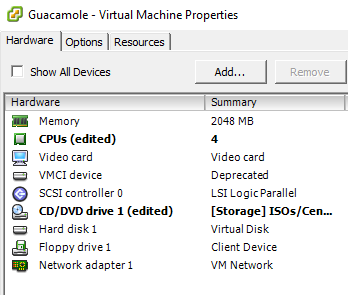
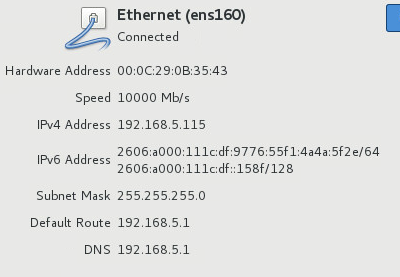
I also setup the VM to have a static IP within my router’s settings.
With everything ready, I went through a standard CentOS installation (including setting a root password).
Once that was complete, I ran this handy script to easily install and configure Guacamole and its prerequisites. Note that you should always read through scripts like this before running them on your systems/network. Additionally, make sure that there are no options that you want to change before running it.
For more information on this process, you can also visit the following blog post.
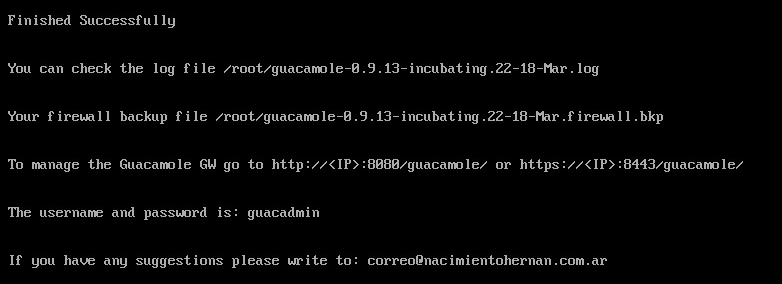
Finally, when your server displays this screen, Guacamole is successfully installed!
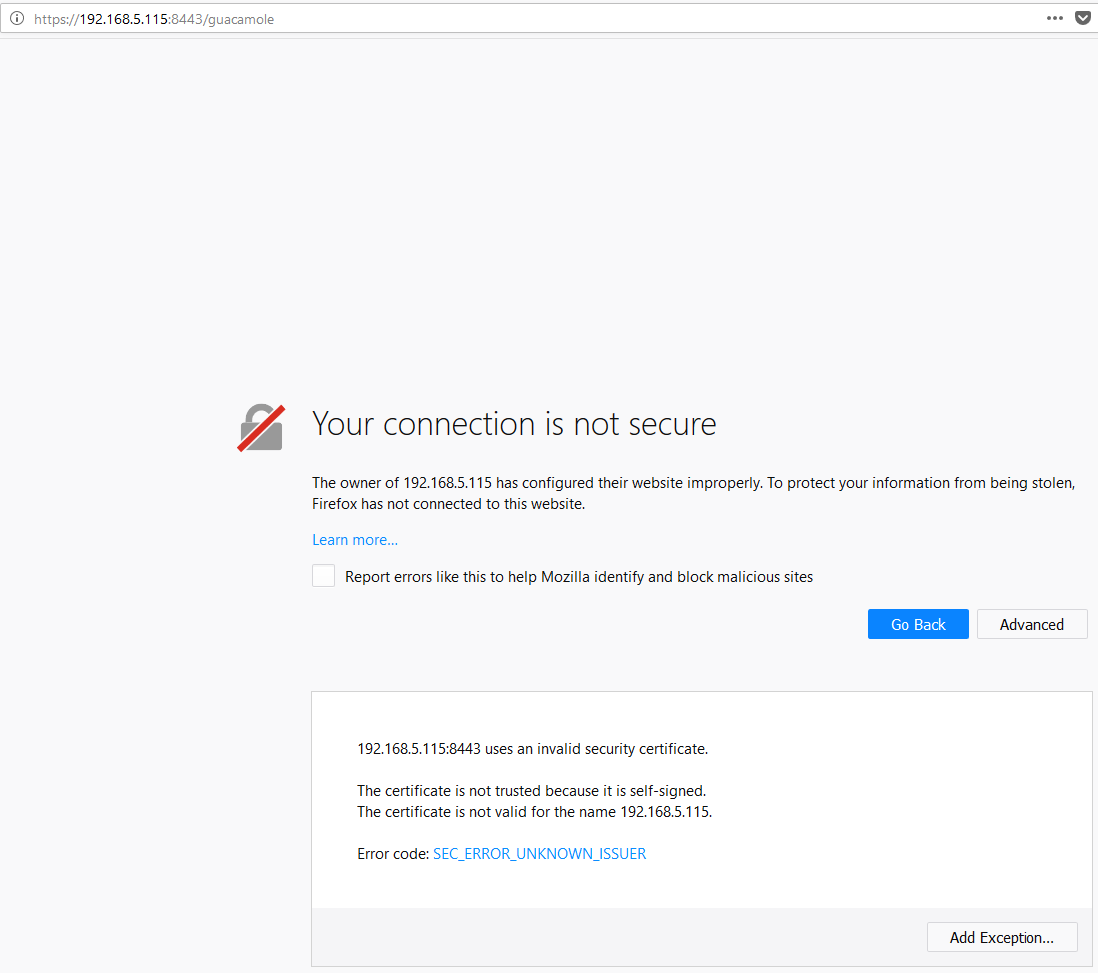
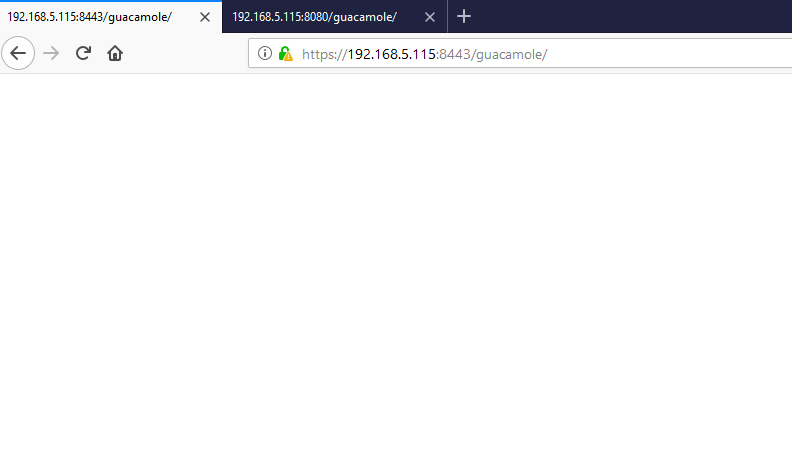
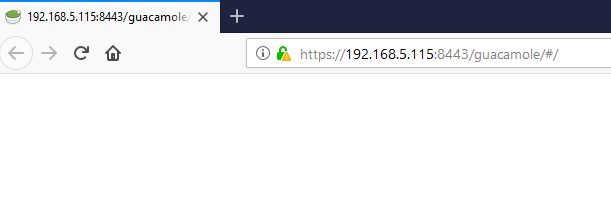
To verify that the installation was successful, I went to the default URL – https://192.168.5.115:8443/guacamole.
Note the SSL error when visiting the page, as Guacamole is still using a self-signed certificate.
First, I was actually getting a blank page when I attempted to login.
This was actually due to a bunch of 404 errors, even when attempting to go to /guacamole
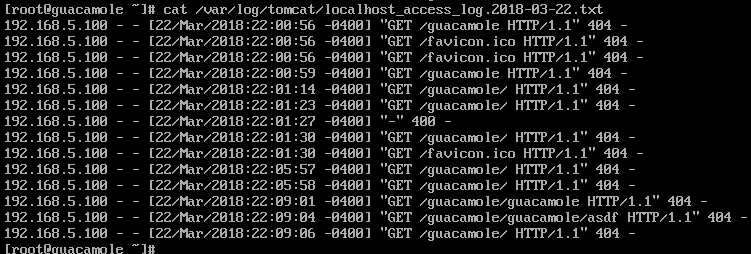
Guacamole was running, and the .war was in the proper Tomcat directory.
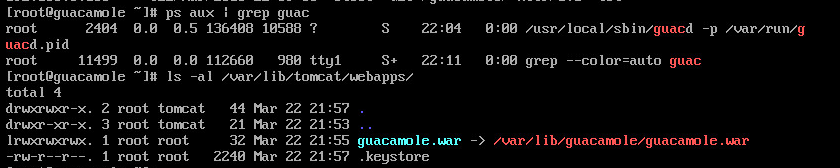
After a bit more poking around, and some Reddit help, it looked like an SELinux issue!

First, I configured an exception for Guacamole. Note: you’ll need to run `yum install setroubleshoot` to install audit2allow.
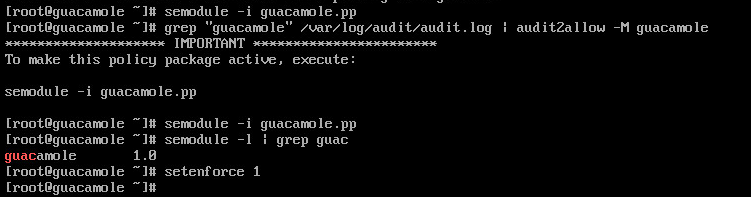
Unfortunately, this was STILL giving me SELinux errors. That said, after adding the policy and rebooting the system, I was good to go!
![]()
I was still getting a blank page, even with the 200 responses.
First, I changed the permissions of the guacamole.war file, if that was causing any issues.
chown tomcat:tomcat /var/lib/guacamole/guacamole.war
Next, I discovered that SELinux was also blocking access to port 3306!

I also added an exception for this as well, based on the recommendation.

Finally, after restarting everything again, I got a real login prompt!
To test everything, I setup a connection to my pfSense box for now.
First, I went to the Connections tab after logging in, and clicked New Connection
I set the Connection and Network information (leaving the username and password blank, as I’d type those manually).
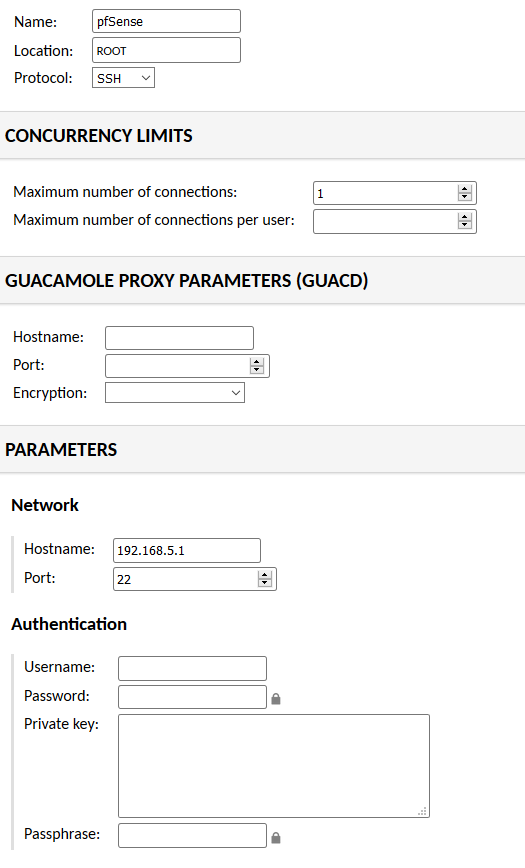
I left the other settings default for now, and saved the connection.
Next, I selected the new connection from my drop-down menu in the top left
Unfortunately, this was unsuccessful due to the SSH handshake failing.
Mar 22 22:37:58 pfSense sshd[52409]: fatal: Unable to negotiate with 192.168.5.115 port 53020: no matching key exchange method found. Their offer: diffie-hellman-group14-sha1,diffie-hellman-group-exchange-sha1,diffie-hellman-group1-sha1 [preauth]
As it turns out, this was a known issue with pfSense, so I decided to remove that connection for now.
In this case, I decided to test it with an RDP connection to my lab.
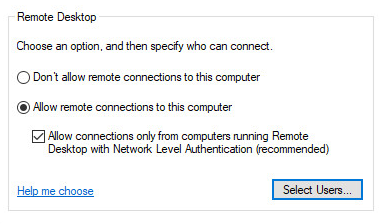
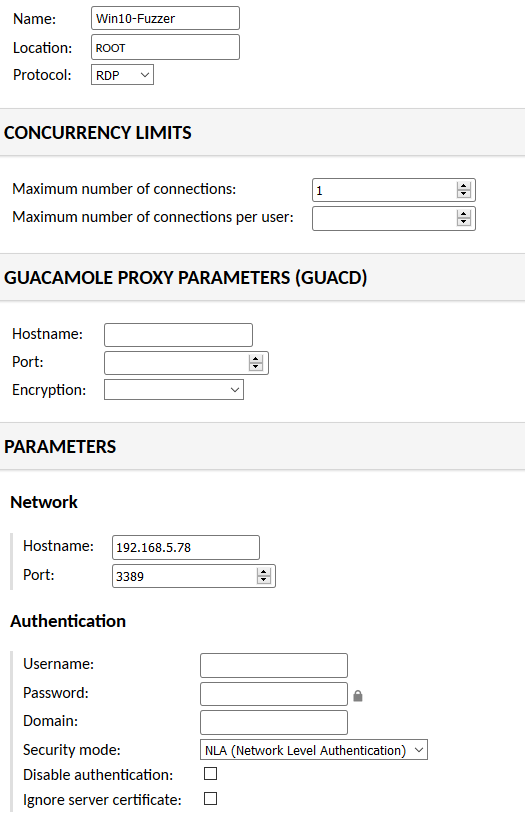
This worked perfectly, and I was able to RDP! Note that I was only able to get it to work if I set a username and password inside of Guacamole. This isn’t ideal, but I cannot figure out how to manually type those in.
Guacamole was easy enough to install, especially with the script linked above.
I plan on configuring it for most/all of my lab machines. This should make managing everything easier, and doable remotely.
My next step will be to set up a LetsEncrypt certificate on the host. After that, I’ll need to decide between configuring OpenVPN on my router (finally), or forwarding a port from my firewall to the Guacamole box.
If you have any questions, issues, or suggestions, then please let me know!
Ray Doyle is an avid pentester/security enthusiast/beer connoisseur who has worked in IT for almost 16 years now. From building machines and the software on them, to breaking into them and tearing it all down; he’s done it all. To show for it, he has obtained an OSCE, OSCP, eCPPT, GXPN, eWPT, eWPTX, SLAE, eMAPT, Security+, ICAgile CP, ITIL v3 Foundation, and even a sabermetrics certification!
He currently serves as a Senior Staff Adversarial Engineer for Avalara, and his previous position was a Principal Penetration Testing Consultant for Secureworks.
This page contains links to products that I may receive compensation from at no additional cost to you. View my Affiliate Disclosure page here. As an Amazon Associate, I earn from qualifying purchases.


Hi, thanks for this guide.
Im also having the same problem (but im using Glyptodon). Im using CentOS 7 with Selinux disabled by default.
Please, can you tell me how to see the error log to find with im doing wrong.
To view any of the SELinux errors, you can use the following command: