Address
304 North Cardinal St.
Dorchester Center, MA 02124
Work Hours
Monday to Friday: 7AM - 7PM
Weekend: 10AM - 5PM
Address
304 North Cardinal St.
Dorchester Center, MA 02124
Work Hours
Monday to Friday: 7AM - 7PM
Weekend: 10AM - 5PM

I recently added a Samsung GS5 Nethunter to my arsenal, and it was quite easy to set it up.
During a recent Woot-Off I picked up a refurbished Samsung GS5 for about $120, which was a good price for a new gadget!
First, I charged the phone, connected it to my network, and allowed it to download some updates.
I was originally planning on installing Nethunter on top of CyanogenMod, but then I realized that the project had died.
So, once I decided to stick with TouchWiz, I downloaded Odin to my PC.
After I installed that, I also had to download TWRP so that I could flash my new kernel.
With everything in place, I first had to get the phone in Download mode. To do this, I just had to power it on while holding the Volume Down, Home, and Power buttons.
Once in Download mode, I was able to use Odin to add TWRP as the “AP” (formerly PDA) to upload.
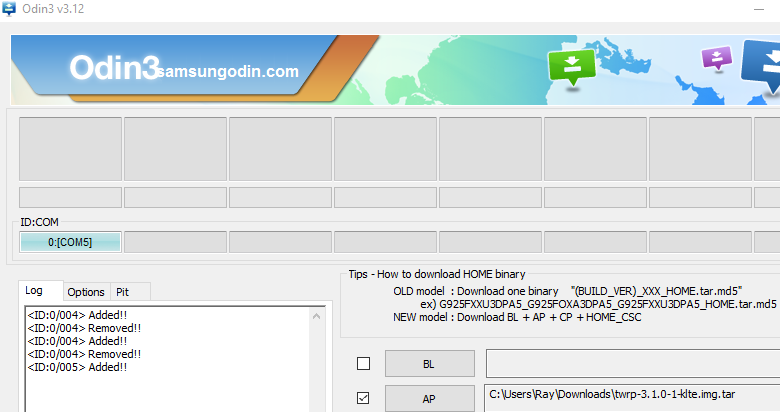
Then, I clicked start, and the upload passed!
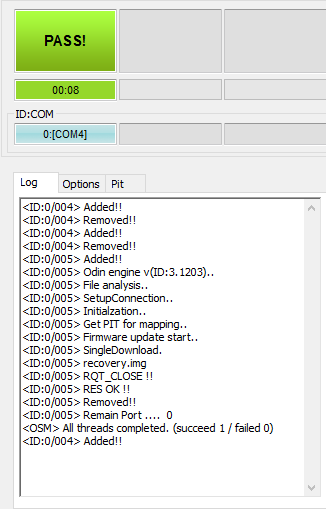
Note that the phone then auto-rebooted per the Odin settings. While the reboot was happening, I booted into recovery mode by holding Volume Up, Home, and the Power buttons. Some phones restore the original recovery software, which meant that TWRP would be overwritten on the first normal boot.
While my phone was in recovery mode, it was time to download the Nethunter files. I opted for a nightly build since my phone didn’t have a bundled build.
I downloaded the proper kernel and file system.
Once I had the Kali files, I uploaded them to my device.
In TWRP, after the files were on my device, I selected “Install”. From there, I selected the kernel-nethunter-klte-touchwiz-marshmallow file, and then selected “Add more Zips”. From this menu I was also able to add the armhf-kalifs-full-rolling zip file to the list.
After selecting the zip files that I wanted to install to my device, I swiped right at the bottom to confirm the Flash.
Following the installation, I rebooted the phone.
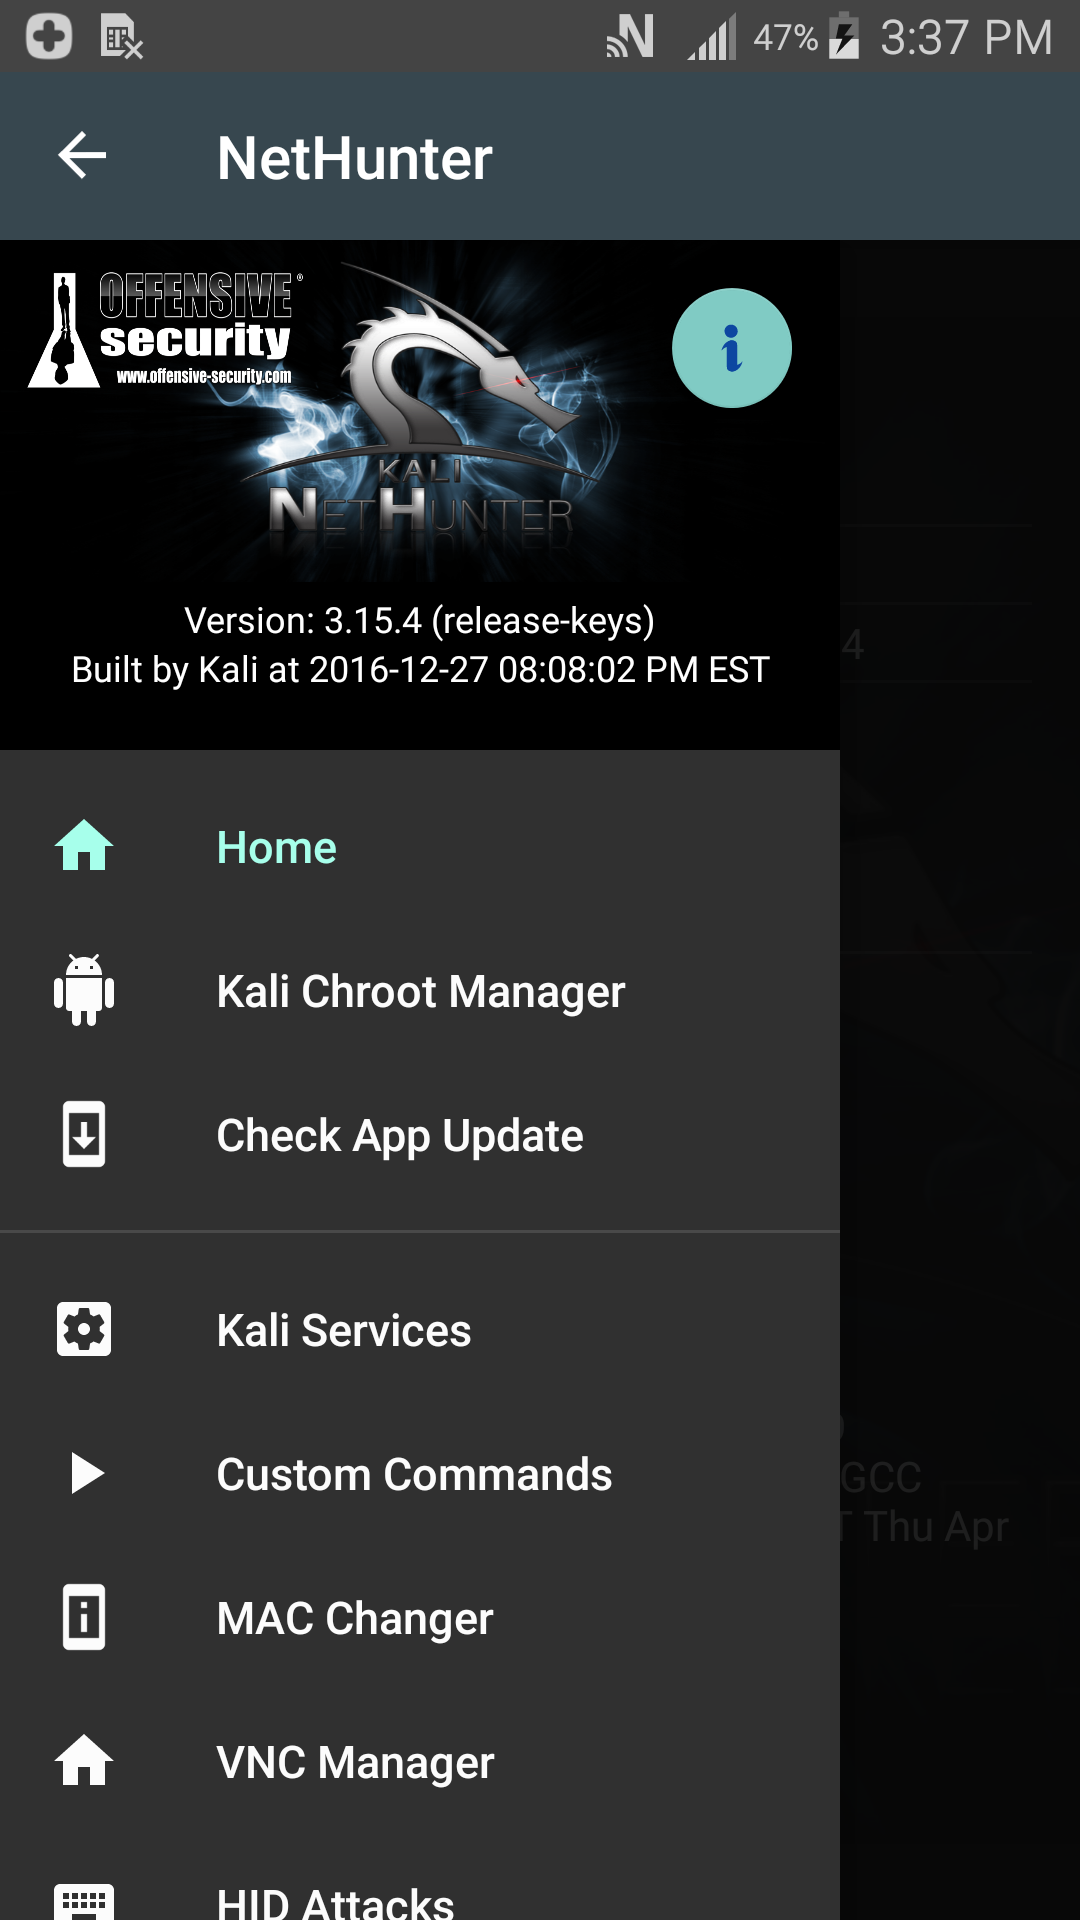
Once my phone finished rebooting, I opened the Nethunter app and accepted the permissions that it needed to run/complete installation.
Finally, I let the app download any new applications or builds, and had a working Samsung GS5 Nethunter device!
Ray Doyle is an avid pentester/security enthusiast/beer connoisseur who has worked in IT for almost 16 years now. From building machines and the software on them, to breaking into them and tearing it all down; he’s done it all. To show for it, he has obtained an OSCE, OSCP, eCPPT, GXPN, eWPT, eWPTX, SLAE, eMAPT, Security+, ICAgile CP, ITIL v3 Foundation, and even a sabermetrics certification!
He currently serves as a Senior Staff Adversarial Engineer for Avalara, and his previous position was a Principal Penetration Testing Consultant for Secureworks.
This page contains links to products that I may receive compensation from at no additional cost to you. View my Affiliate Disclosure page here. As an Amazon Associate, I earn from qualifying purchases.