Address
304 North Cardinal St.
Dorchester Center, MA 02124
Work Hours
Monday to Friday: 7AM - 7PM
Weekend: 10AM - 5PM
Address
304 North Cardinal St.
Dorchester Center, MA 02124
Work Hours
Monday to Friday: 7AM - 7PM
Weekend: 10AM - 5PM

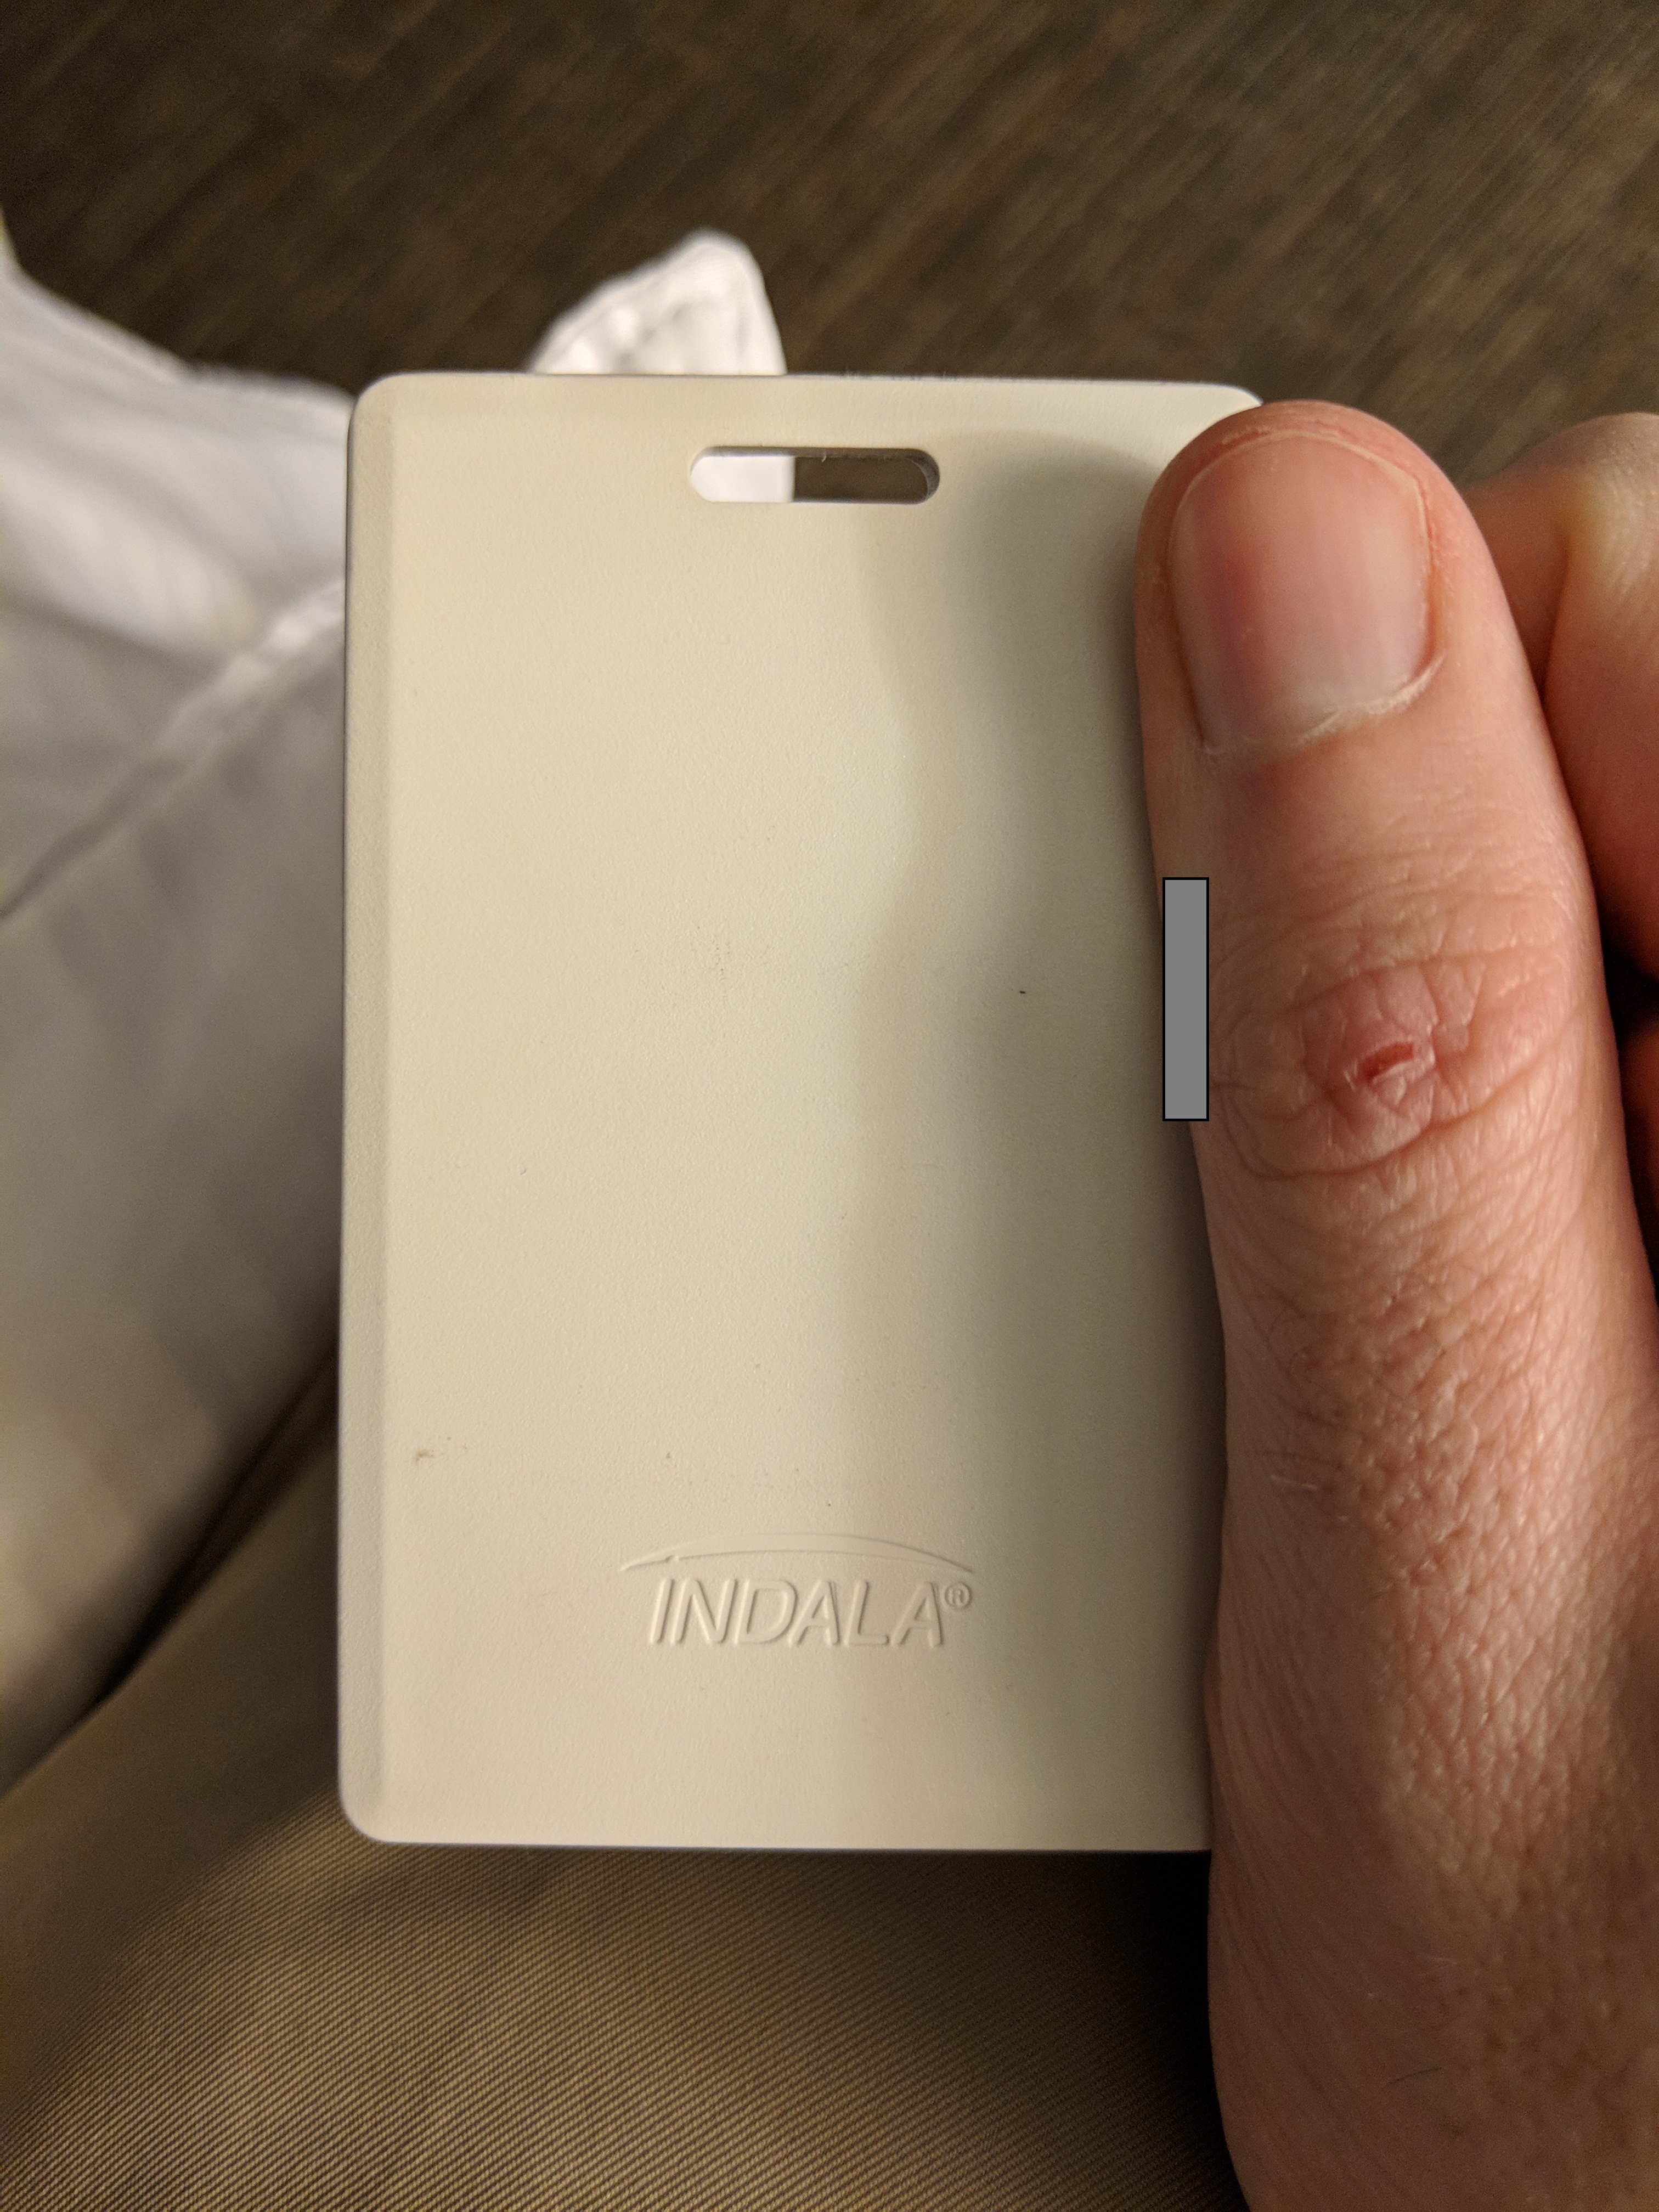
During an engagement last year, I was able to perform some Indala badge cloning for access.
Unlike my last post, I wanted to get everything working in macOS.
The Proxmark Wiki has a guide for getting everything working, so that was helpful.
Also, I love playing the dongle game with my MBP!

First, I added the Proxmark tap to my homebrew.
rays-mbp:cpscam doyler$ brew tap proxmark/proxmark3
Updating Homebrew...
==> Auto-updated Homebrew!
Updated 2 taps (caskroom/cask, homebrew/core).
==> Updated Formulae
apache-geode     node     wireguard-tools

==> Tapping proxmark/proxmark3
Cloning into '/usr/local/Homebrew/Library/Taps/proxmark/homebrew-proxmark3'...
remote: Counting objects: 6, done.
remote: Compressing objects: 100% (6/6), done.
remote: Total 6 (delta 0), reused 3 (delta 0), pack-reused 0
Unpacking objects: 100% (6/6), done.
Tapped 2 formulae (32 files, 27.7KB)
Then, with that completed, I ran “brew install proxmark3”, and installed the software.
With the software installed, I found the usbmodem device and started proxmark.
rays-mbp:cpscam doyler$ ls /dev/cu*
/dev/cu.Bluetooth-Incoming-Port    /dev/cu.lpss-serial1        /dev/cu.lpss-serial2        /dev/cu.usbmodem14121
rays-mbp:cpscam doyler$ proxmark3
proxmark3          proxmark3-flasher
rays-mbp:cpscam doyler$ proxmark3 /dev/cu.usbmodem14121
#db# Prox/RFID mark3 RFID instrument
#db# bootrom: svn 756 2013-07-13 08:11:47
#db# os: svn 756 2013-07-13 08:11:52
#db# FPGA image built on 2012/ 1/ 6 at 15:27:56
proxmark3>
Once the software was running, I ran the “hw version” command to verify that it was working and that the version information was correct.
proxmark3> hw version
#db# Prox/RFID mark3 RFID instrument
#db# bootrom: svn 756 2013-07-13 08:11:47
#db# os: svn 756 2013-07-13 08:11:52
#db# FPGA image built on 2012/ 1/ 6 at 15:27:56
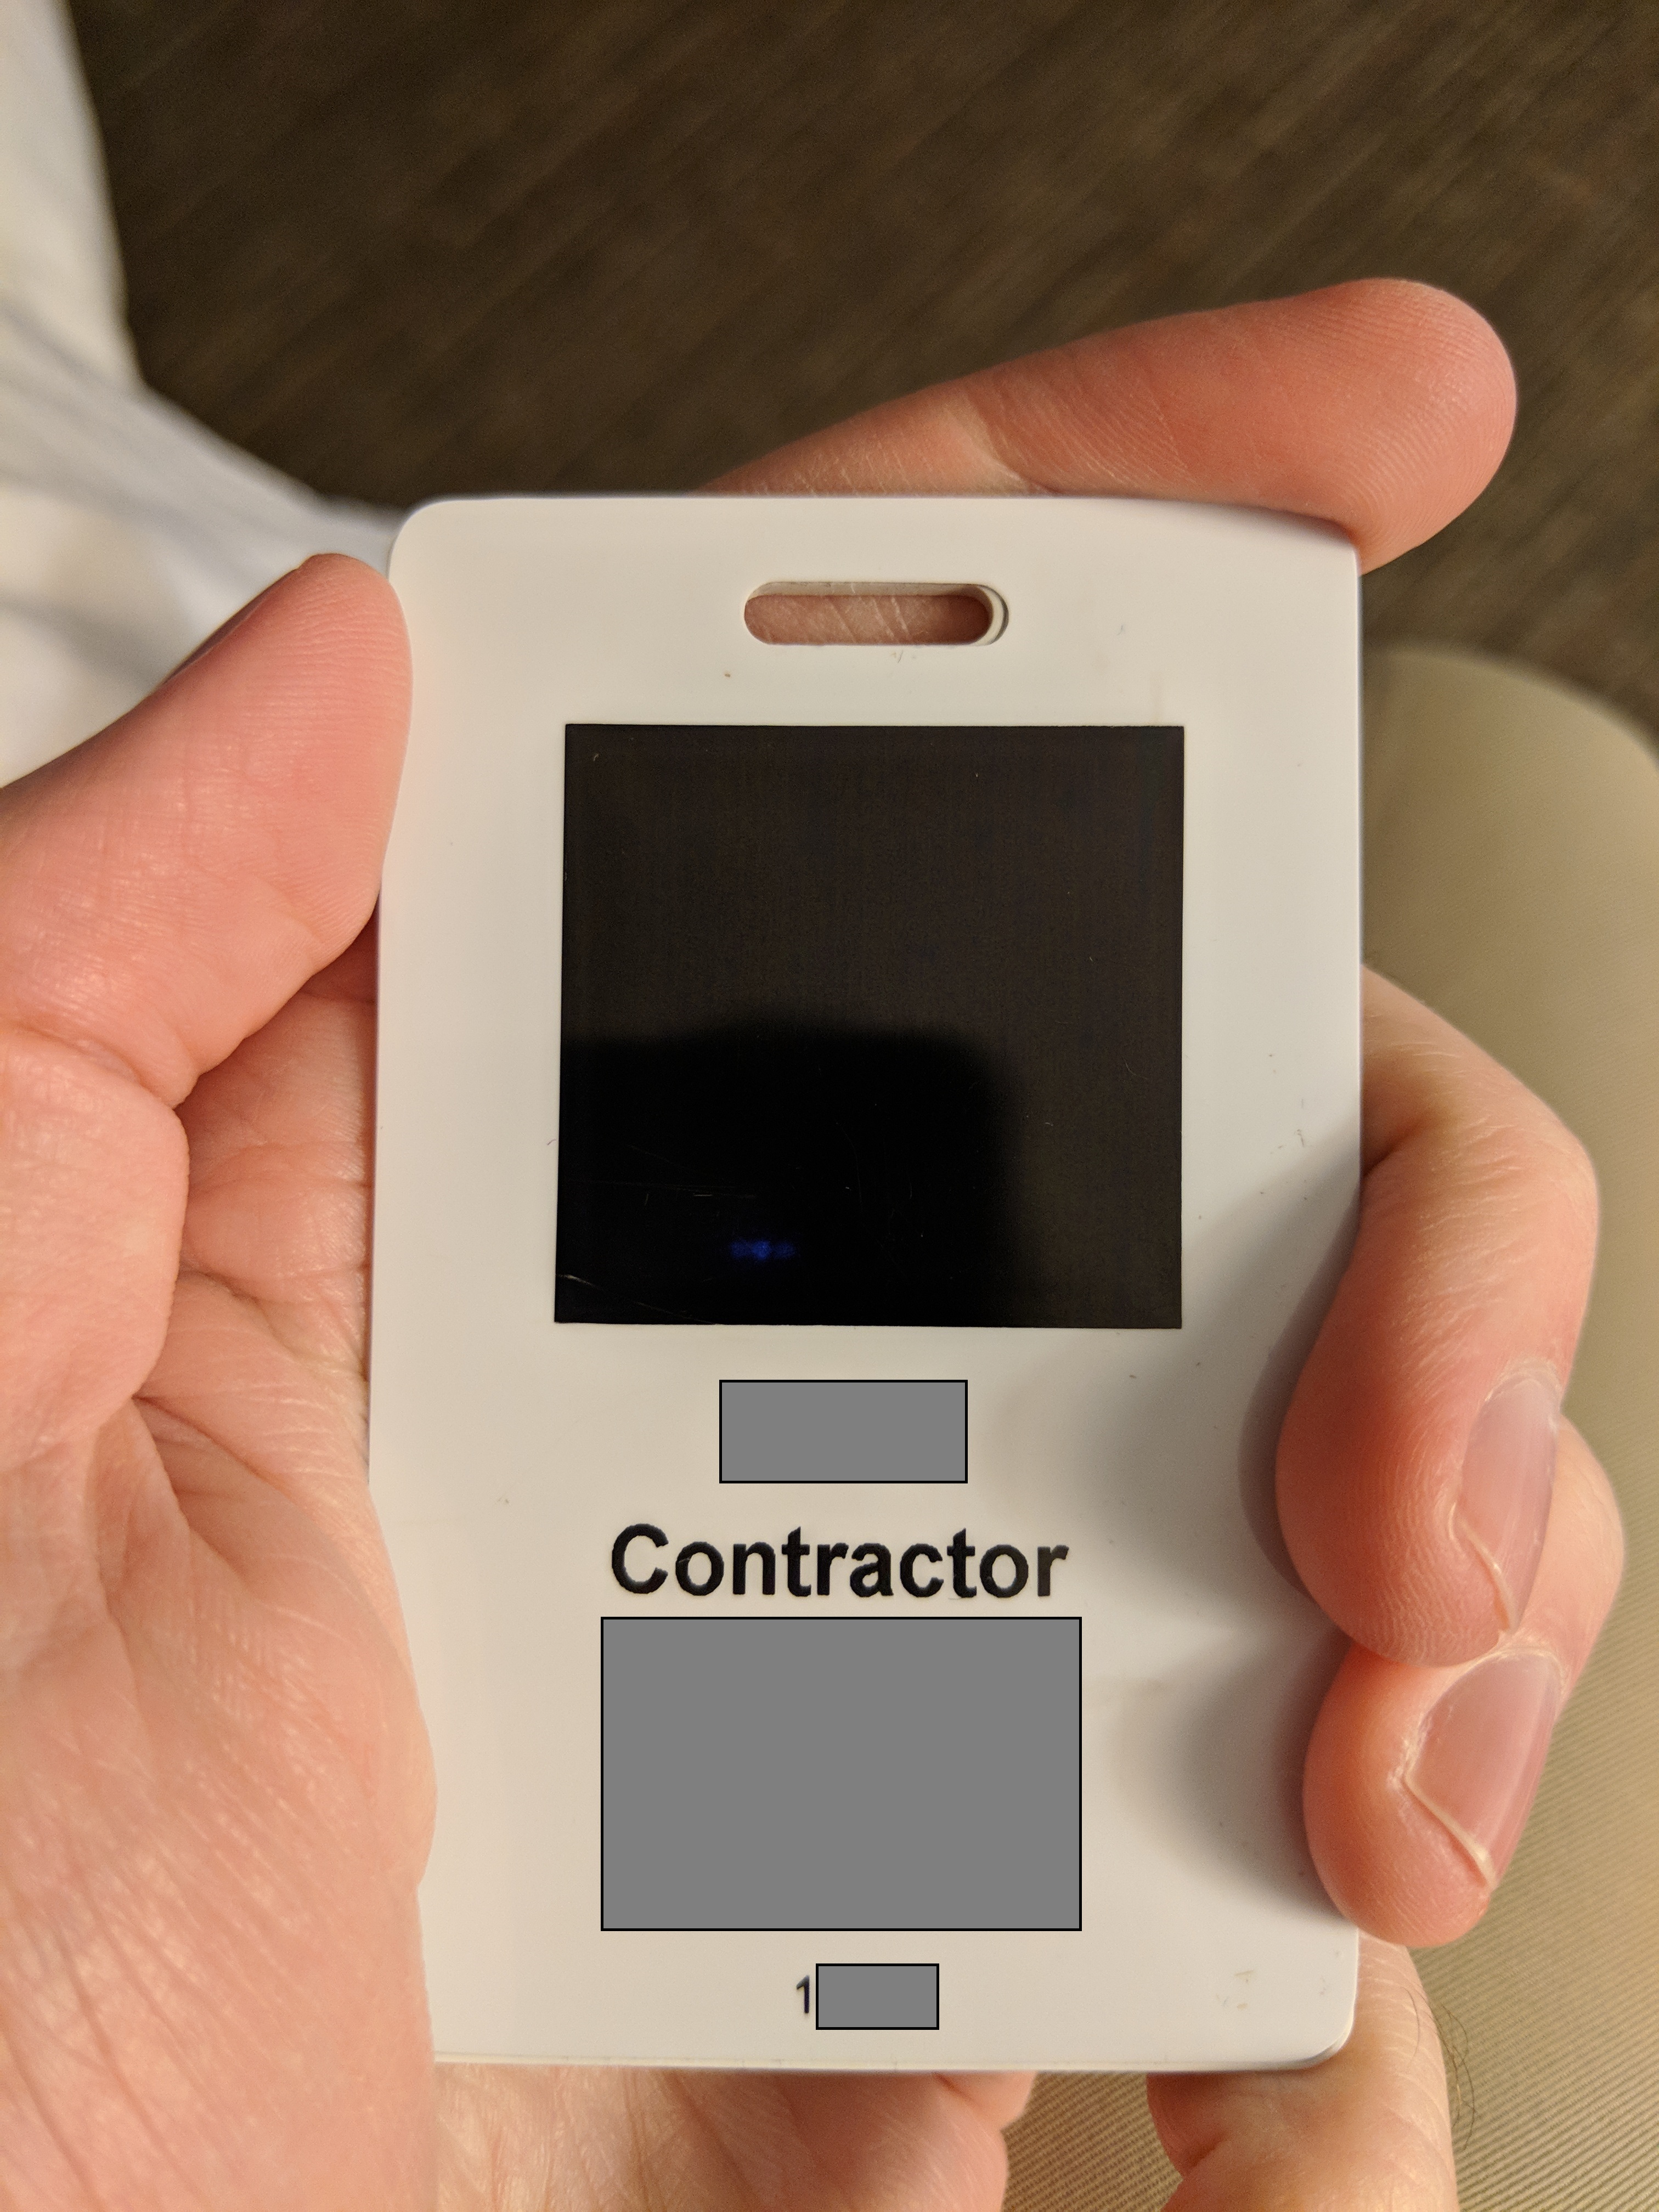
With everything configured, it was time to read my badge.
Note that this is how the badge actually looked, with no real photograph. I mentioned this to the client as well, but they were already aware.
proxmark3> lf read
#db# buffer samples: 44 92 43 92 43 92 43 92 ...
Reading 39999 bytes from device memory

Data fetched
proxmark3> data samples 2000
Reading 2000 bytes from device memory

Data fetched
proxmark3> lf indala demod
proxmark3> lf indala read
#db# buffer samples: 5f b0 5f b1 5f b0 5f b0 ...
BitLen: 64
Indala UID=0000000000000000
0000000000000111
0111100000110001
0100001000010101
 (778314215)
Once I had the badge’s UID, I wrote it to a blank card.
proxmark3> lf indala clone 778314215
Cloning 64bit tag with UID 778314215
#db# DONE!
Finally, I verified that the cloning was successful by reading the card blank!
proxmark3> lf indala read
#db# buffer samples: 8f 5b 8e 5a 8f 5b 8f 5b ...
BitLen: 64
Indala UID=0000000000000000
0000000000000111
0111100000110001
0100001000010101
 (778314215)
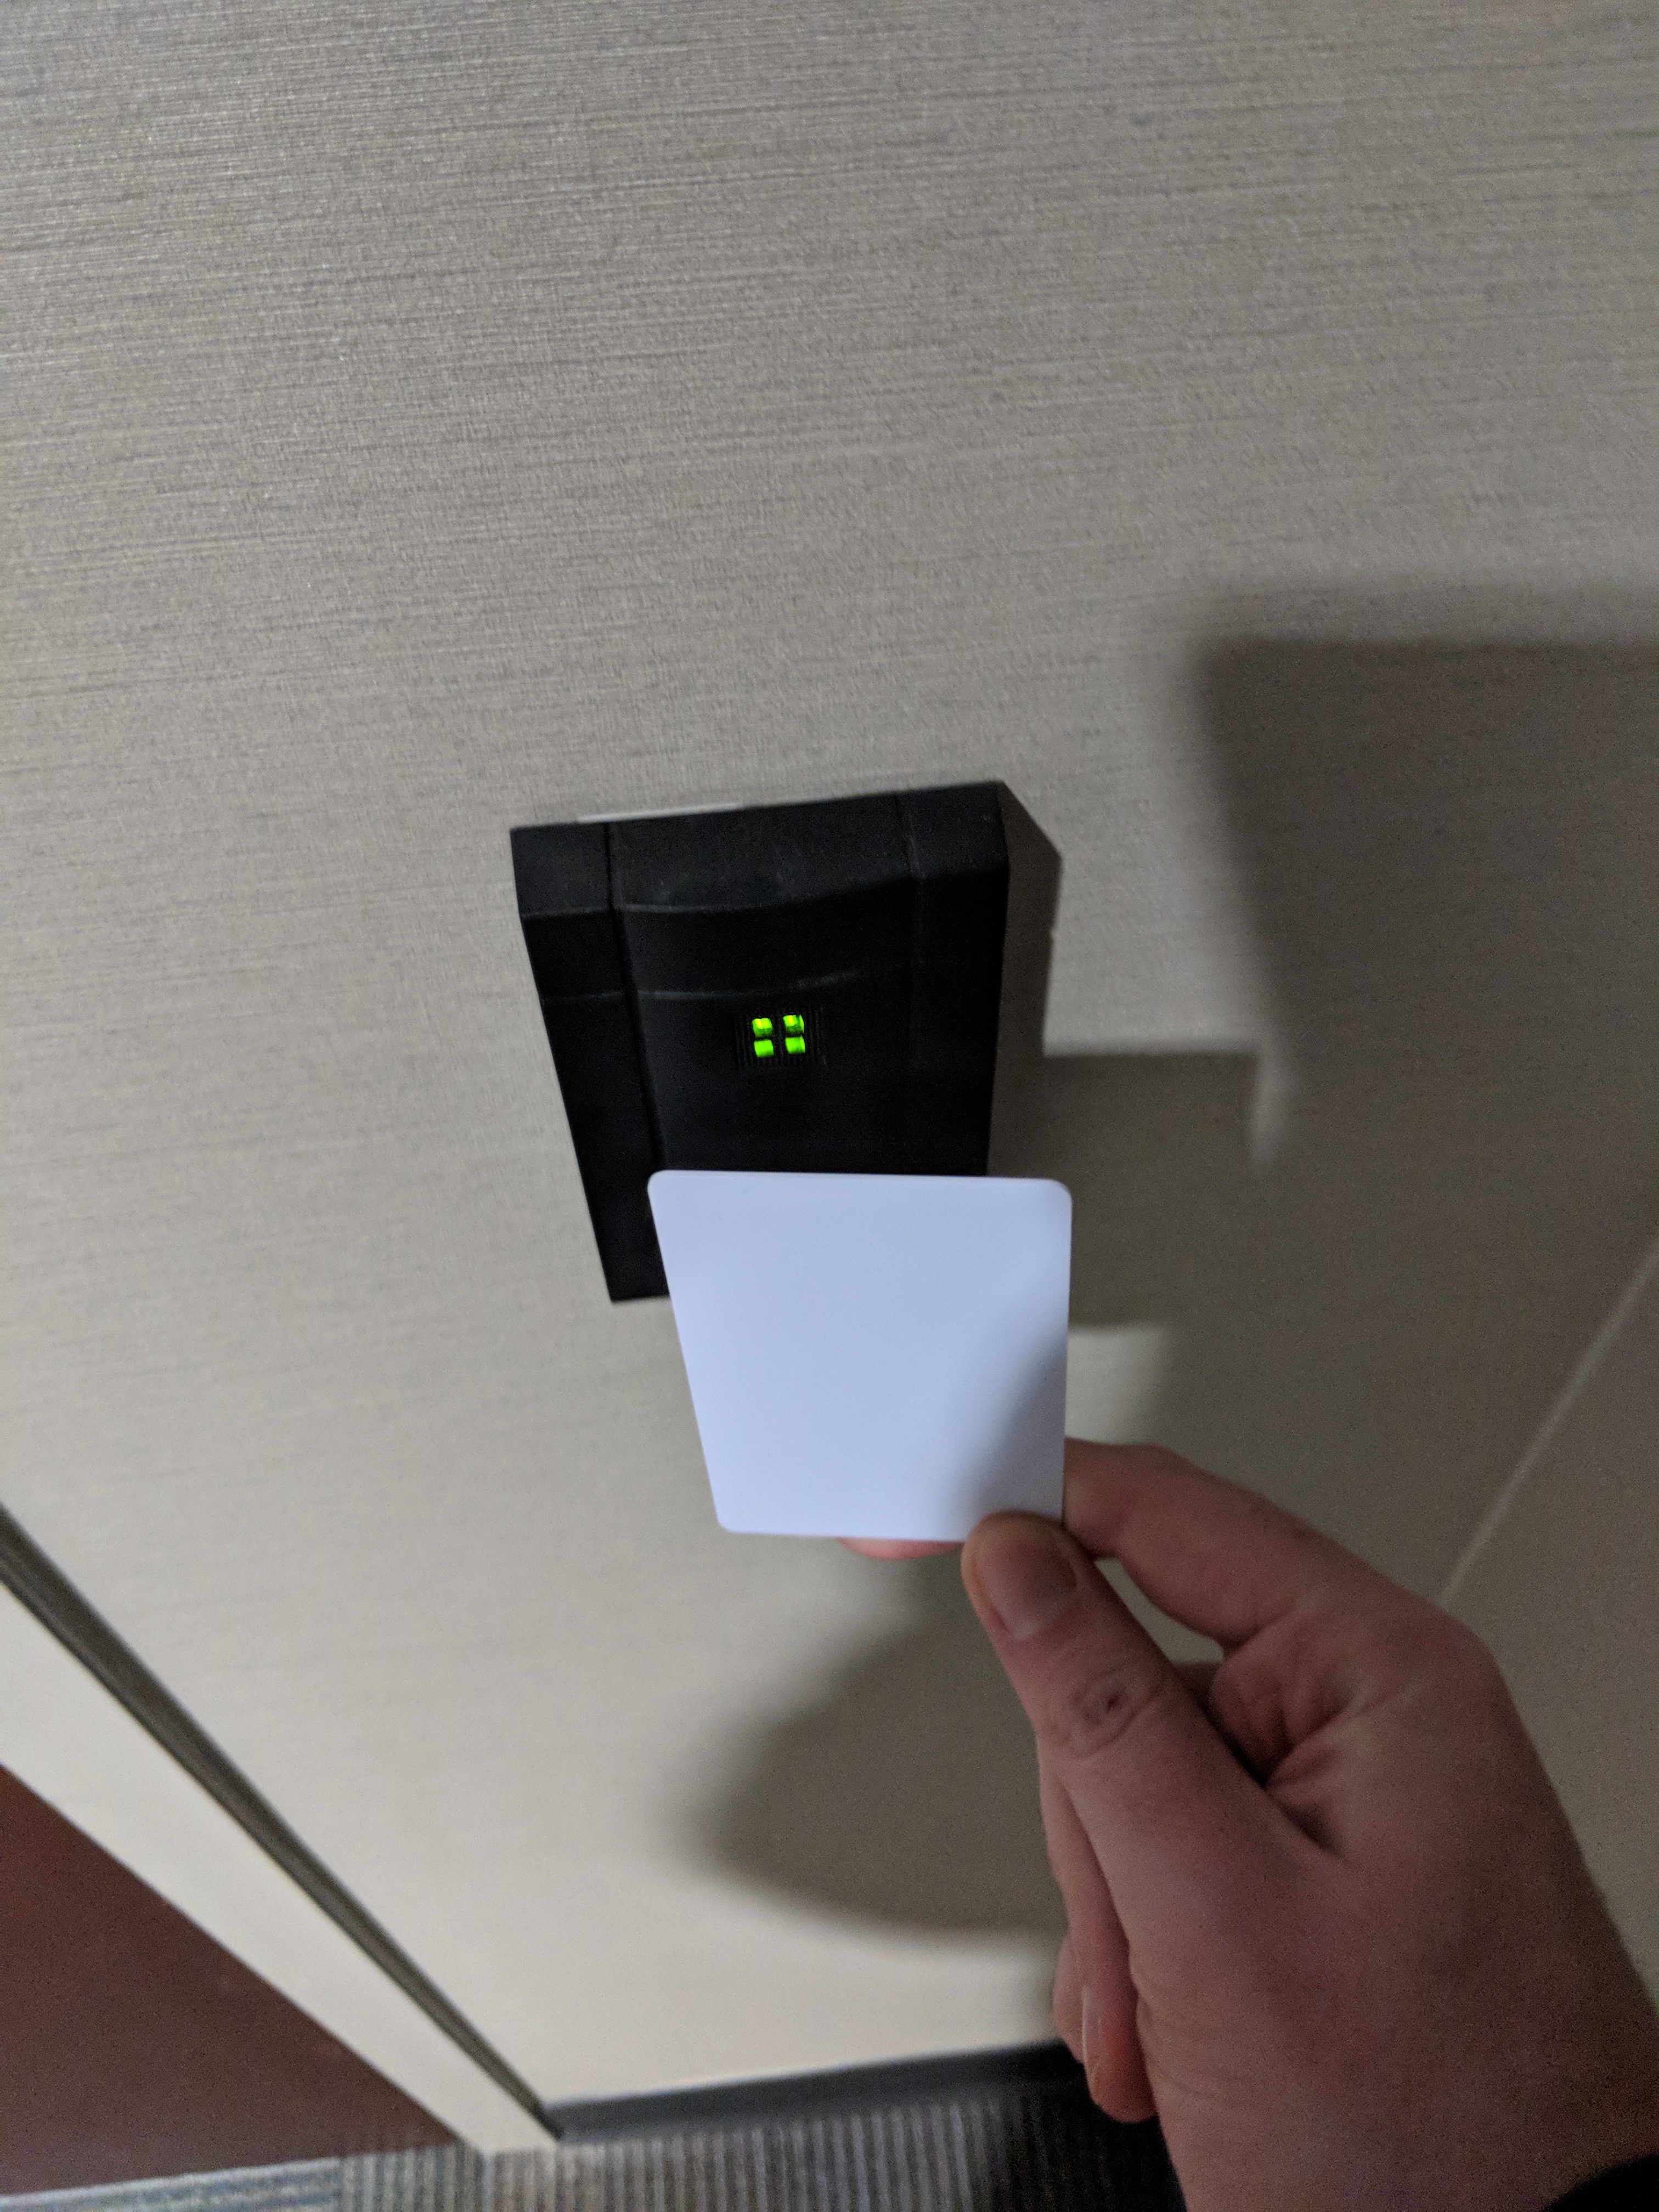
Finally, with everything completed, it was time to test my badge.
I went up to a room that I knew I already had access to, and approached the reader.
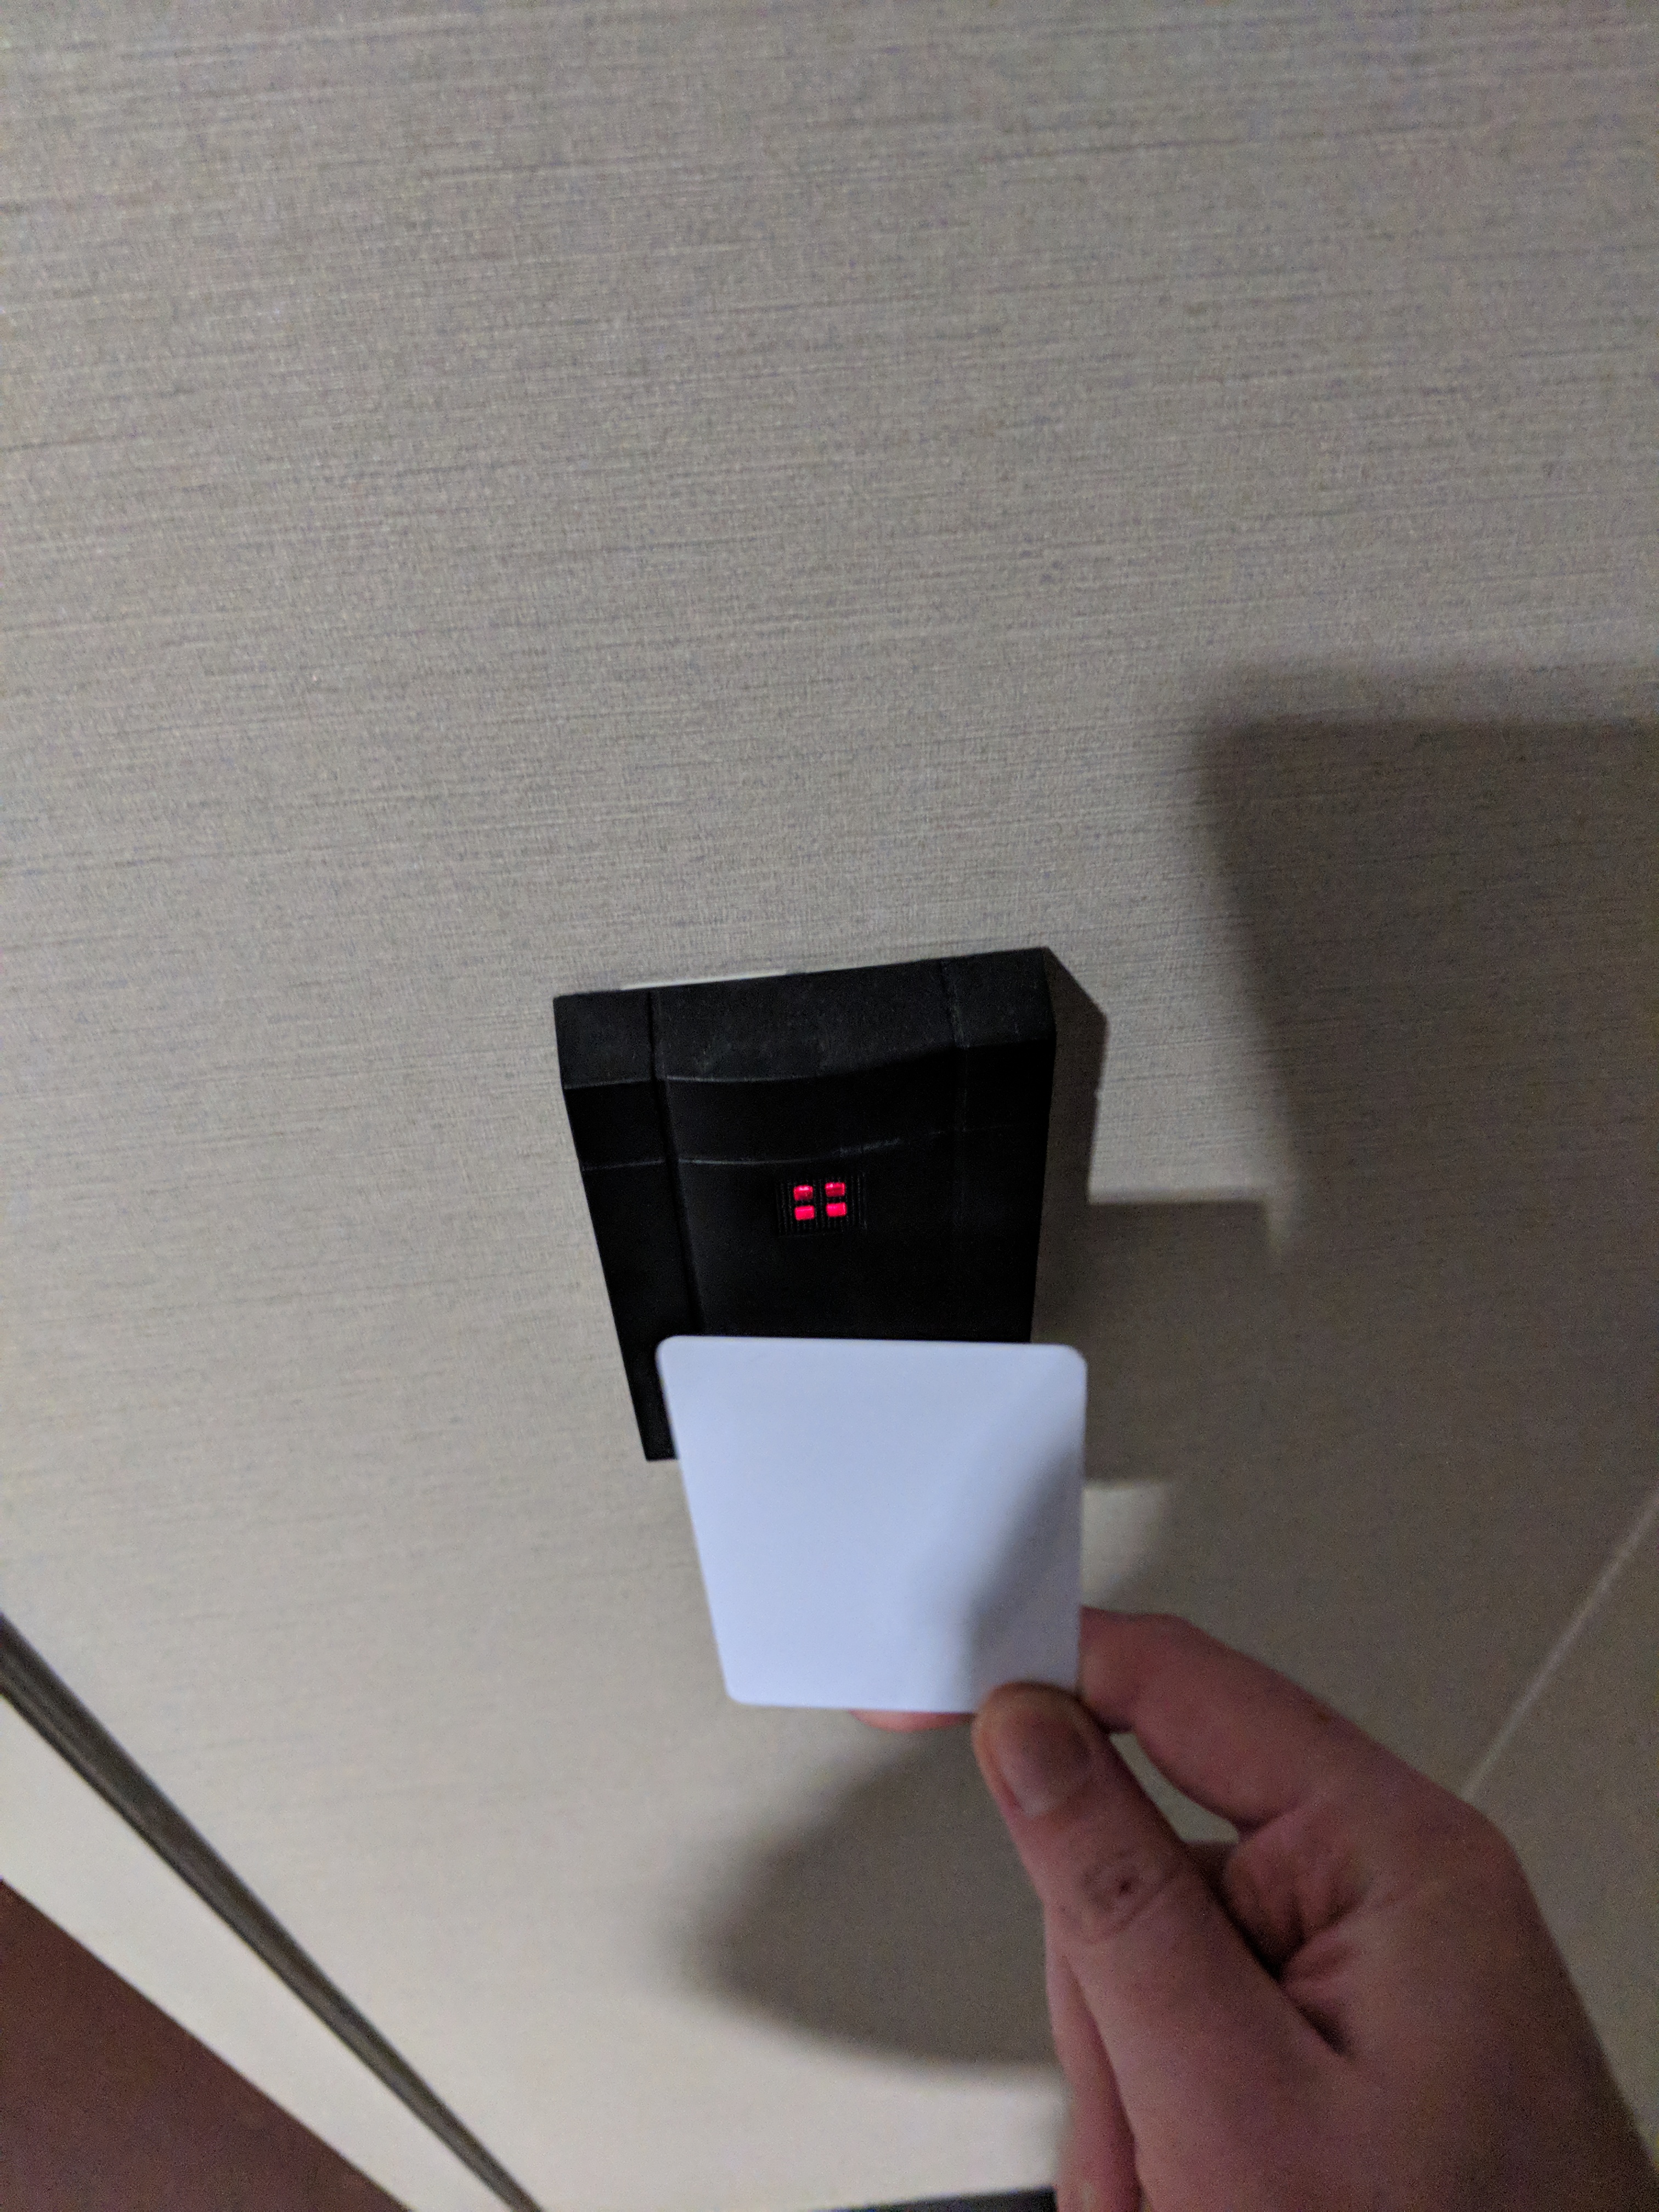
As expected, it beeped, the light turned green, and I was able to get access to the room!
While cloning this badge wasn’t necessary to complete my engagement, it was good to learn about this card type as well.
The client thought it was pretty funny, and they were happy when I mentioned it to them.
I’m glad that I have the software running in macOS now, as that is my primary engagement laptop.
Finally, I hope that I am able to clone some more badges in the future!
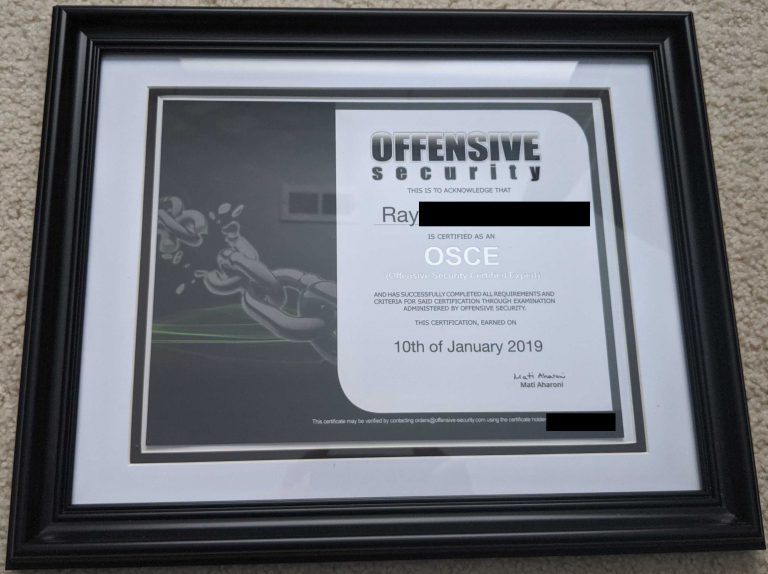
Ray Doyle is an avid pentester/security enthusiast/beer connoisseur who has worked in IT for almost 16 years now. From building machines and the software on them, to breaking into them and tearing it all down; he’s done it all. To show for it, he has obtained an OSCE, OSCP, eCPPT, GXPN, eWPT, eWPTX, SLAE, eMAPT, Security+, ICAgile CP, ITIL v3 Foundation, and even a sabermetrics certification!
He currently serves as a Senior Staff Adversarial Engineer for Avalara, and his previous position was a Principal Penetration Testing Consultant for Secureworks.
This page contains links to products that I may receive compensation from at no additional cost to you. View my Affiliate Disclosure page here. As an Amazon Associate, I earn from qualifying purchases.