Address
304 North Cardinal St.
Dorchester Center, MA 02124
Work Hours
Monday to Friday: 7AM - 7PM
Weekend: 10AM - 5PM
Address
304 North Cardinal St.
Dorchester Center, MA 02124
Work Hours
Monday to Friday: 7AM - 7PM
Weekend: 10AM - 5PM

Now that I’ve had time and space, I was finally able to work on some r710 upgrades.
As a reminder, here are the specifications that the server started with:
2x Xeon X5650 (six core 2.66GHz)
24GB (6x 4GB) RAM
2x Dell 136GB SAS (15k)
1x Seagate 450GB SAS (15k)
6x 3.5″ bays
PERC 6/i
2x 570W PSU
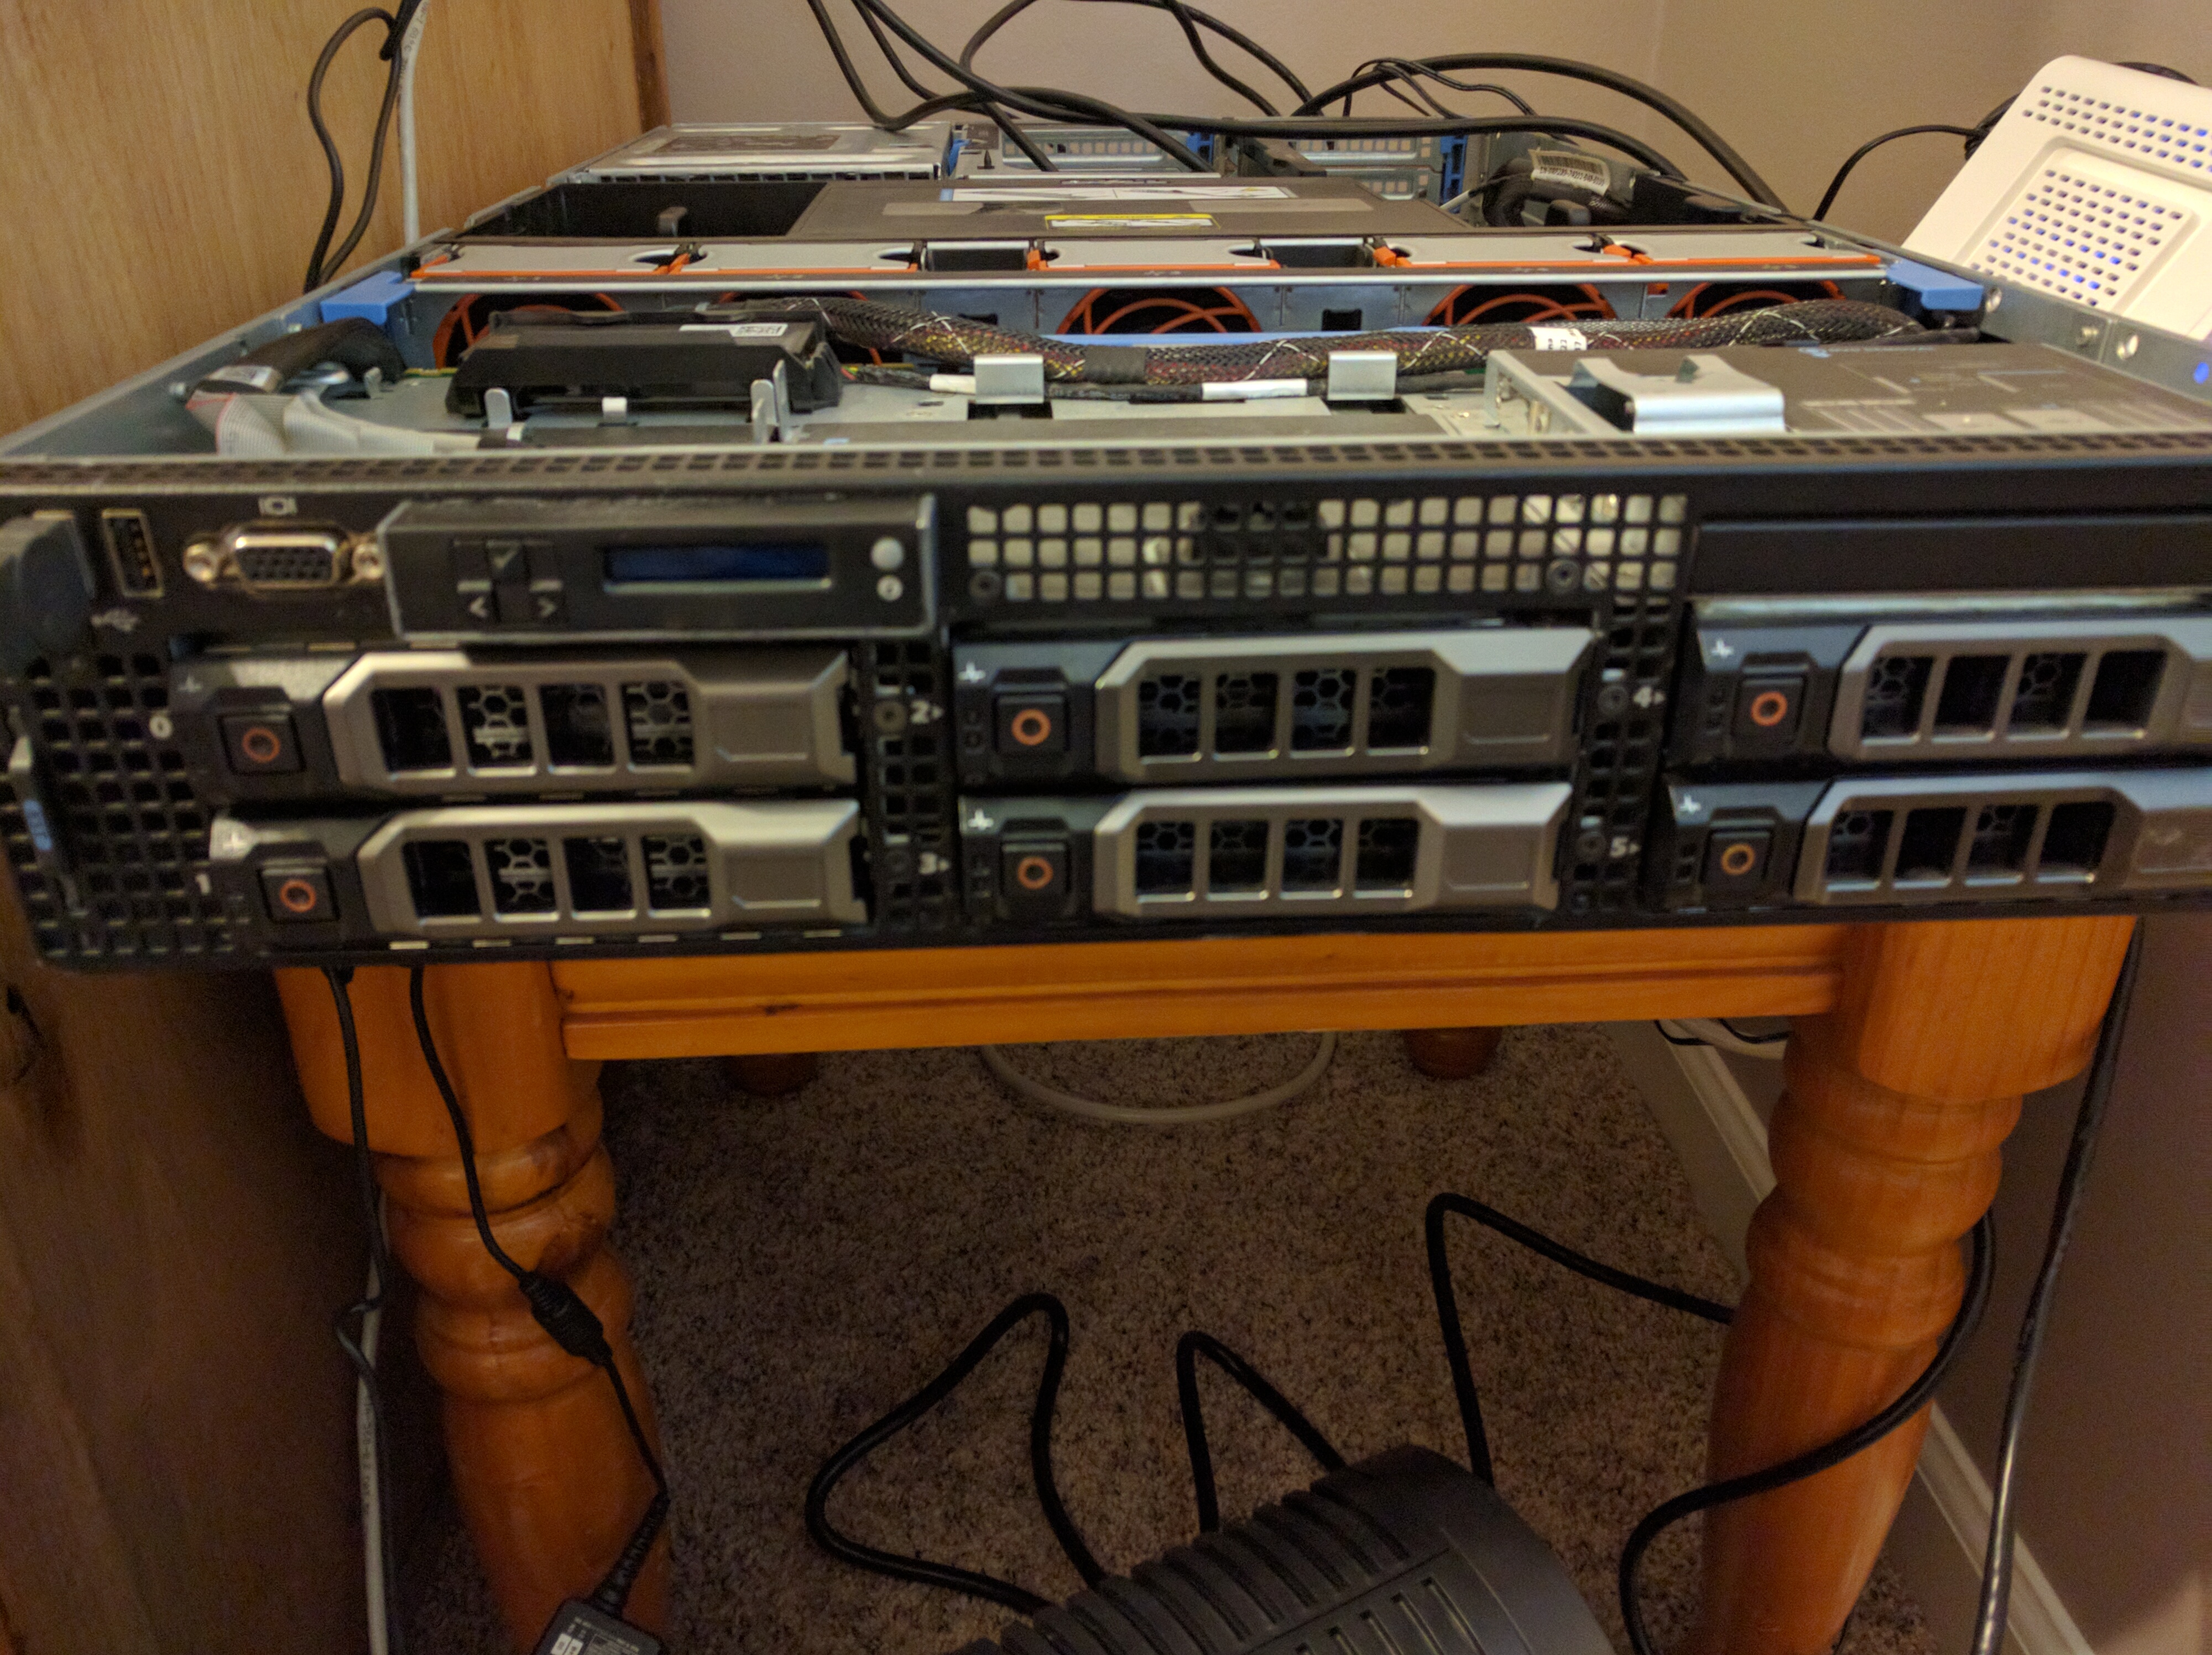
To start, I picked up the remaining drive caddies and a few drives to put in them.
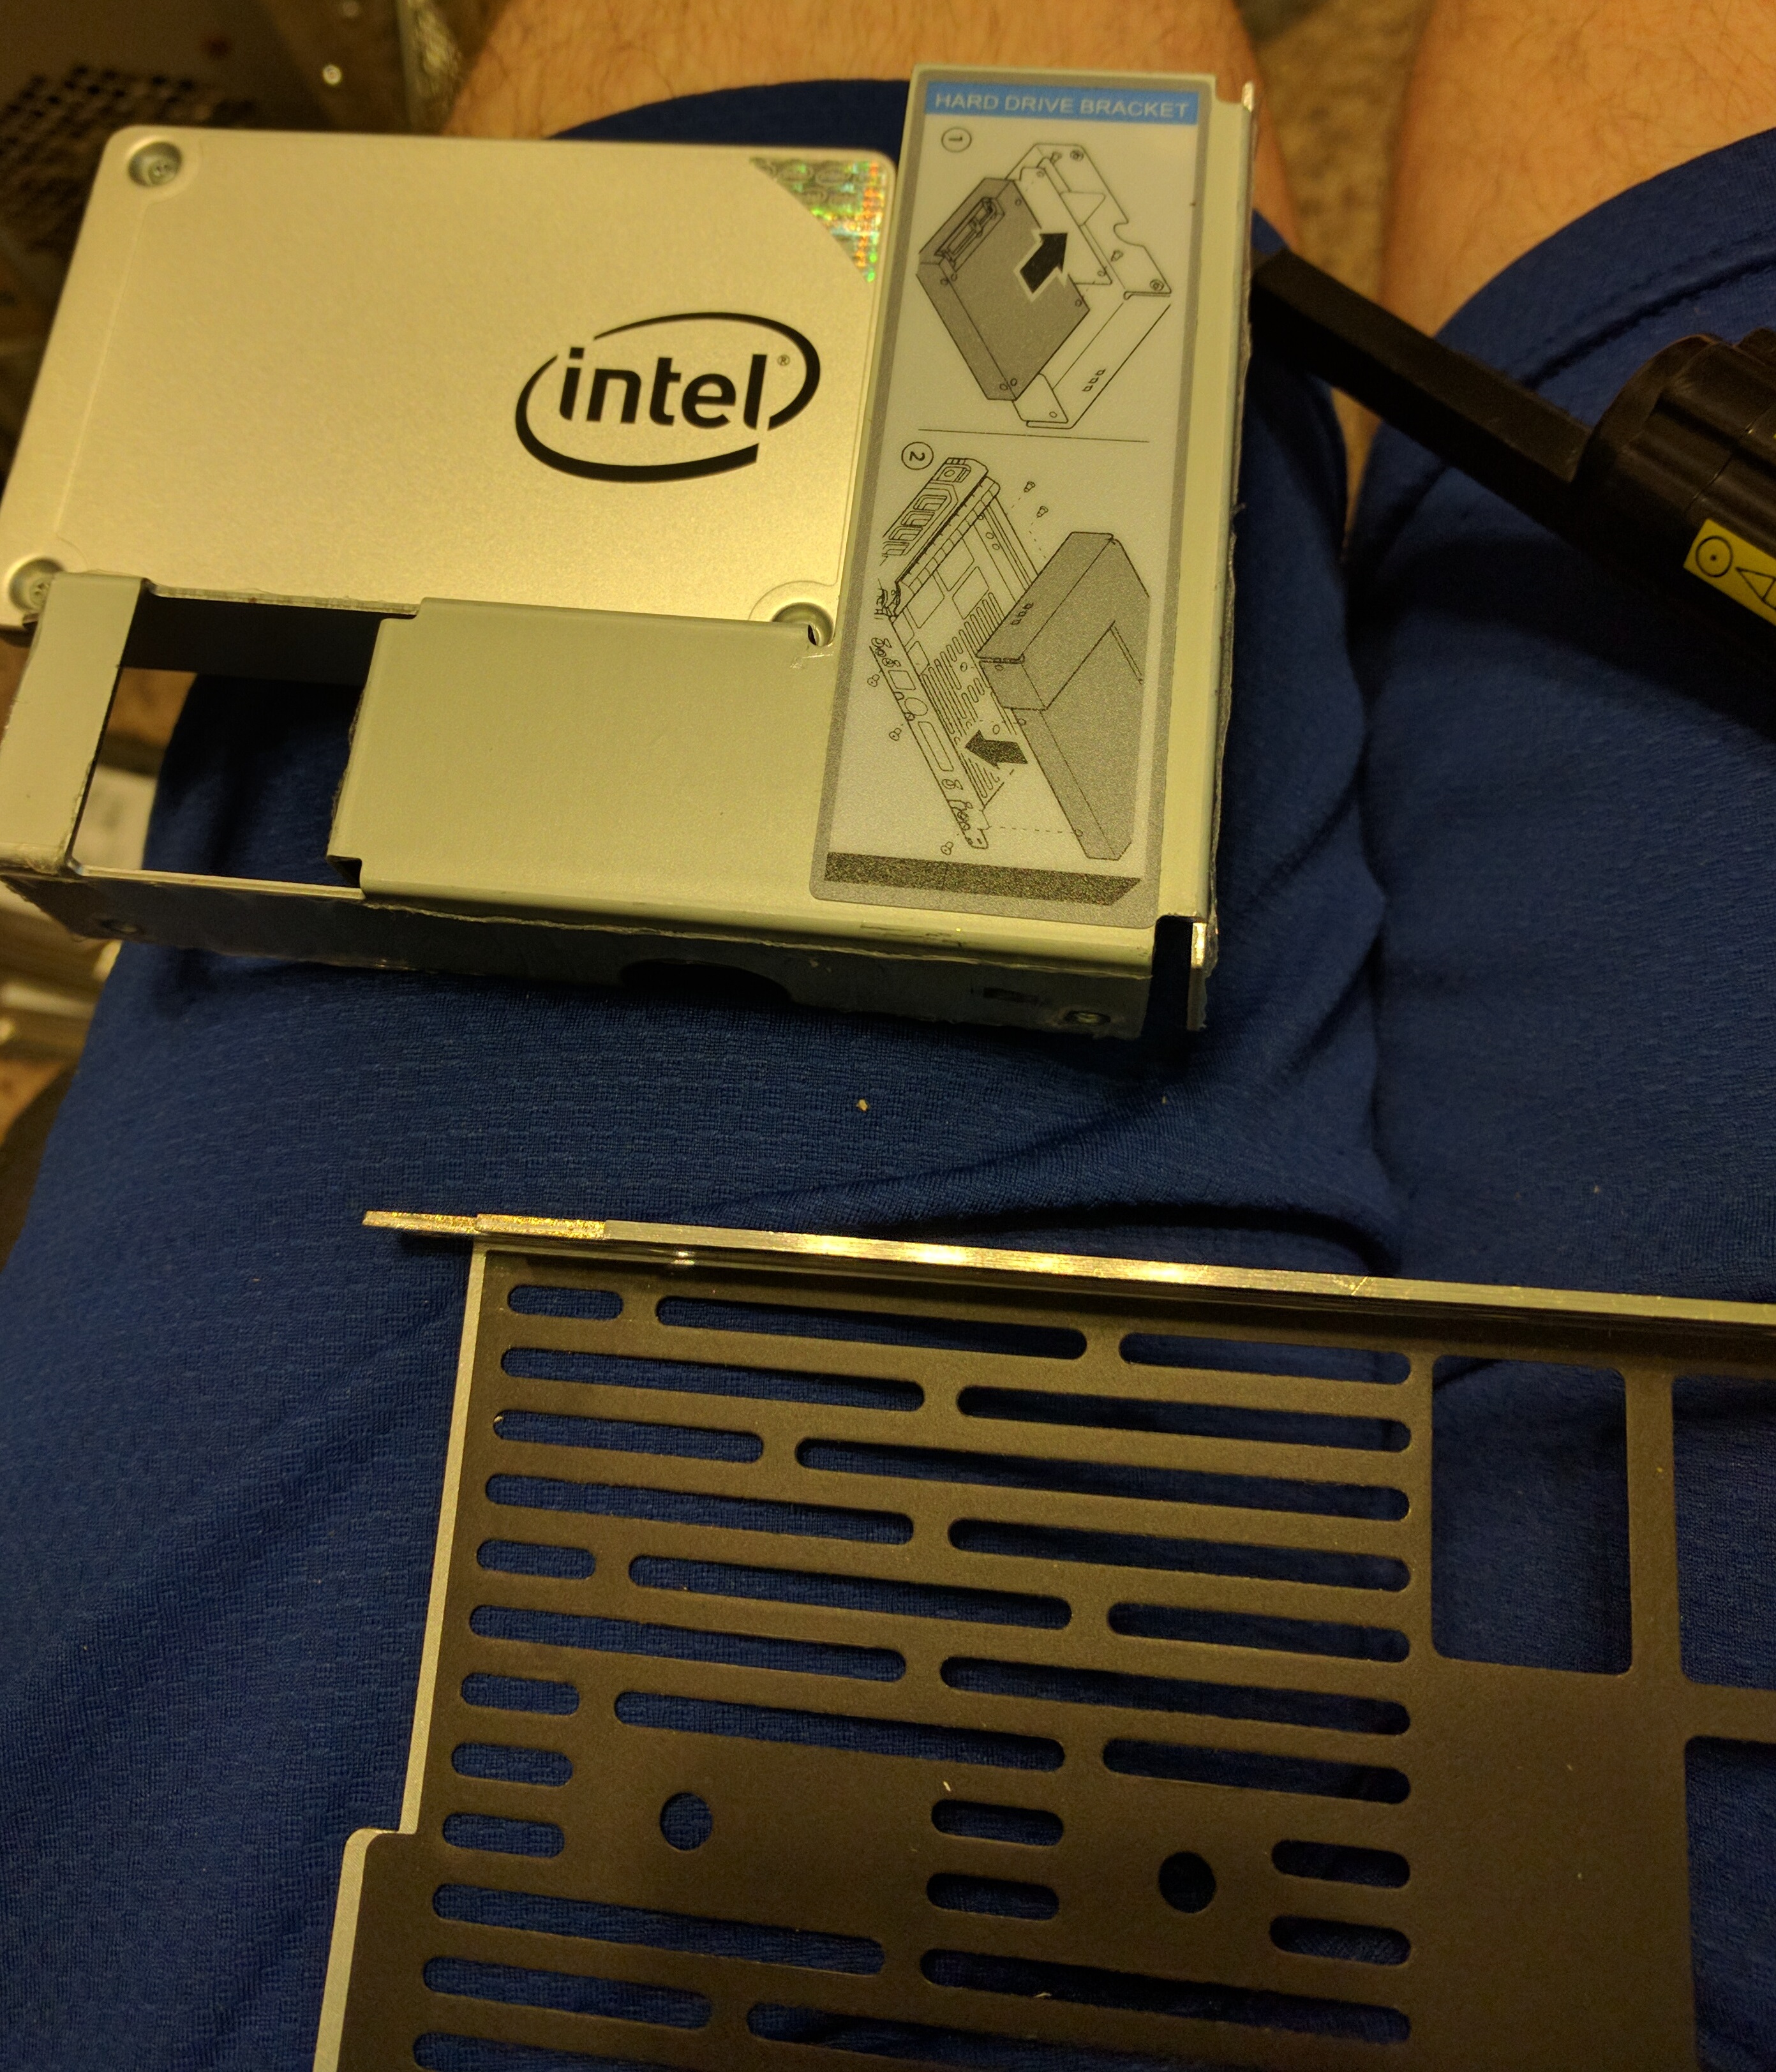
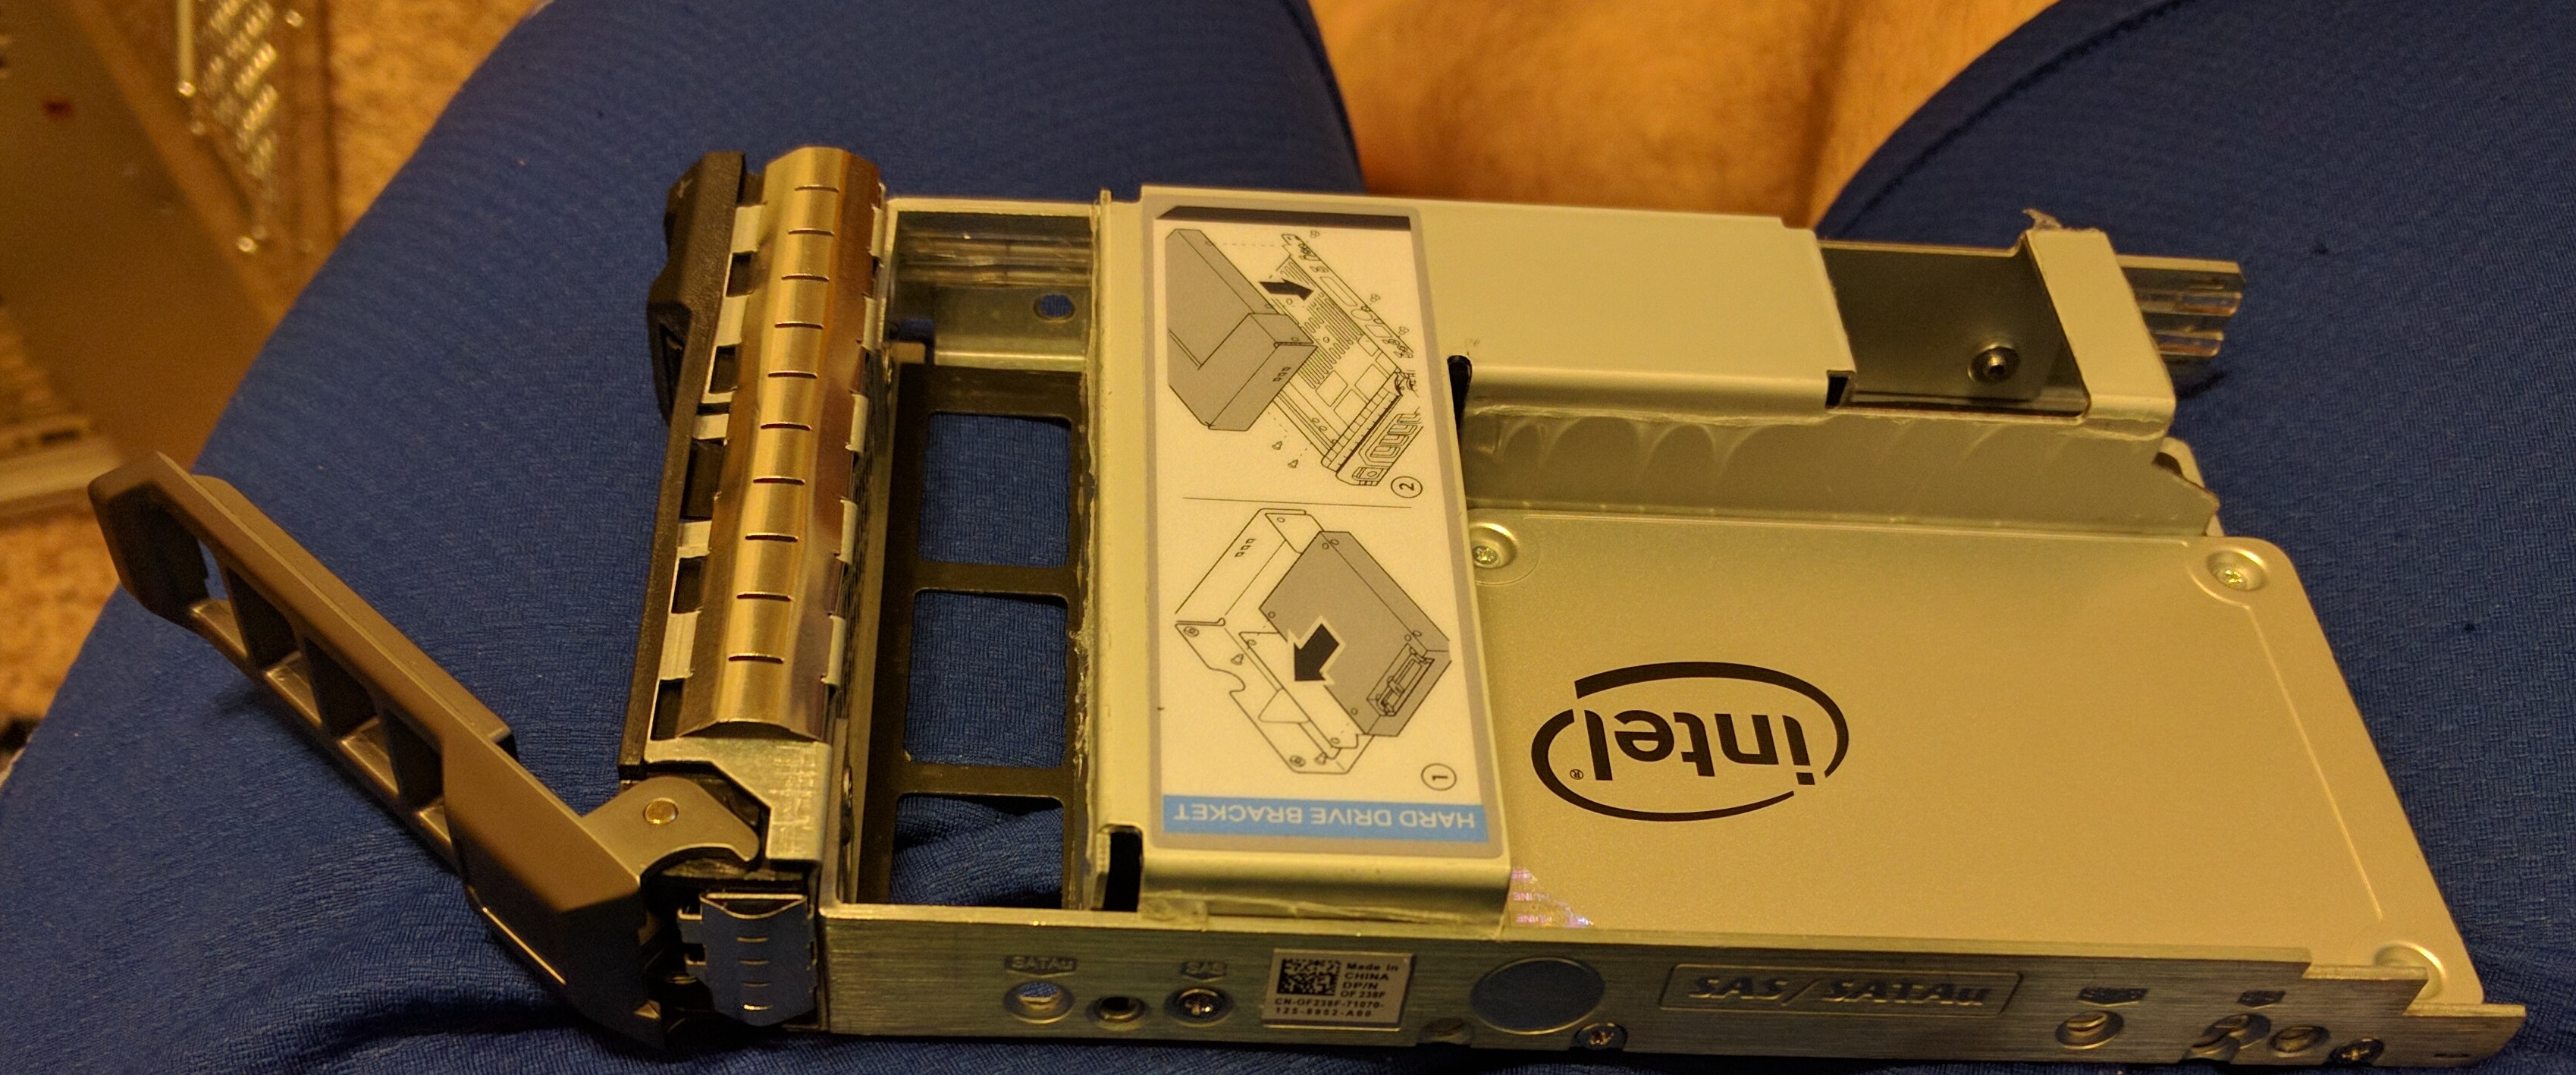
Mounting the 2.5″ SSDs on the drive caddies wasn’t too difficult, and I added 2x Intel 250GB SSDs to the rig.
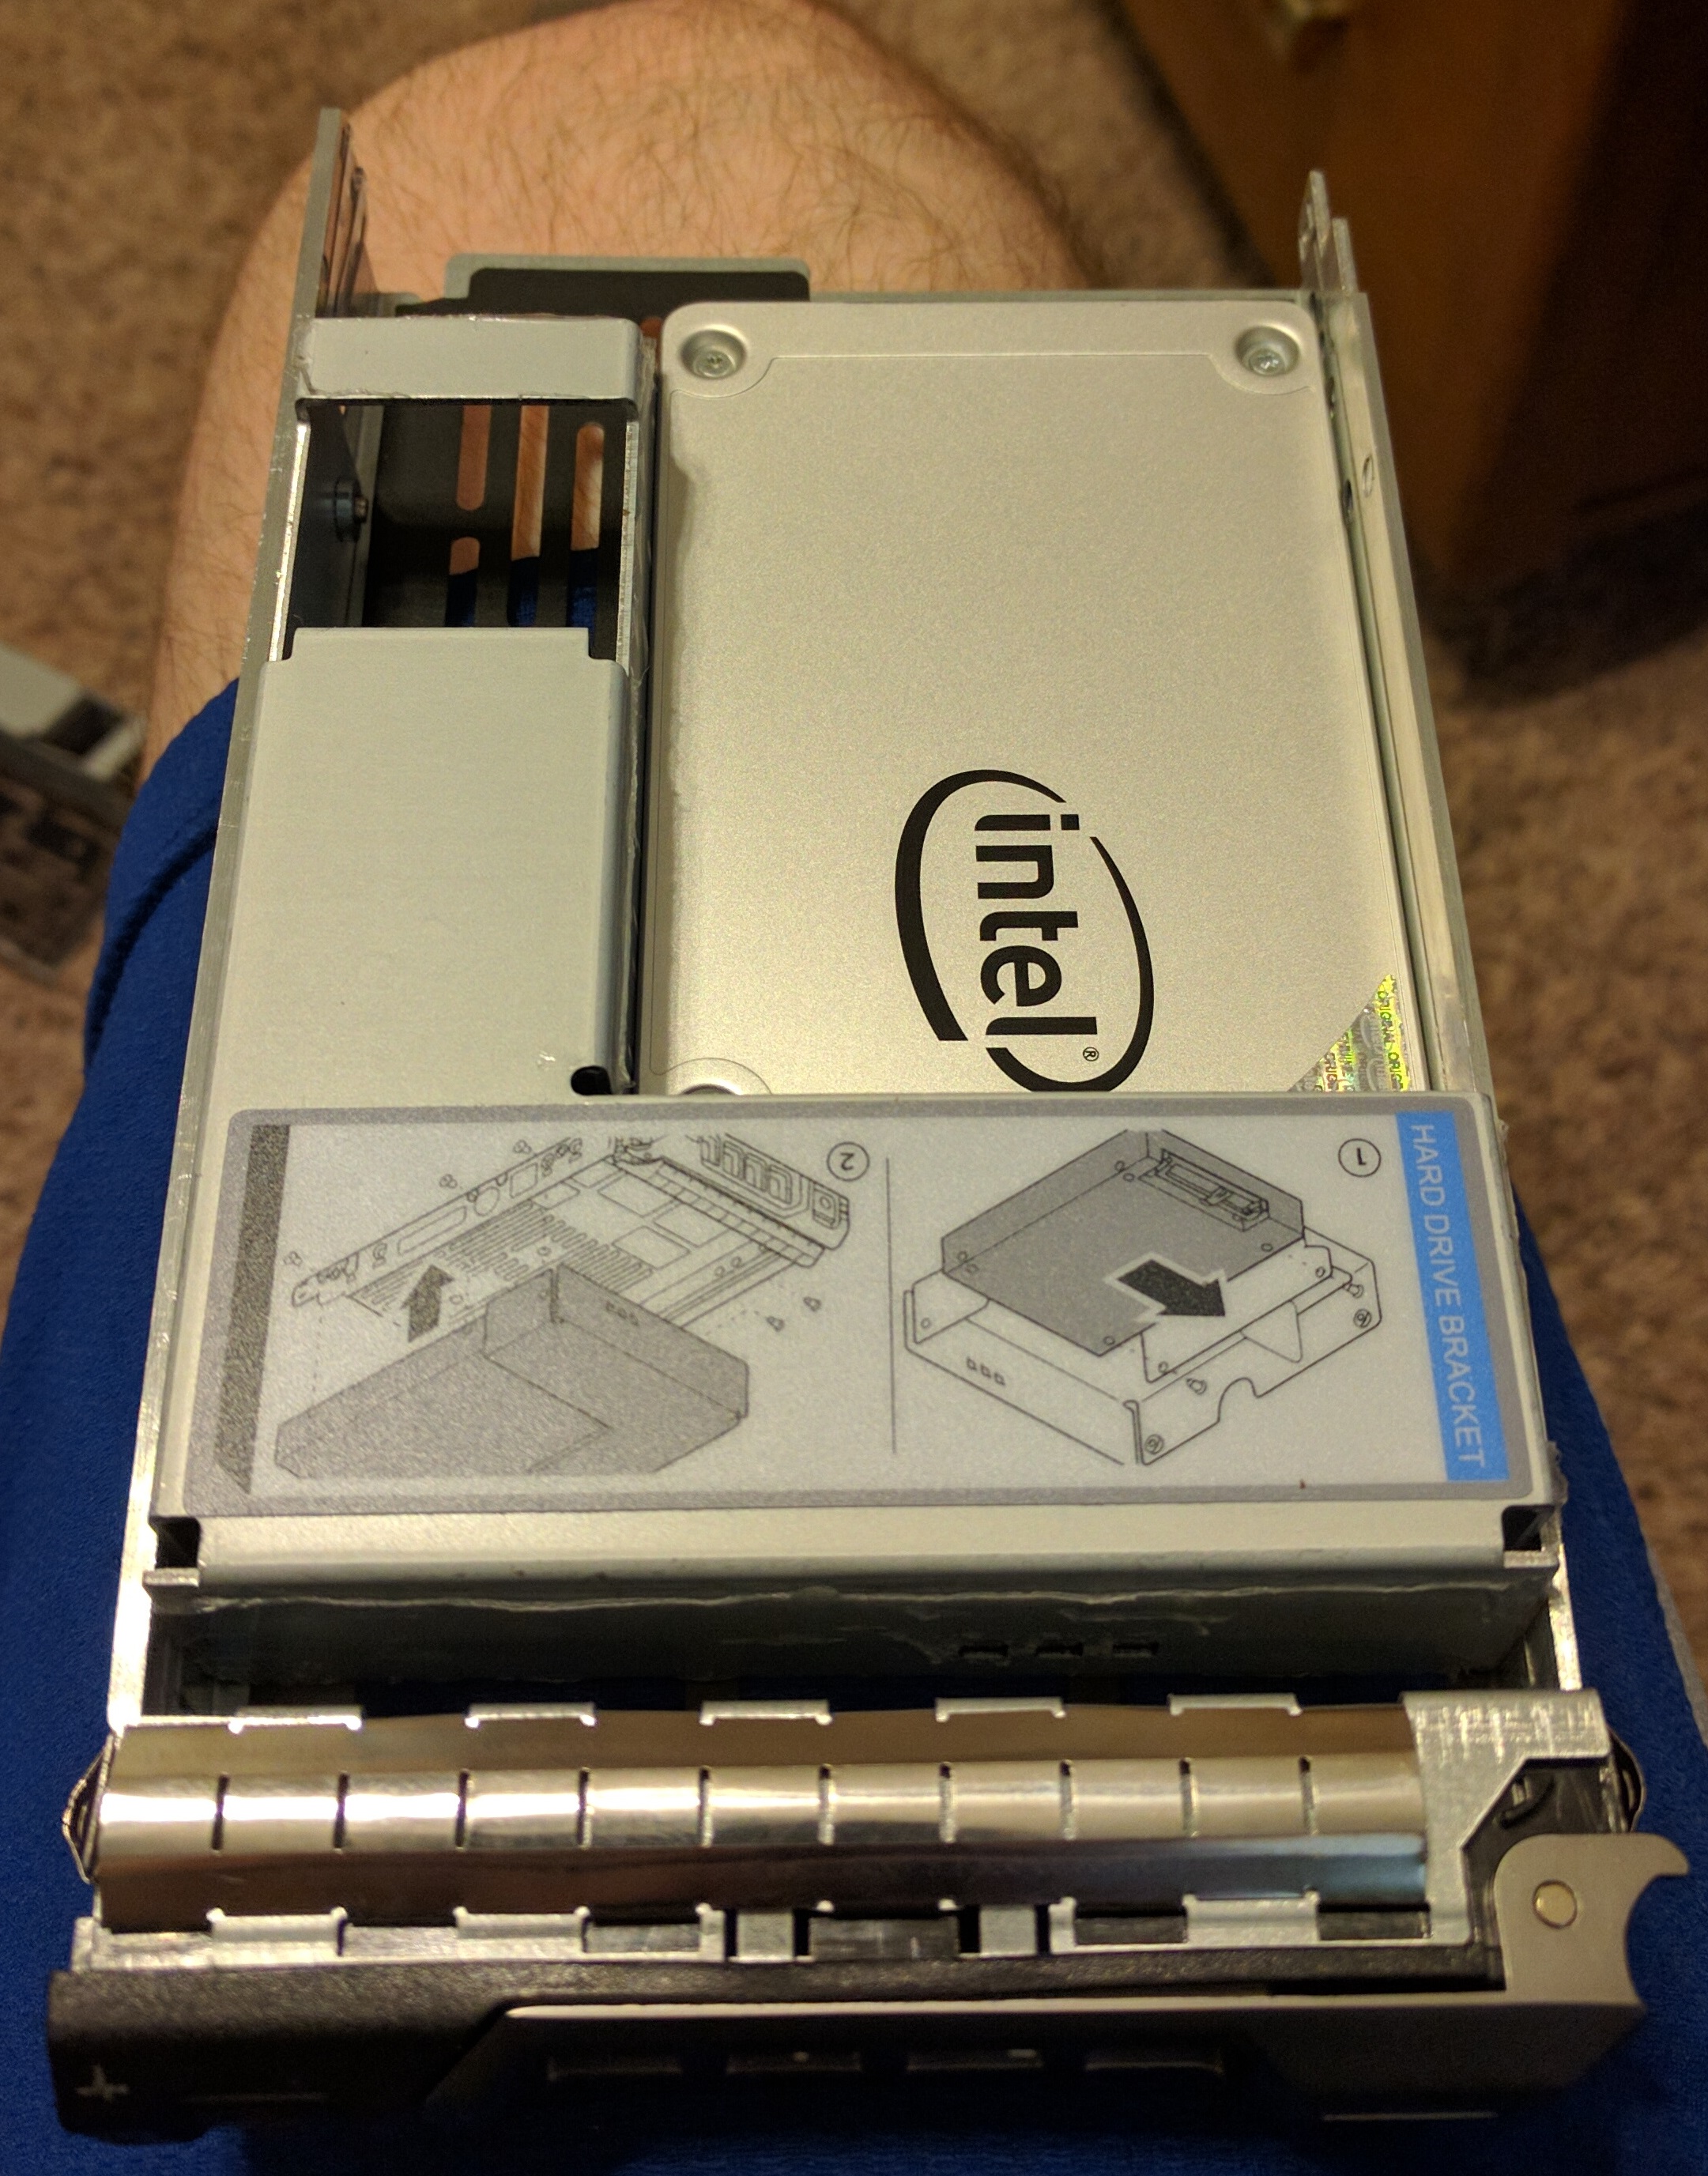
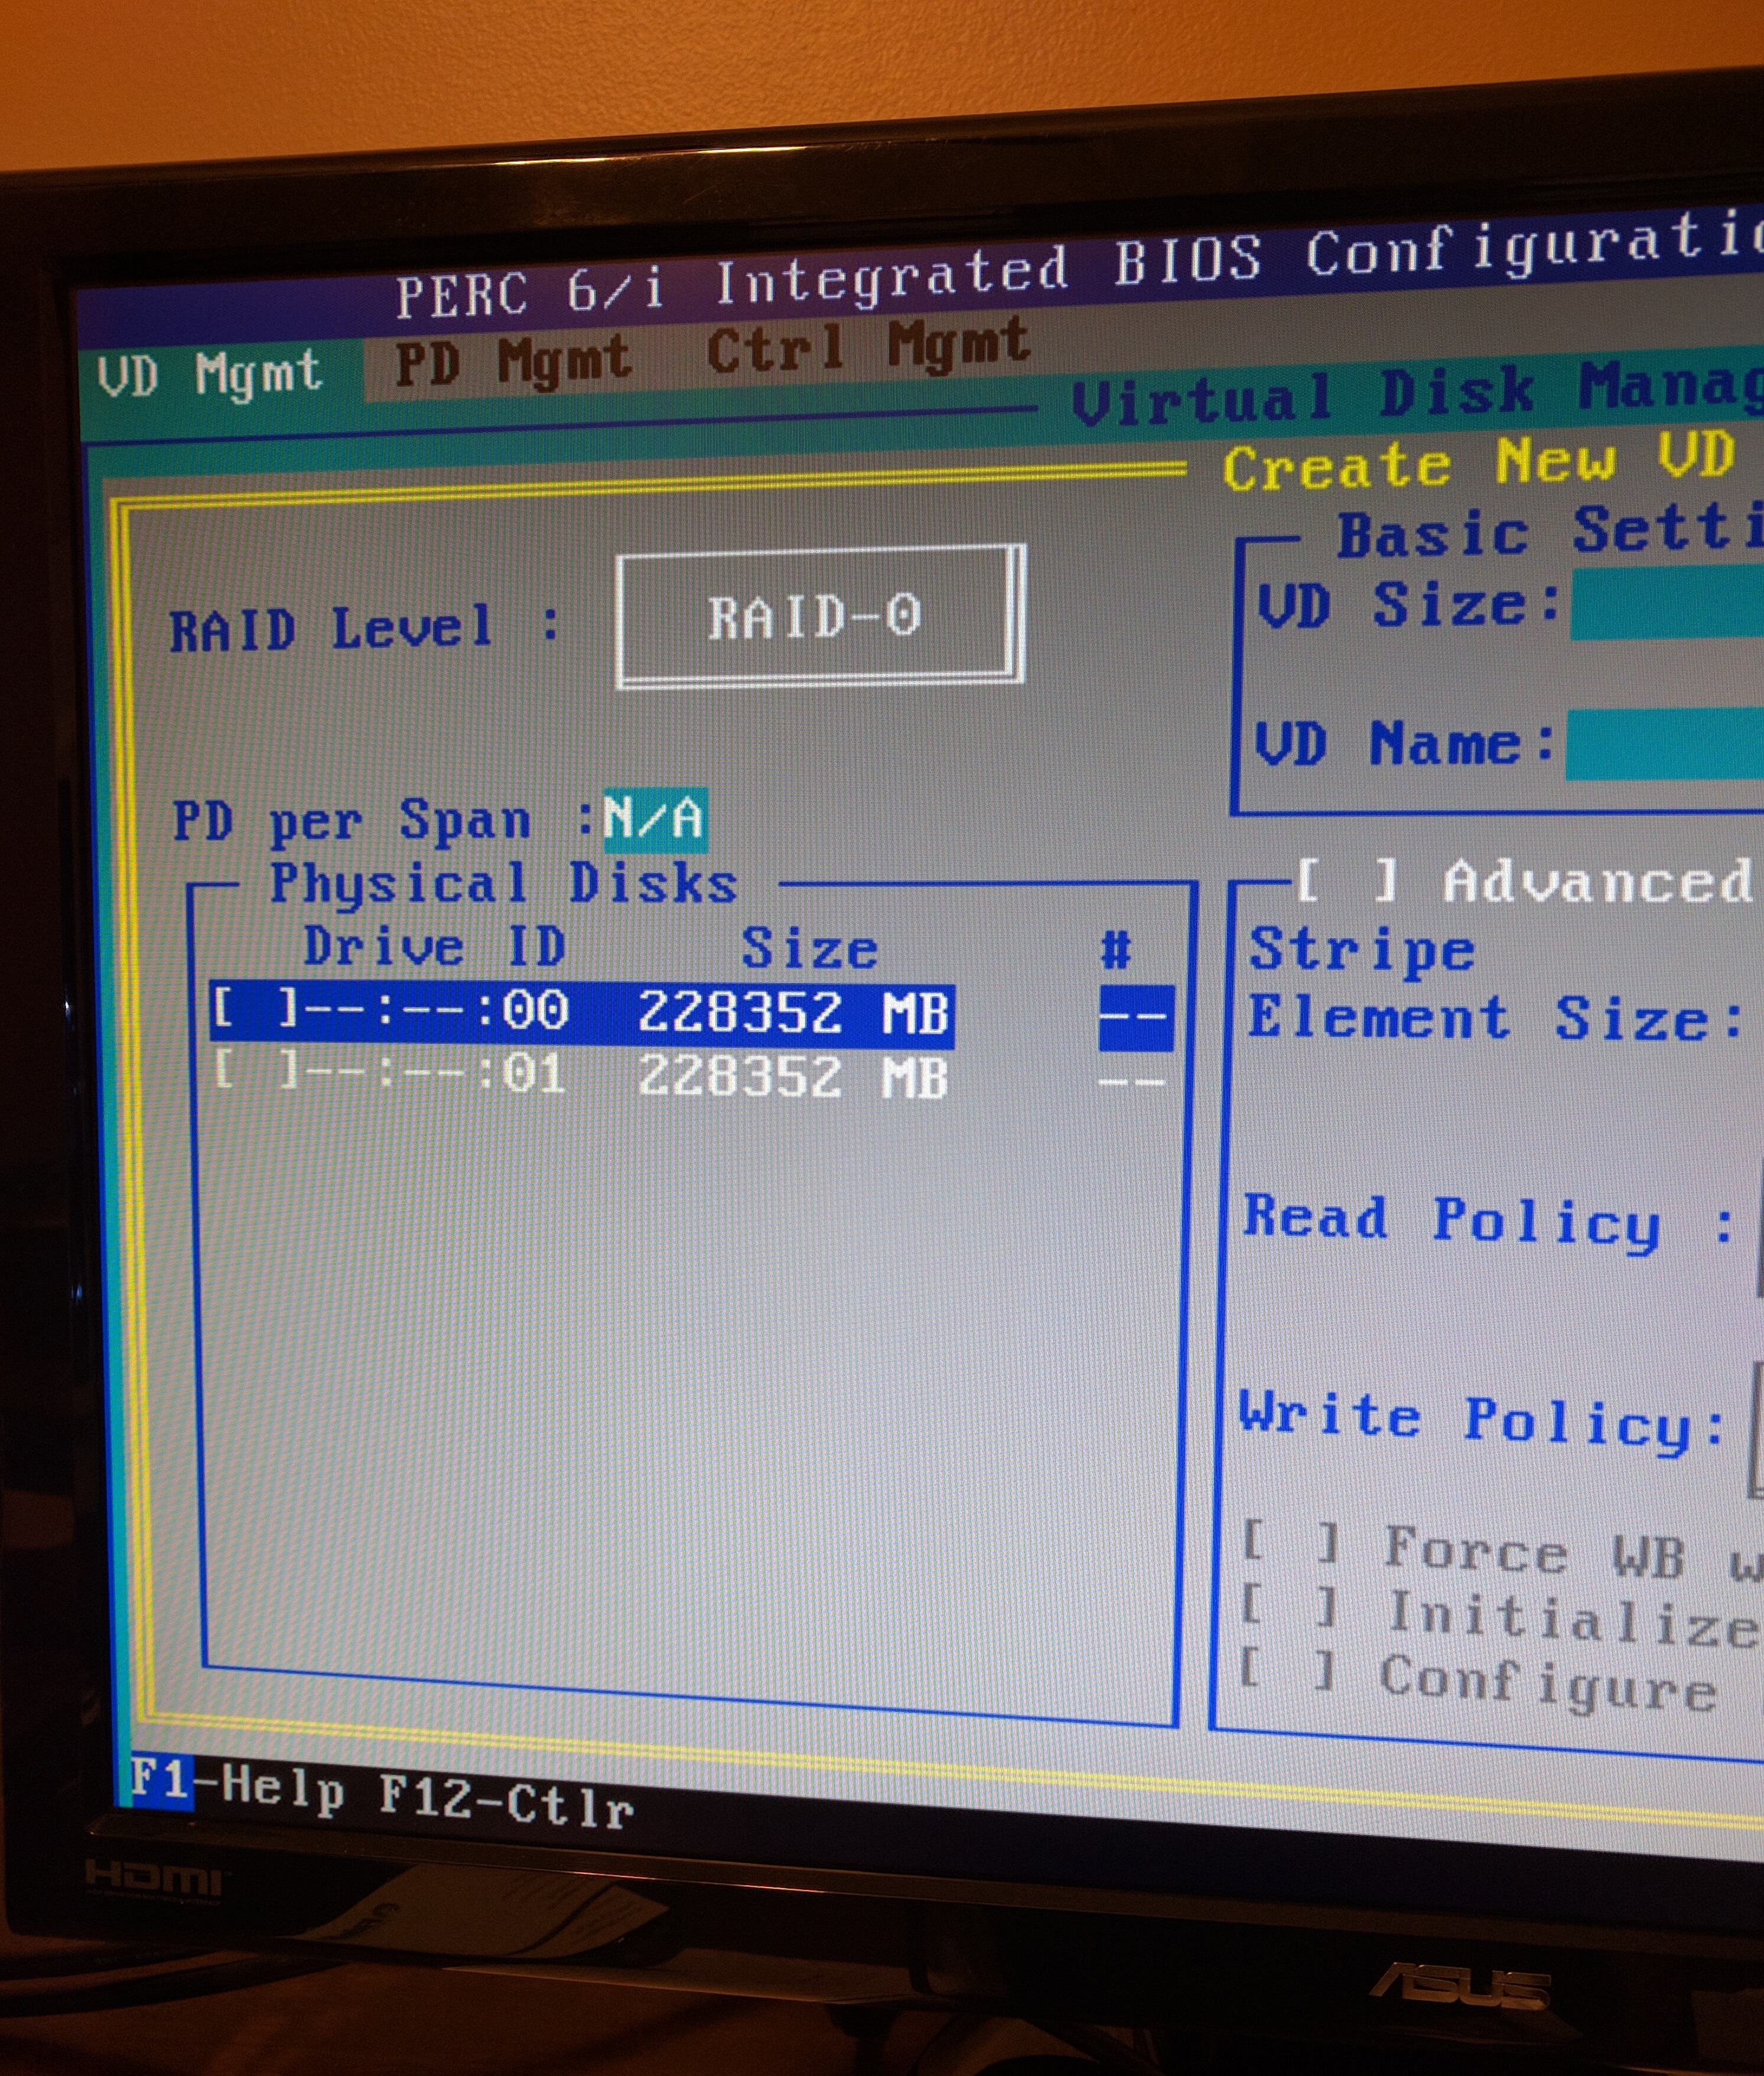
Once both SSDs were in place, I booted up the machine to verify the storage.
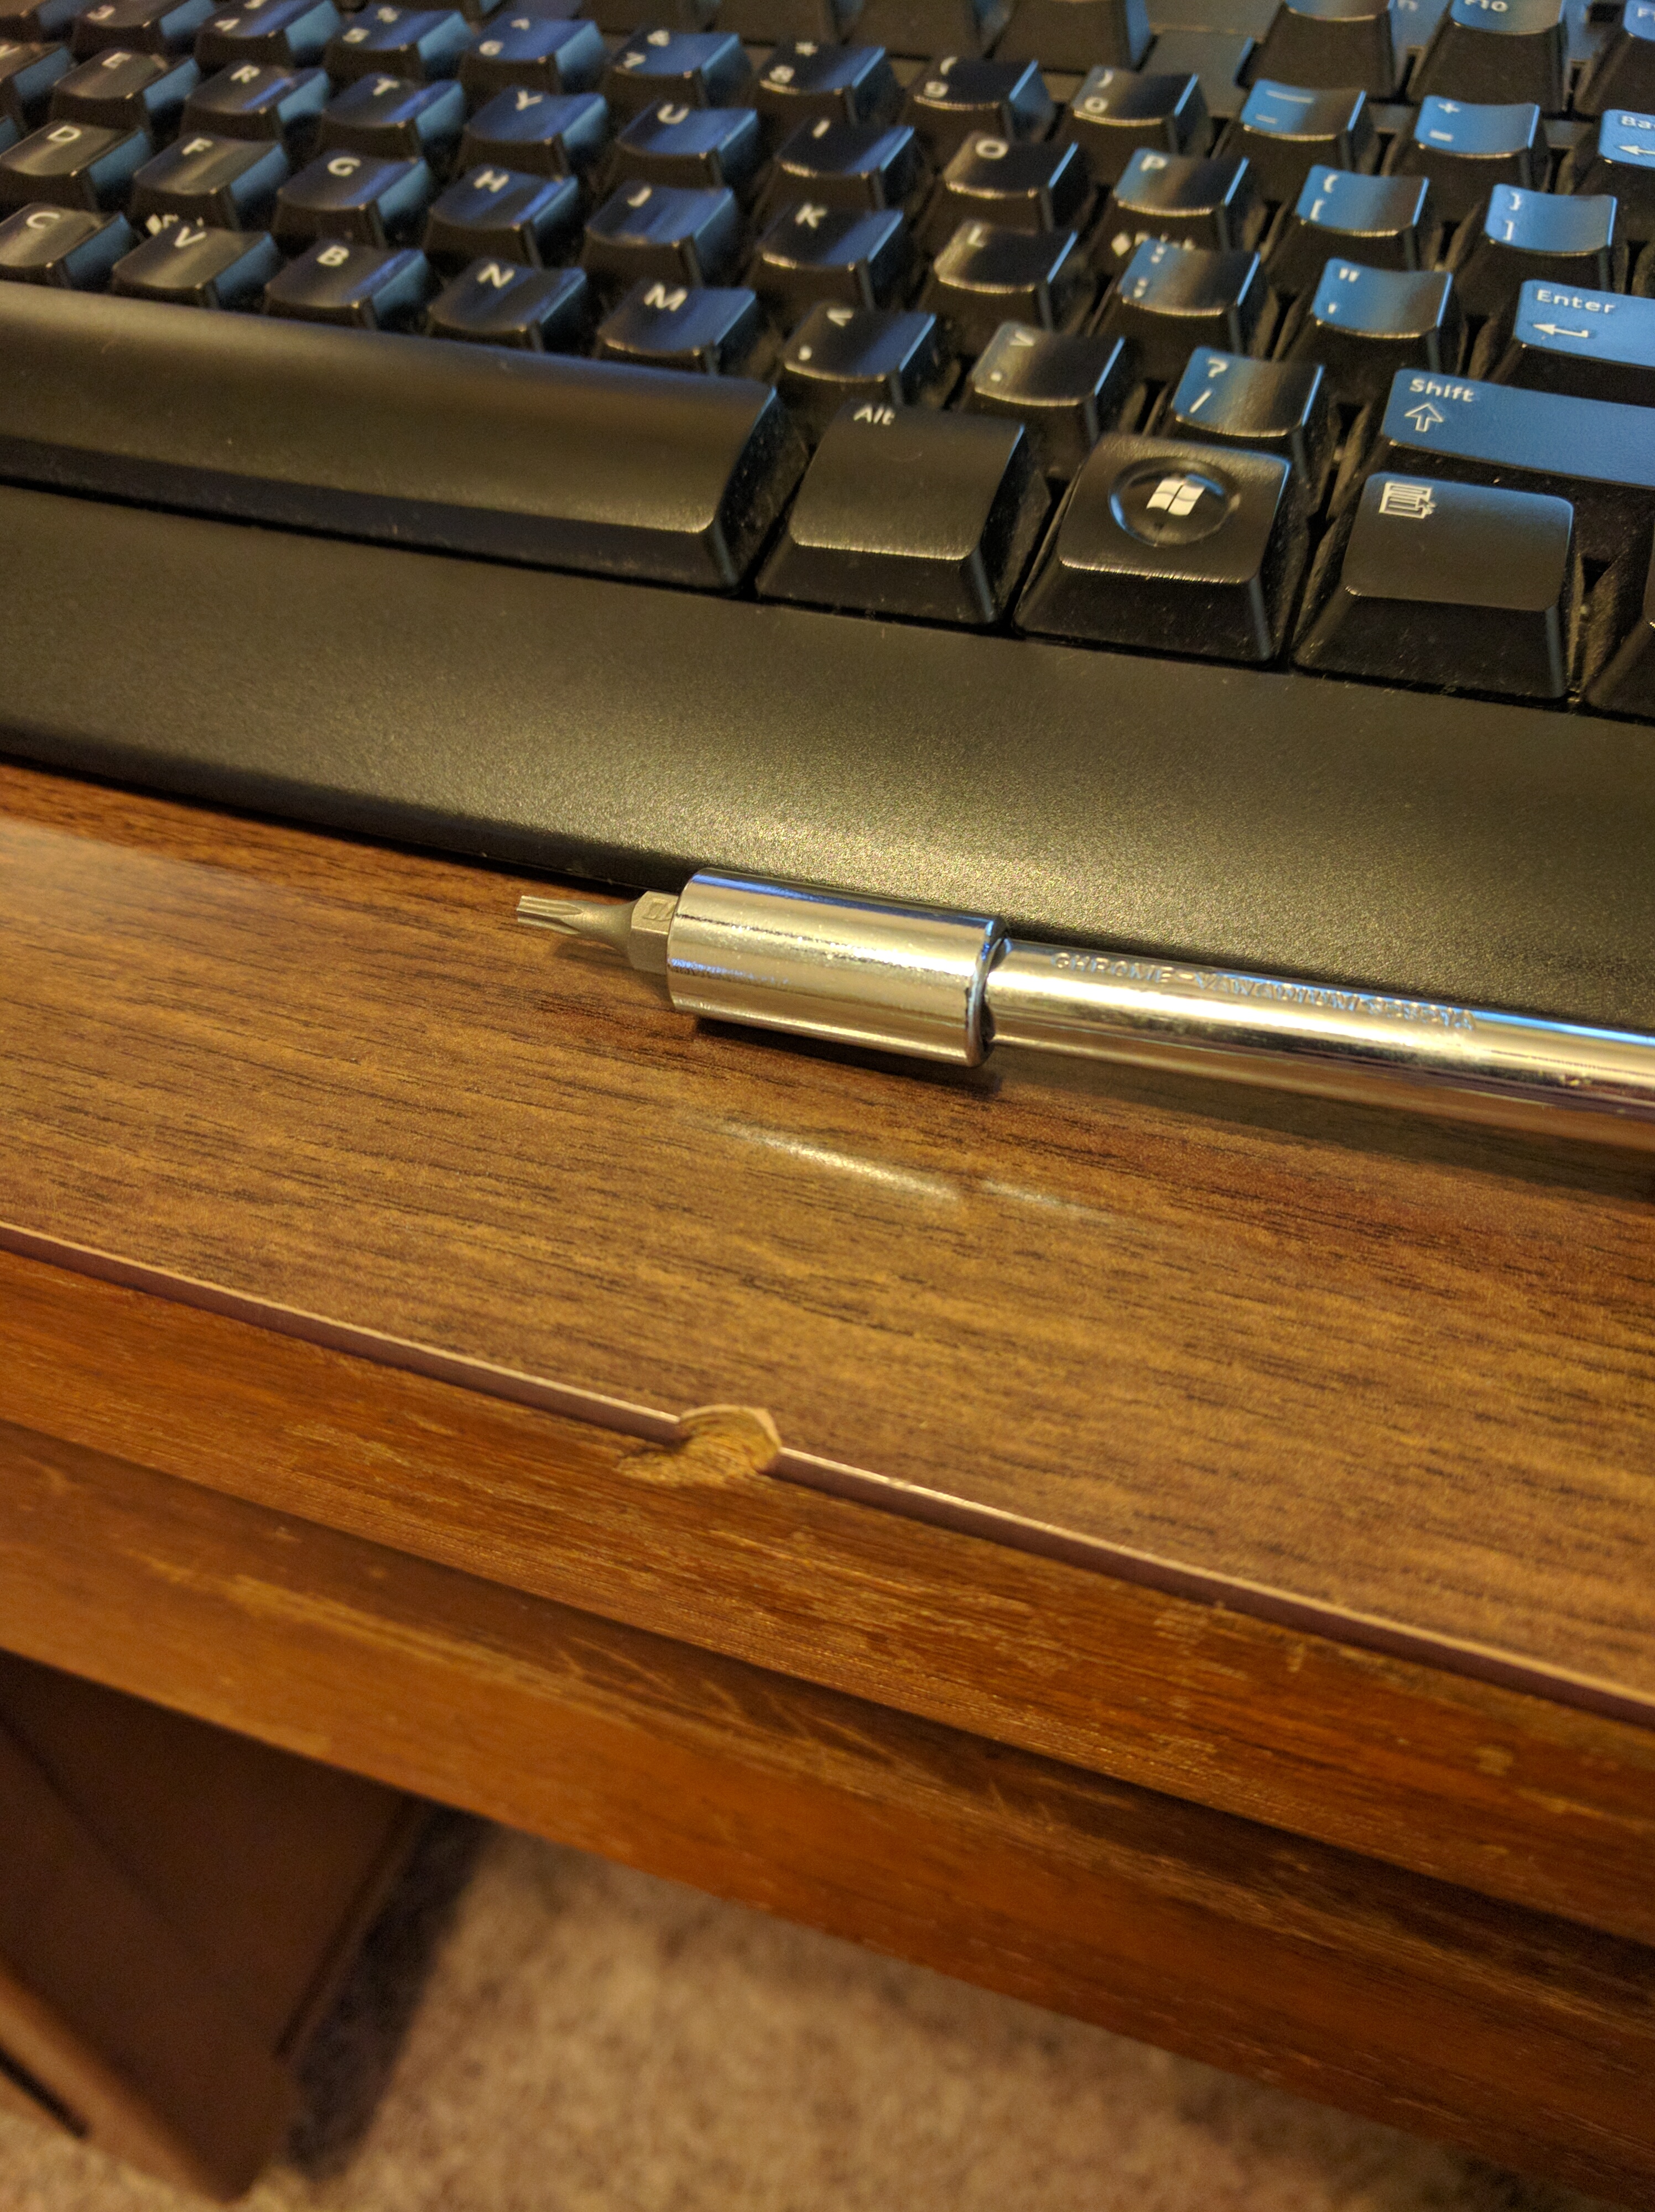
Additionally, since I didn’t have a real torx screwdriver, I had to make my own!
Other than the 2x SSDs, I also added 4x HGST 4TB drives to fill the rest of the bays.
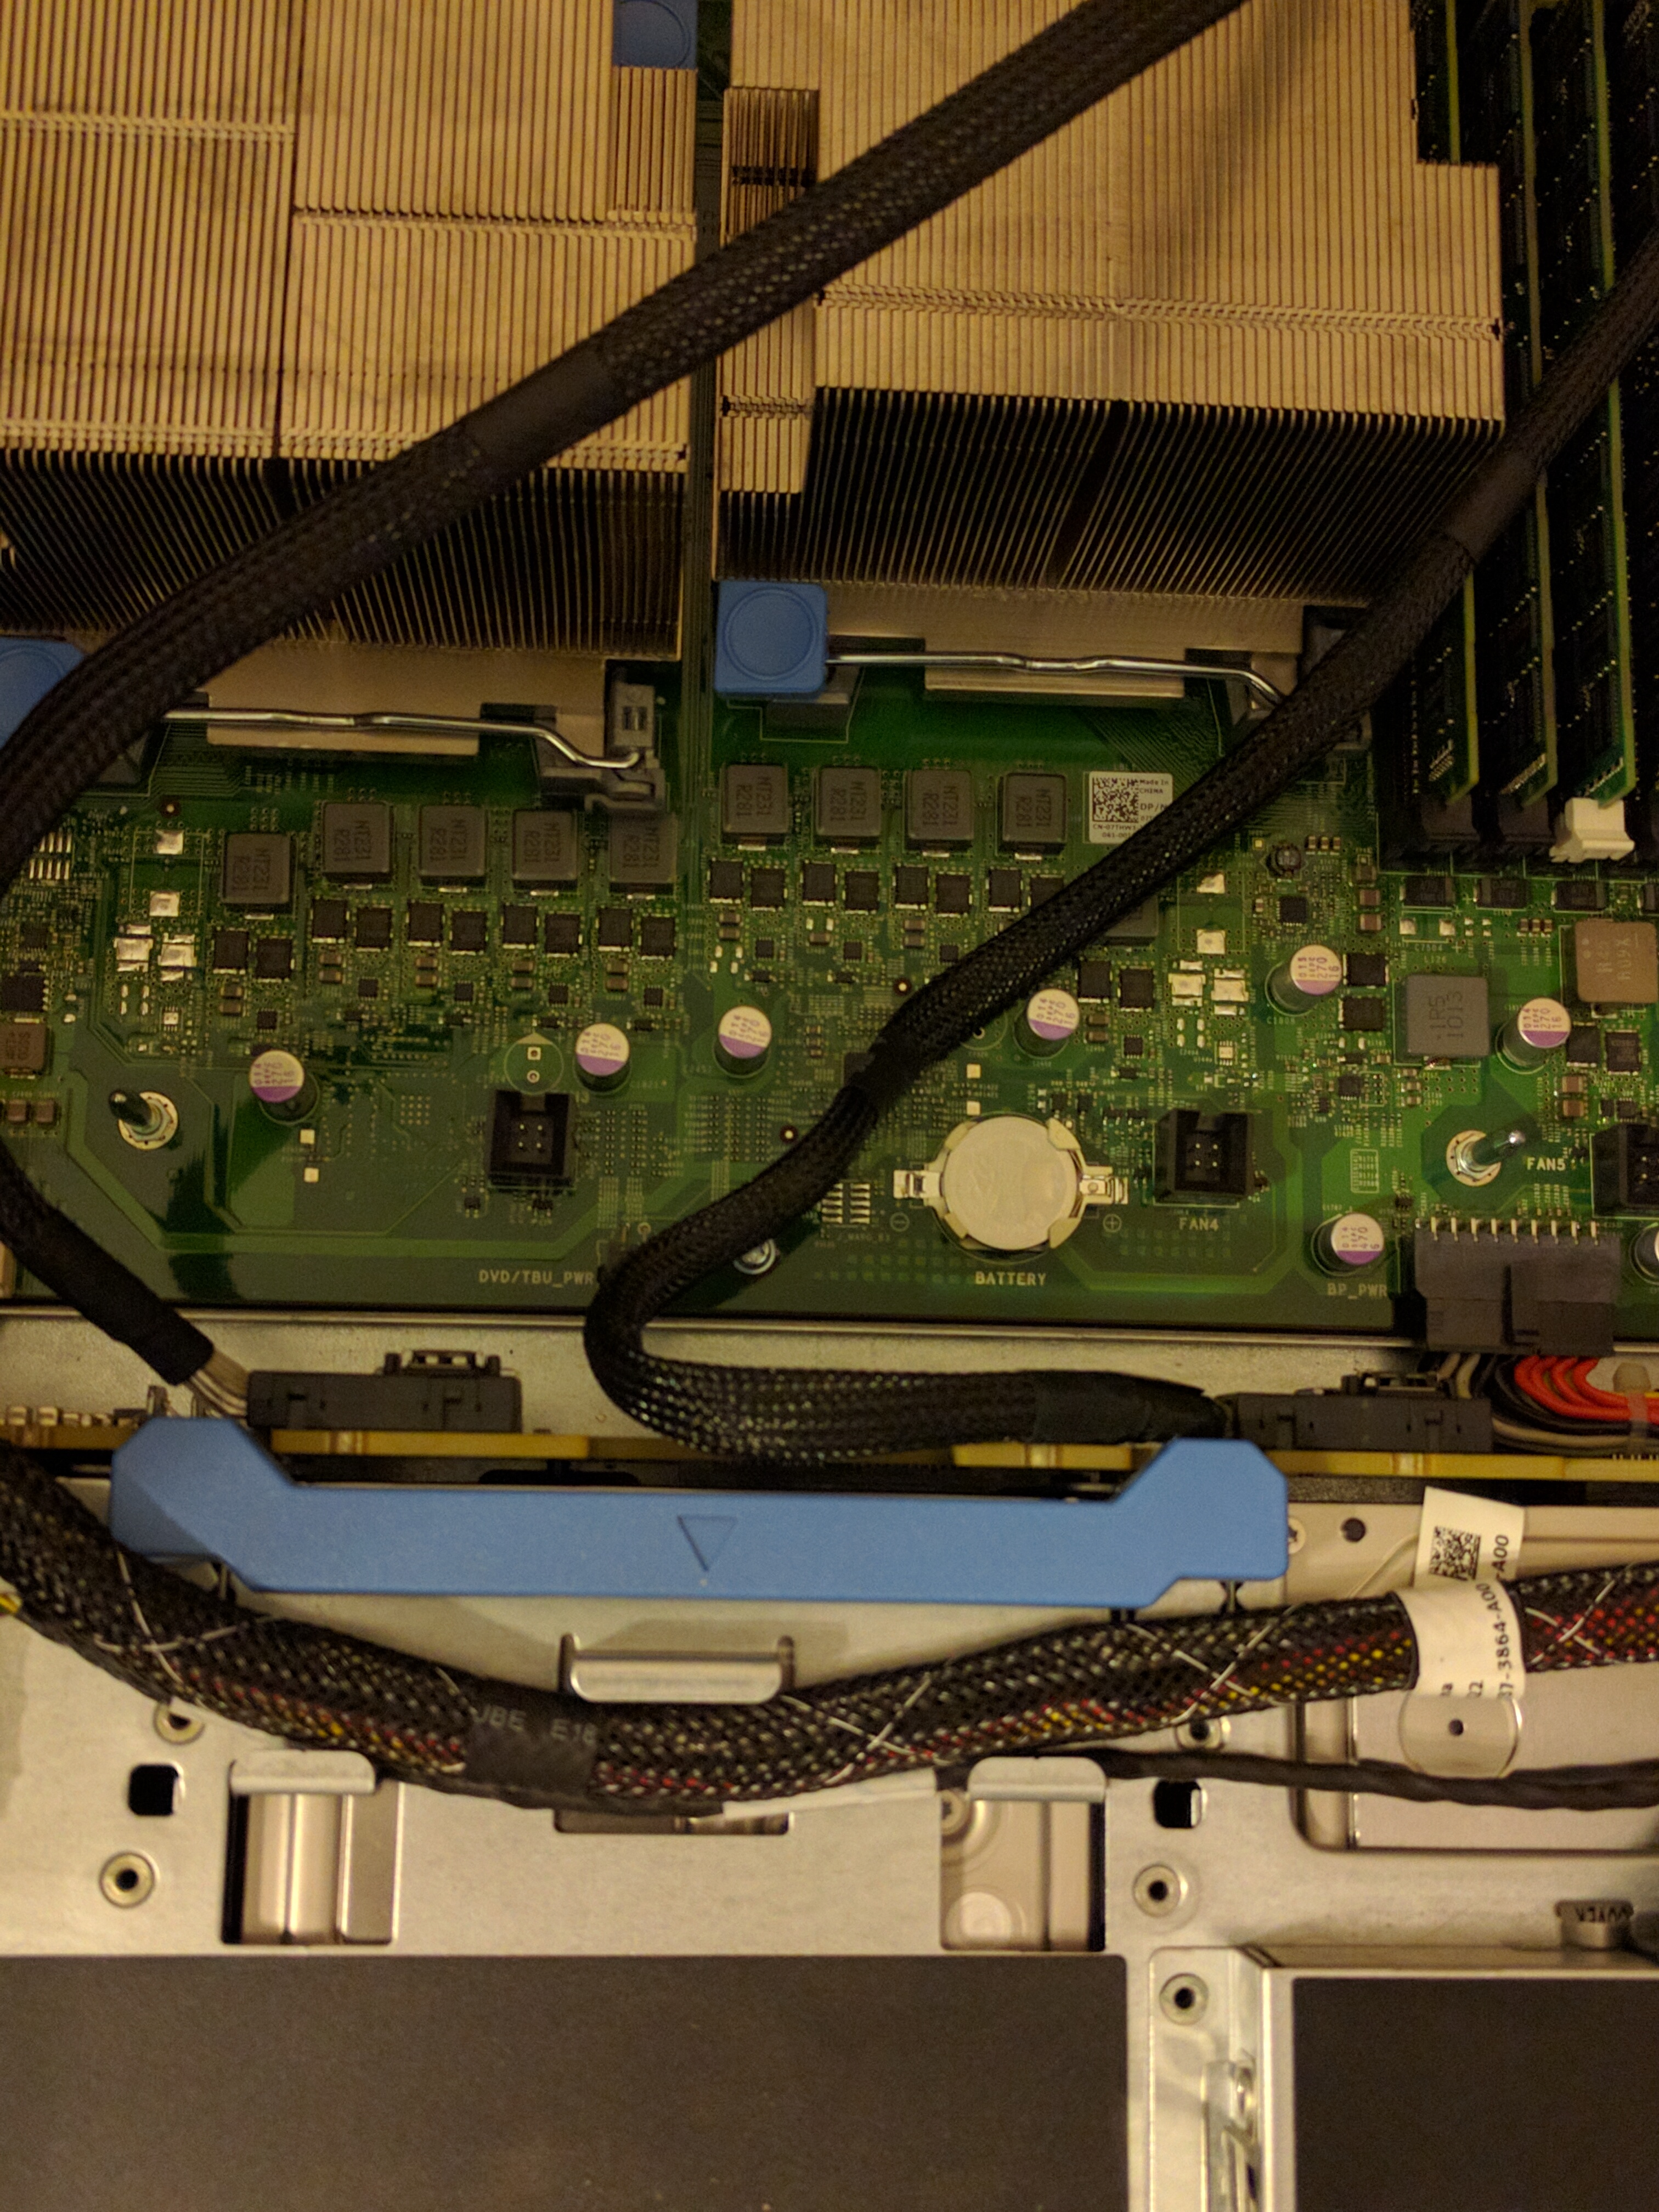
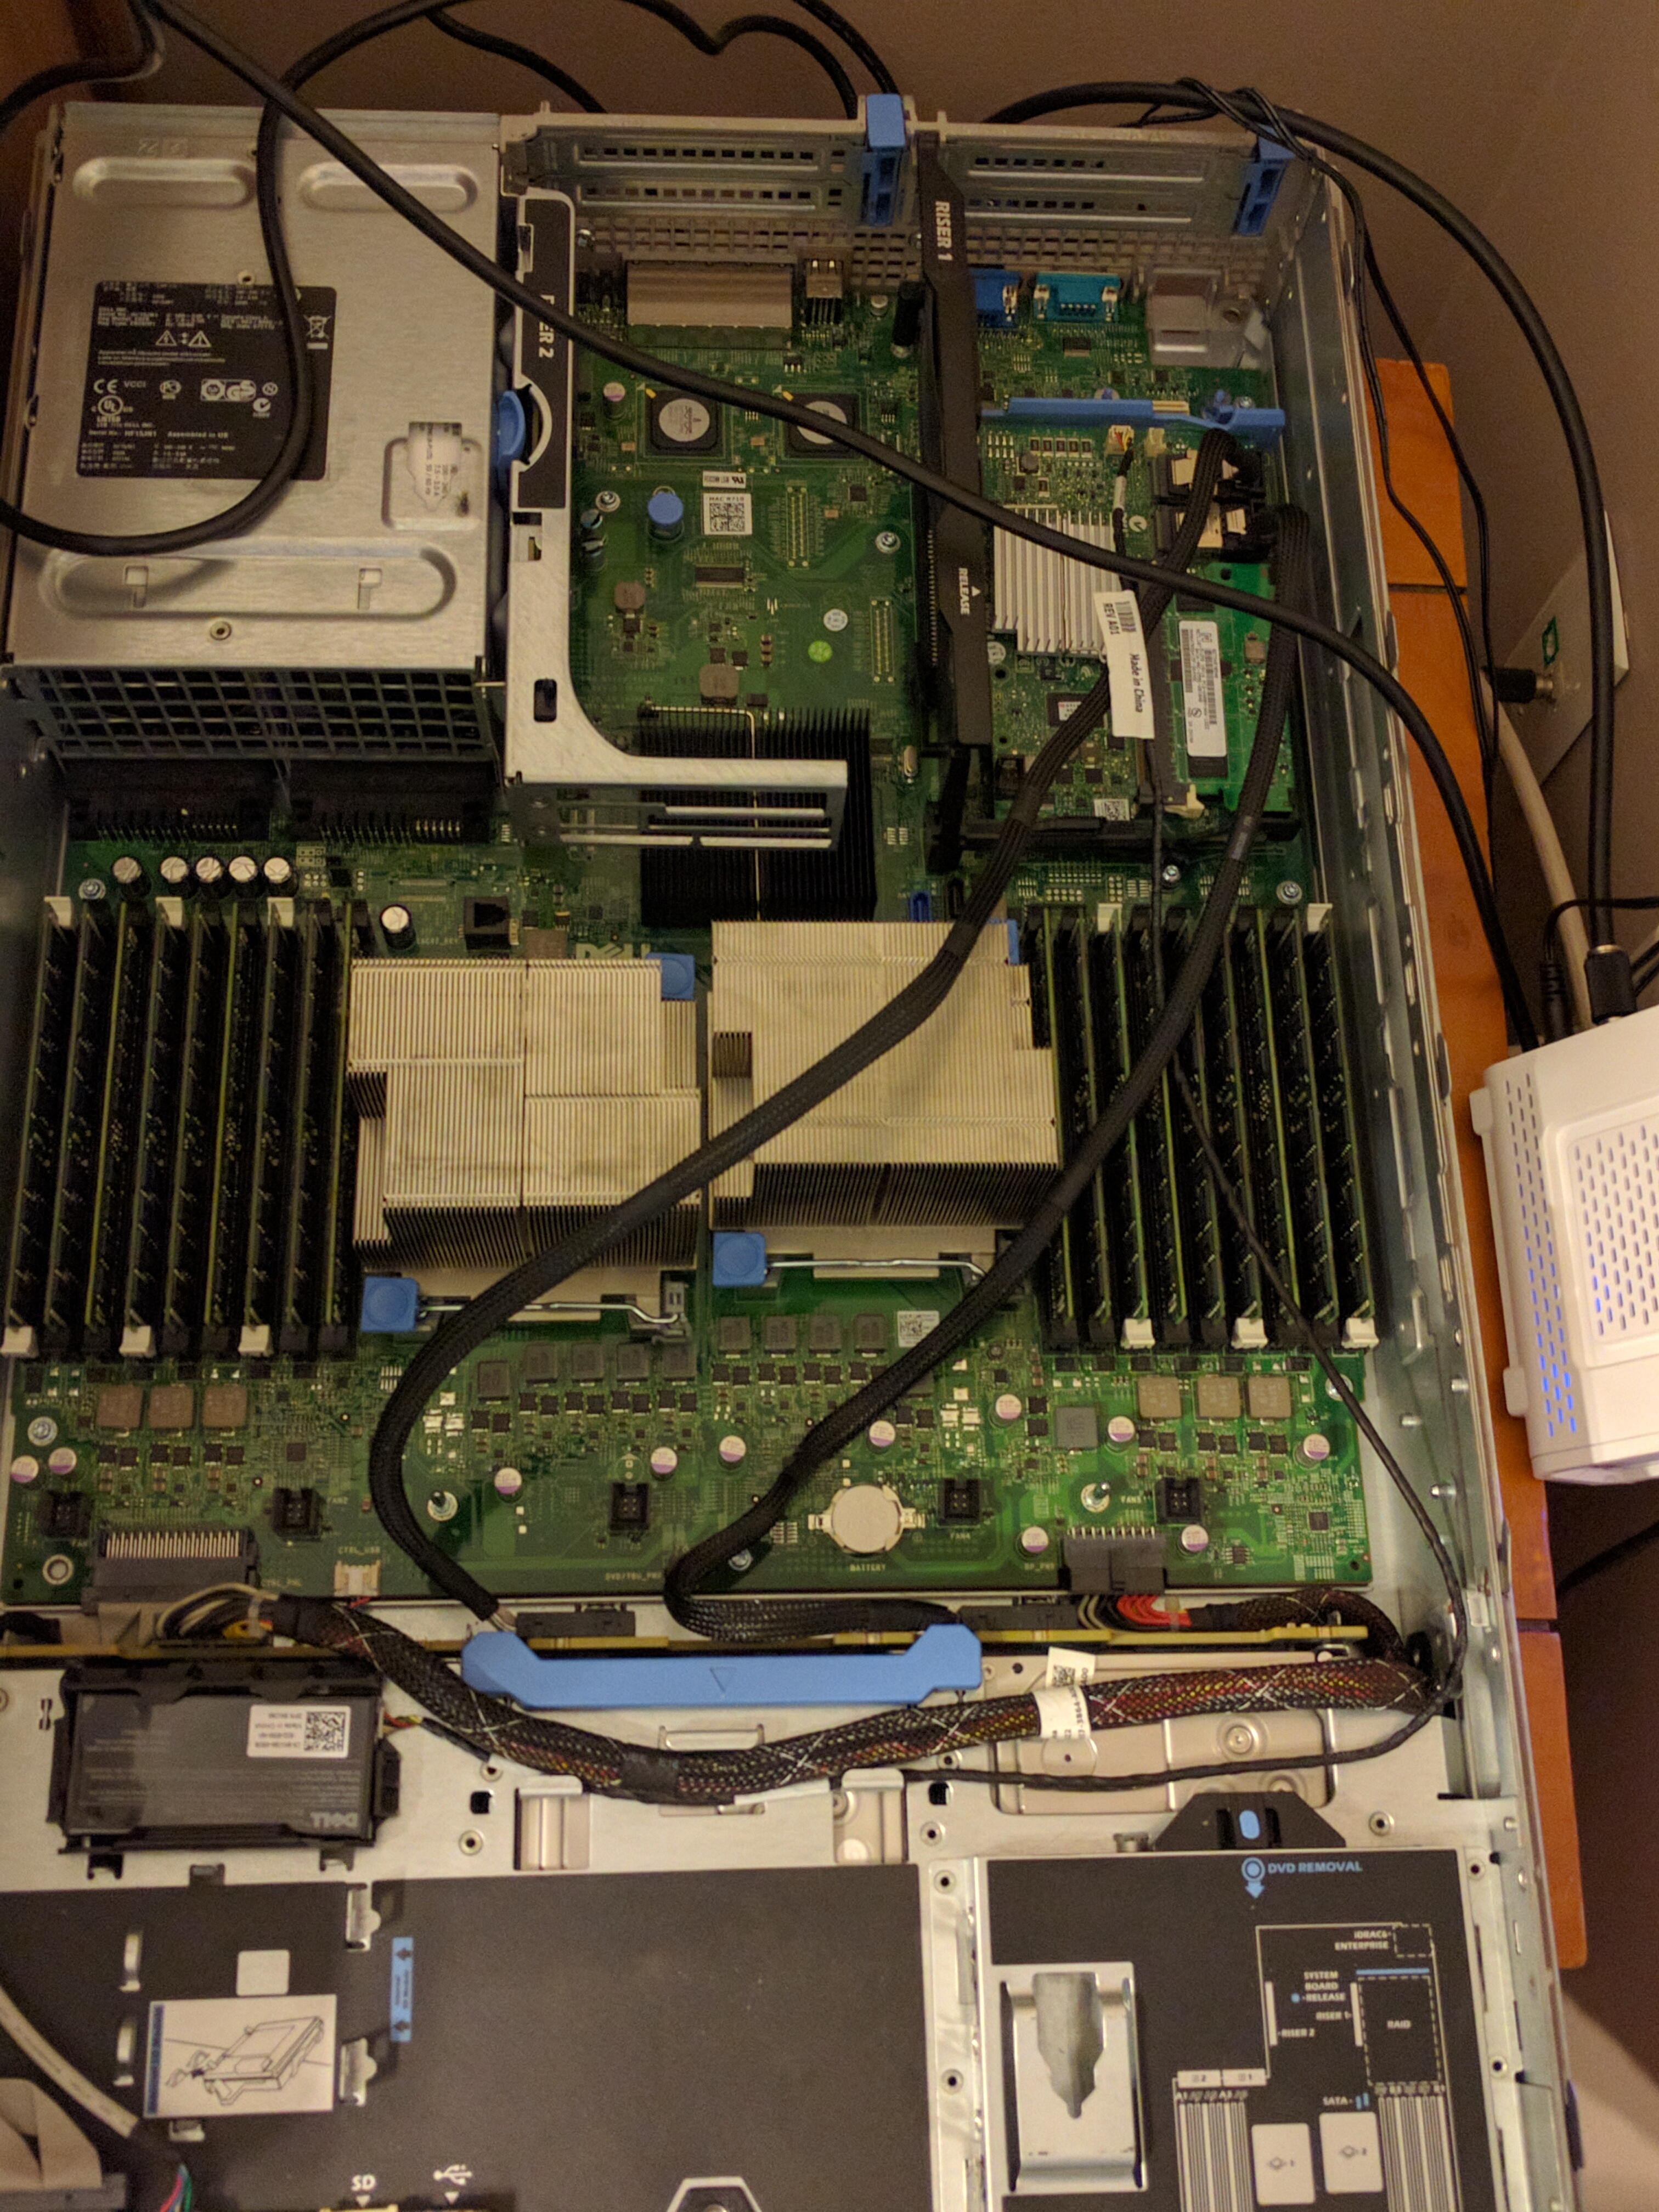
With all of those new, fancy drives, it was also time to upgrade the memory.
To start, look at all of those lonely slots.

I ended up adding 96GB (8x 12GB) of RAM, and removing the original 24GB (for now).
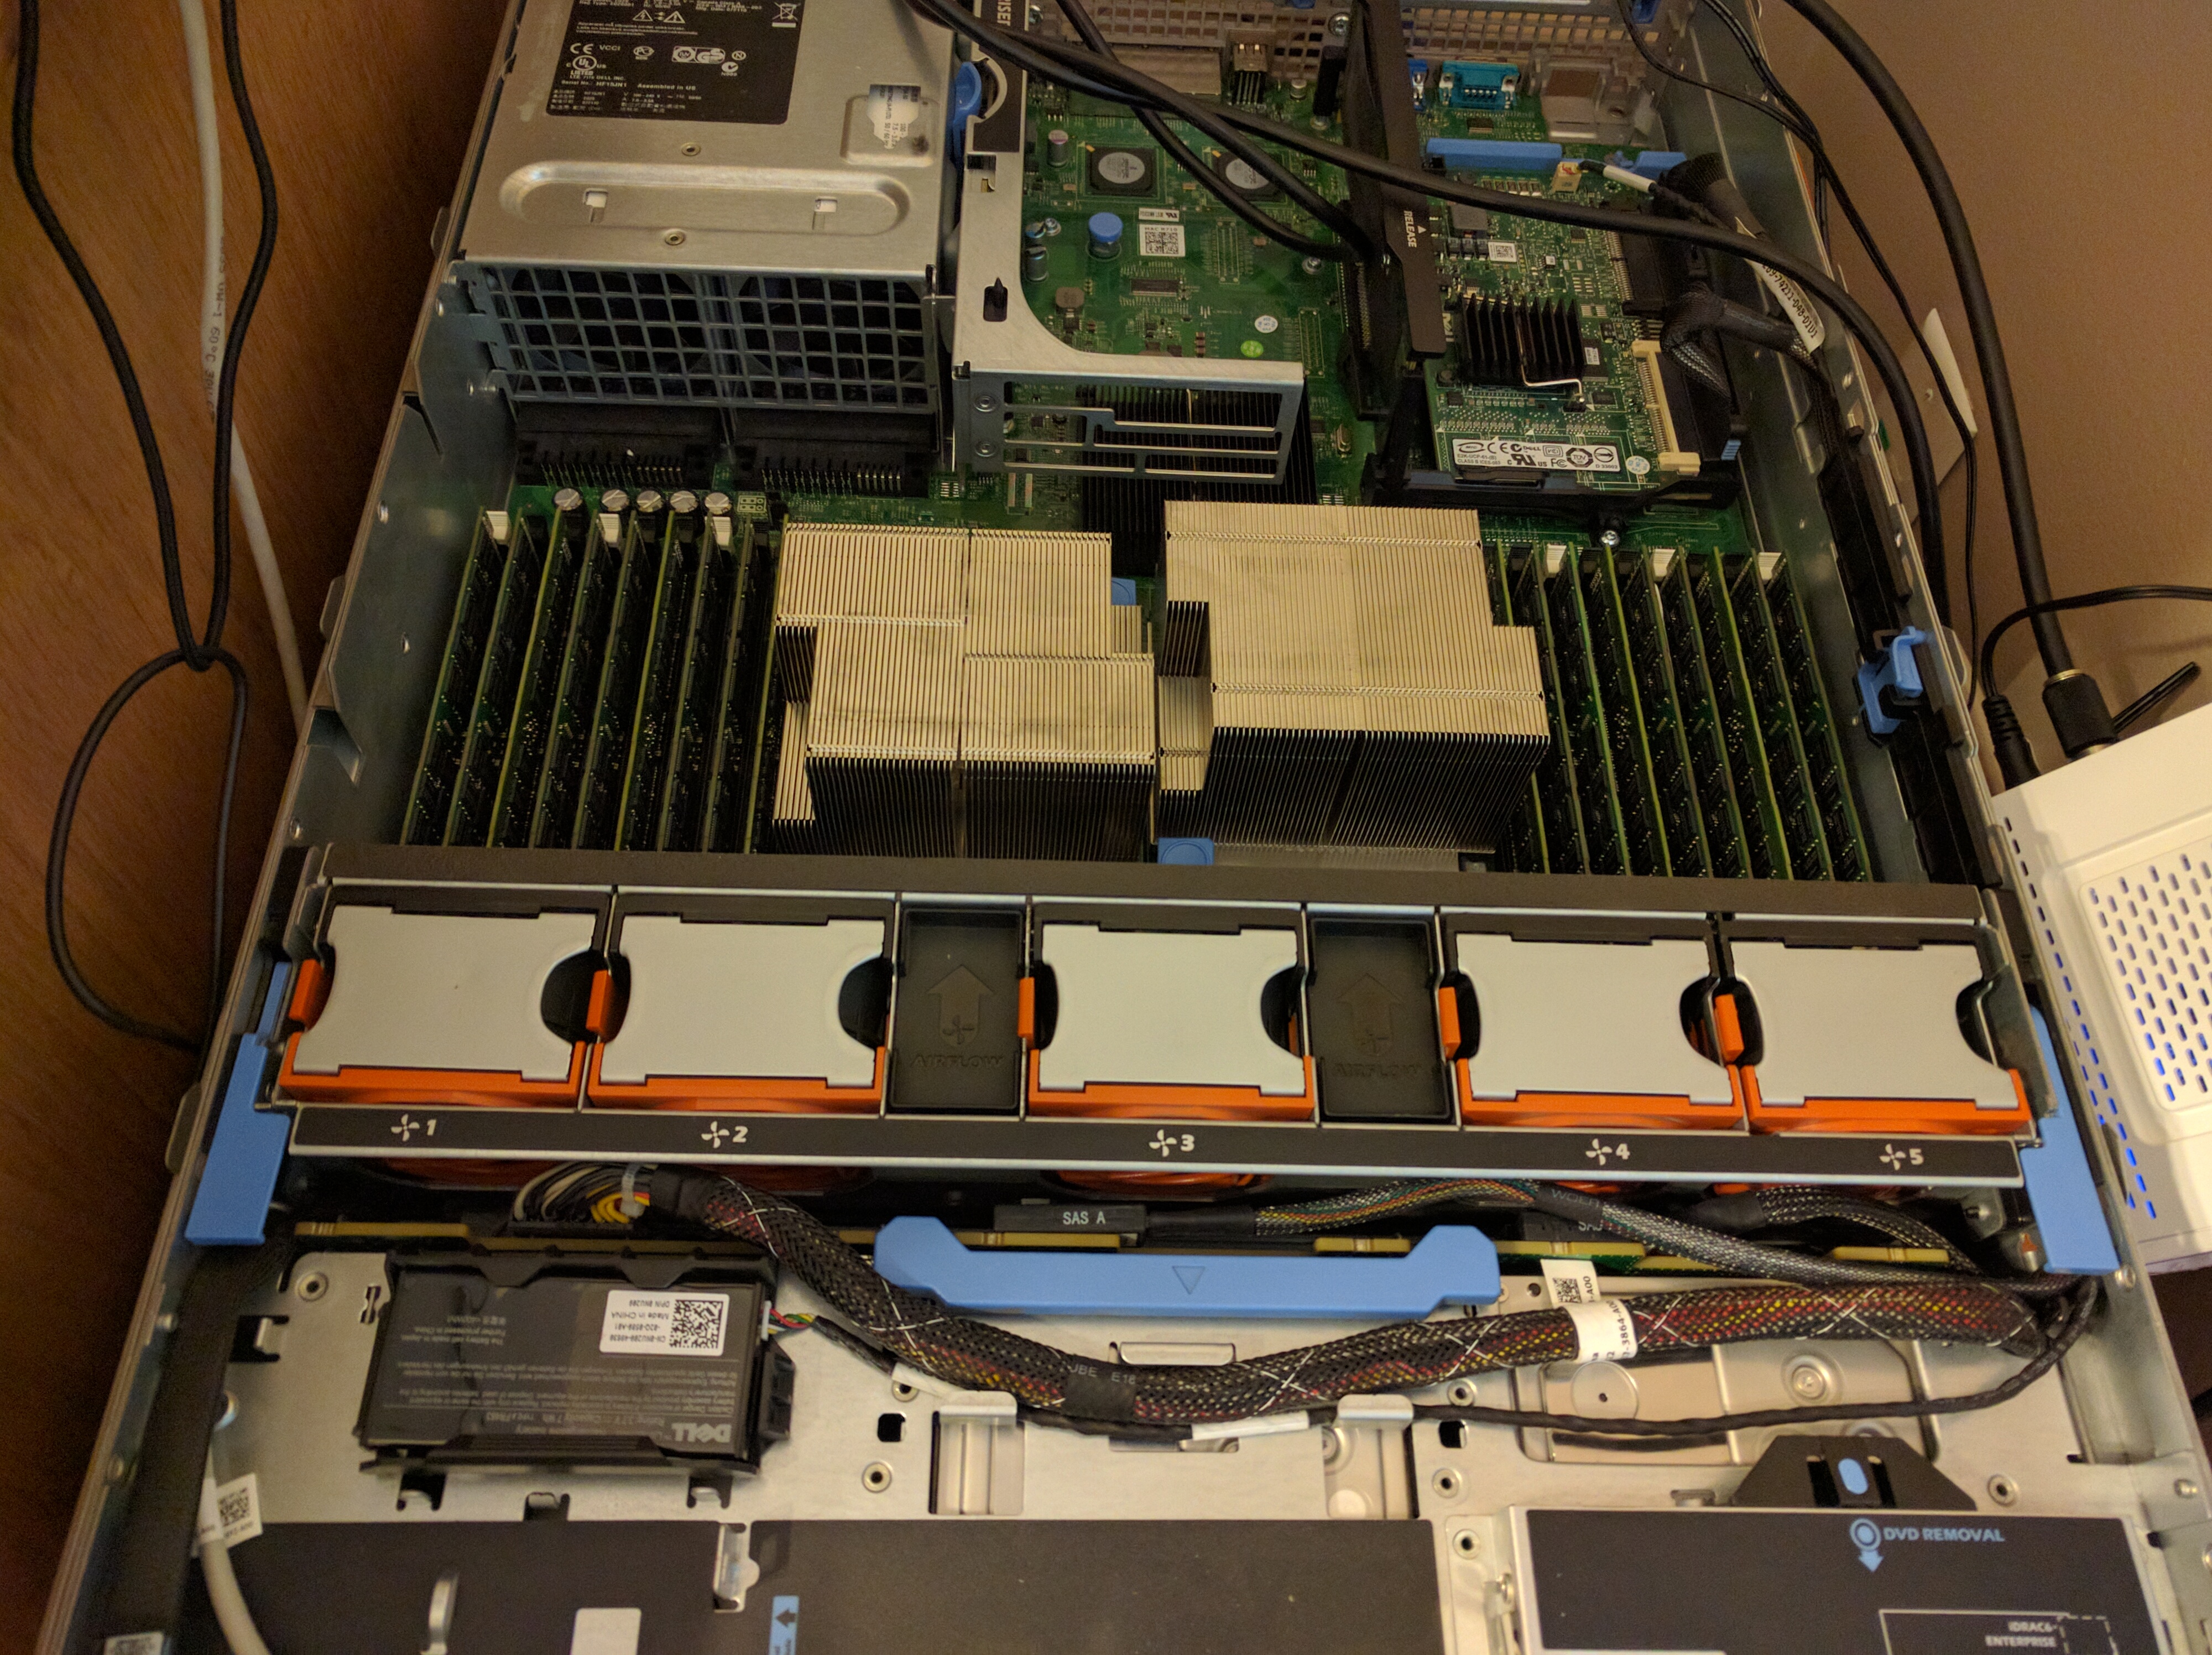
The reason I kept the RAM at 96GB vs 120GB was for speed purposes. If I populate all the channels, then the speed will drop from 1333MHz to 800MHz. This is obviously not a huge issue, but I will keep the banks underpopulated until the server is under a heavier load.
Unfortunately, the PERC 6/i that came with the system didn’t support faster SATA connections or drives over 2TB. In that case, it was time to upgrade the RAID controller as well.
I picked up, and installed, a used H700 controller for the server.
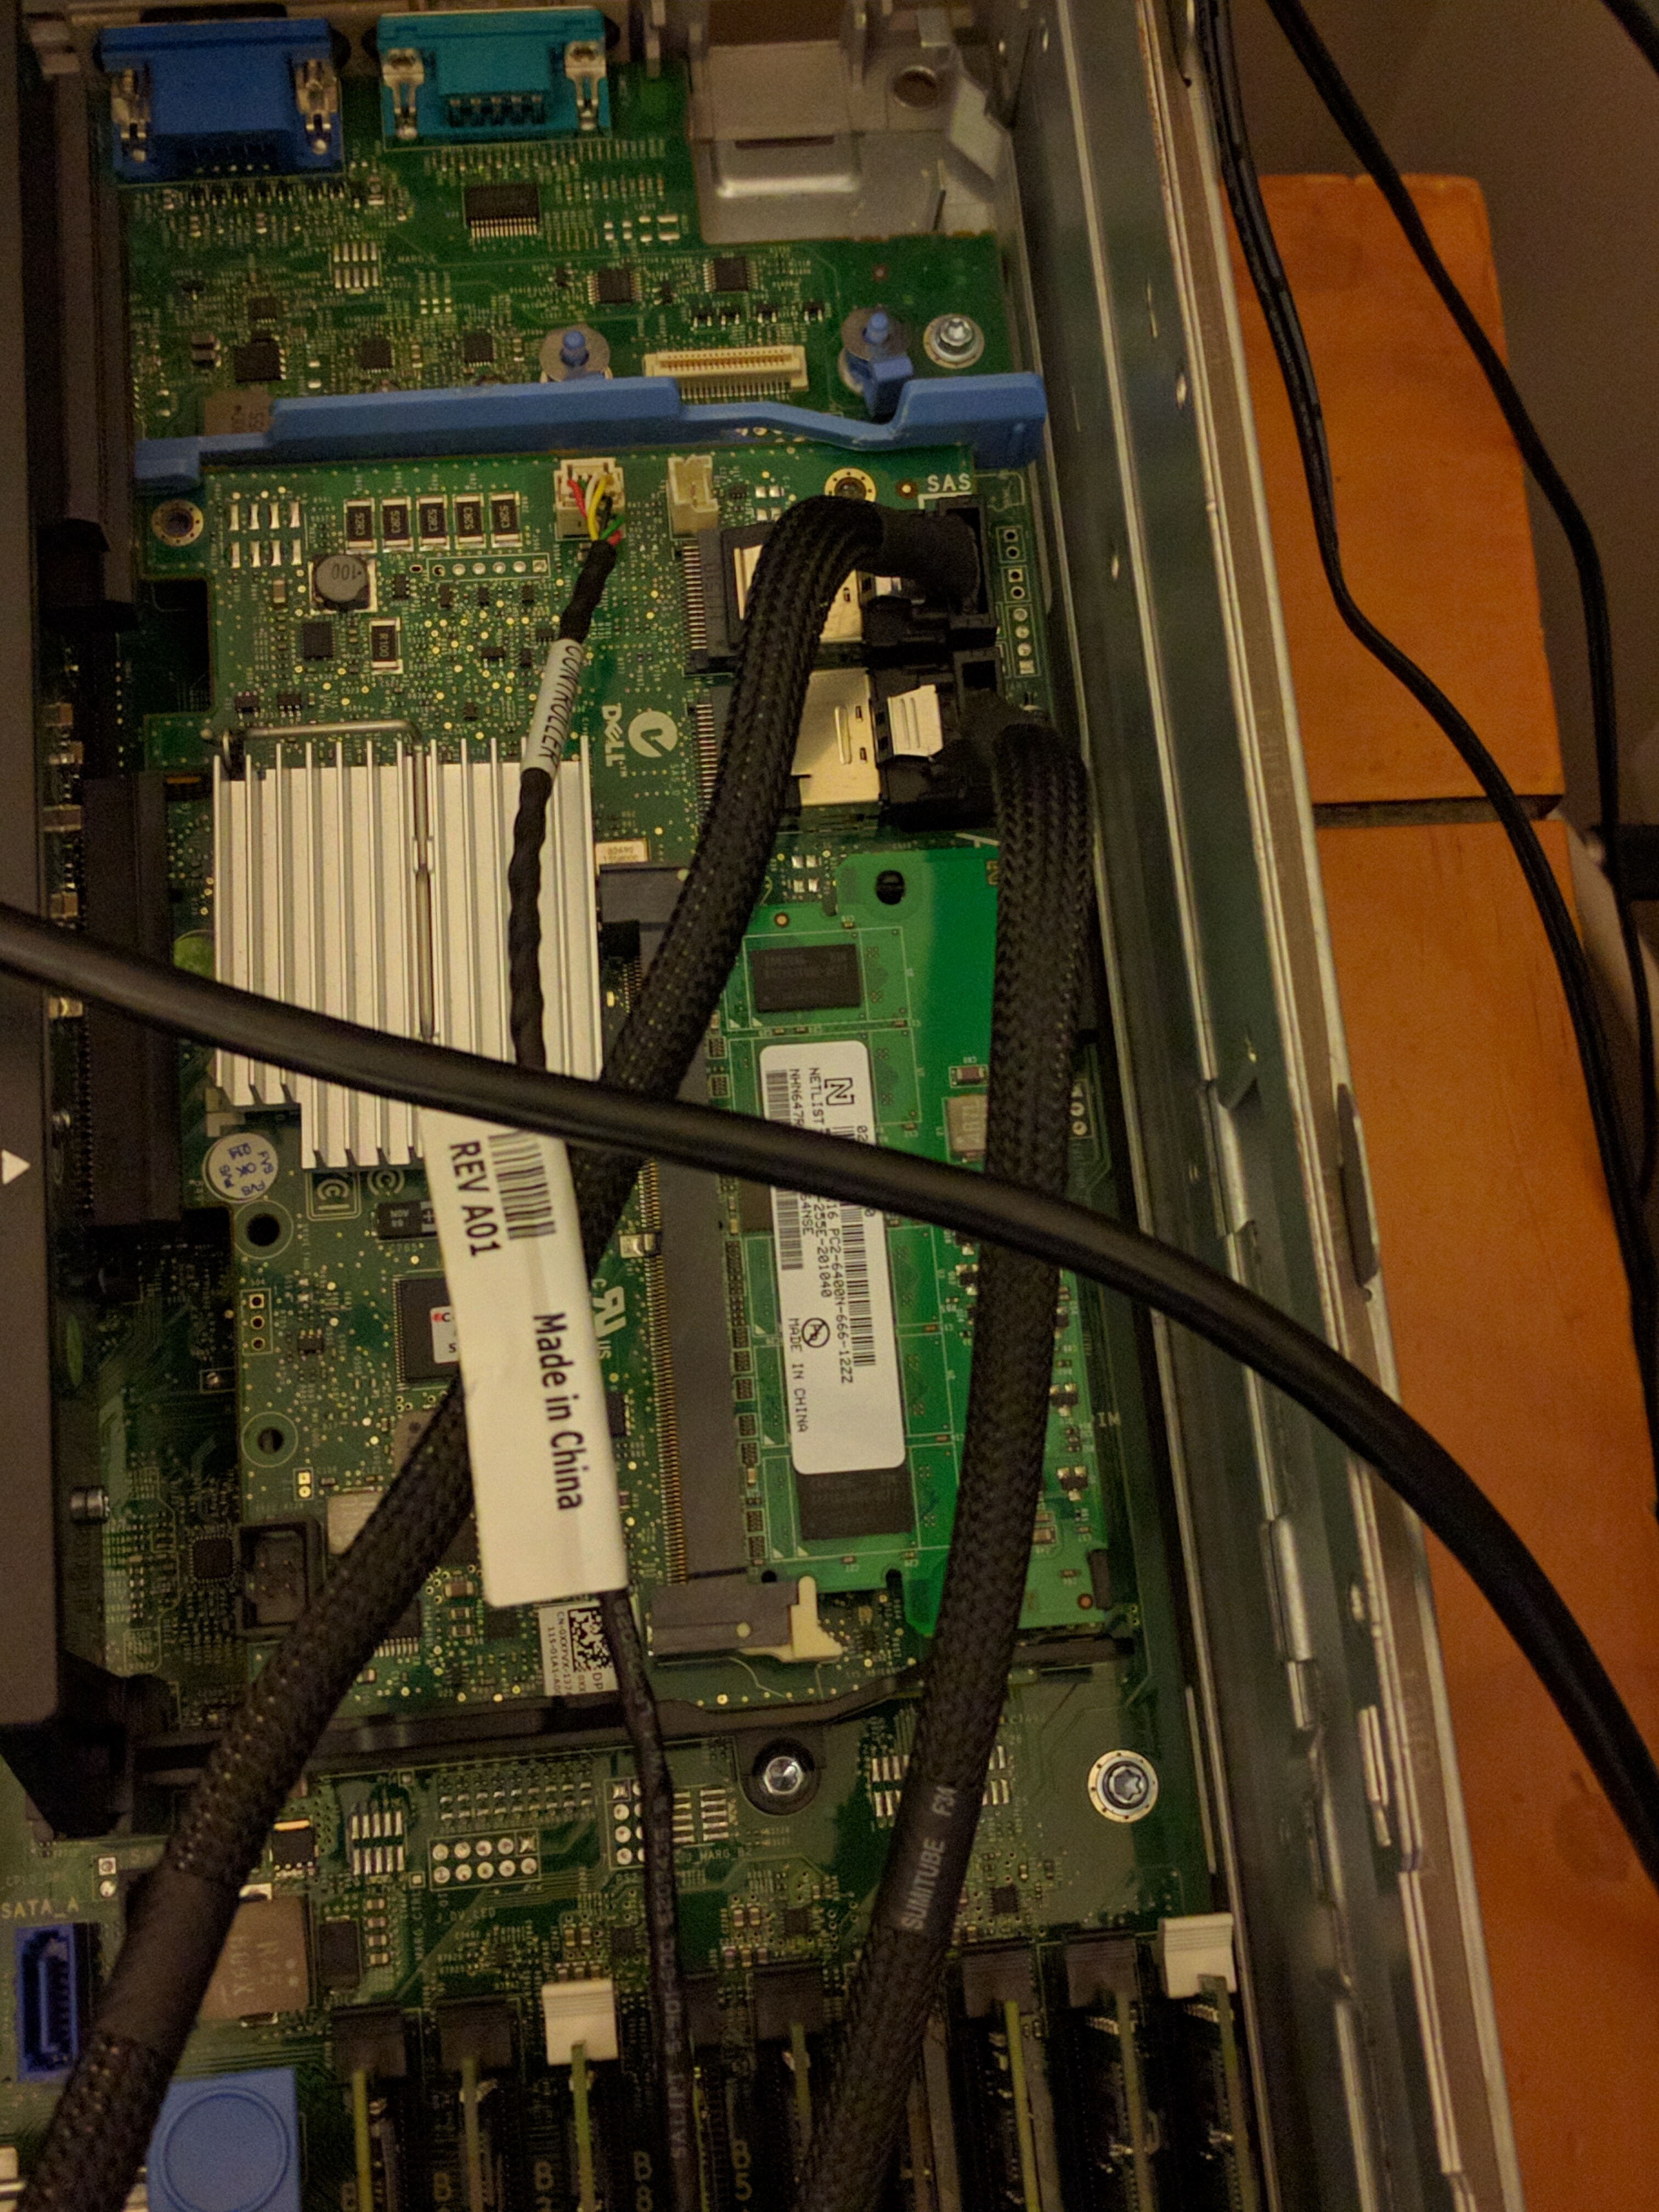
Unfortunately, the cables that came with the controller were for the 2.5″ form factor r710, so they didn’t quite route properly…
Once I picked up the proper cables, everything routed just fine.
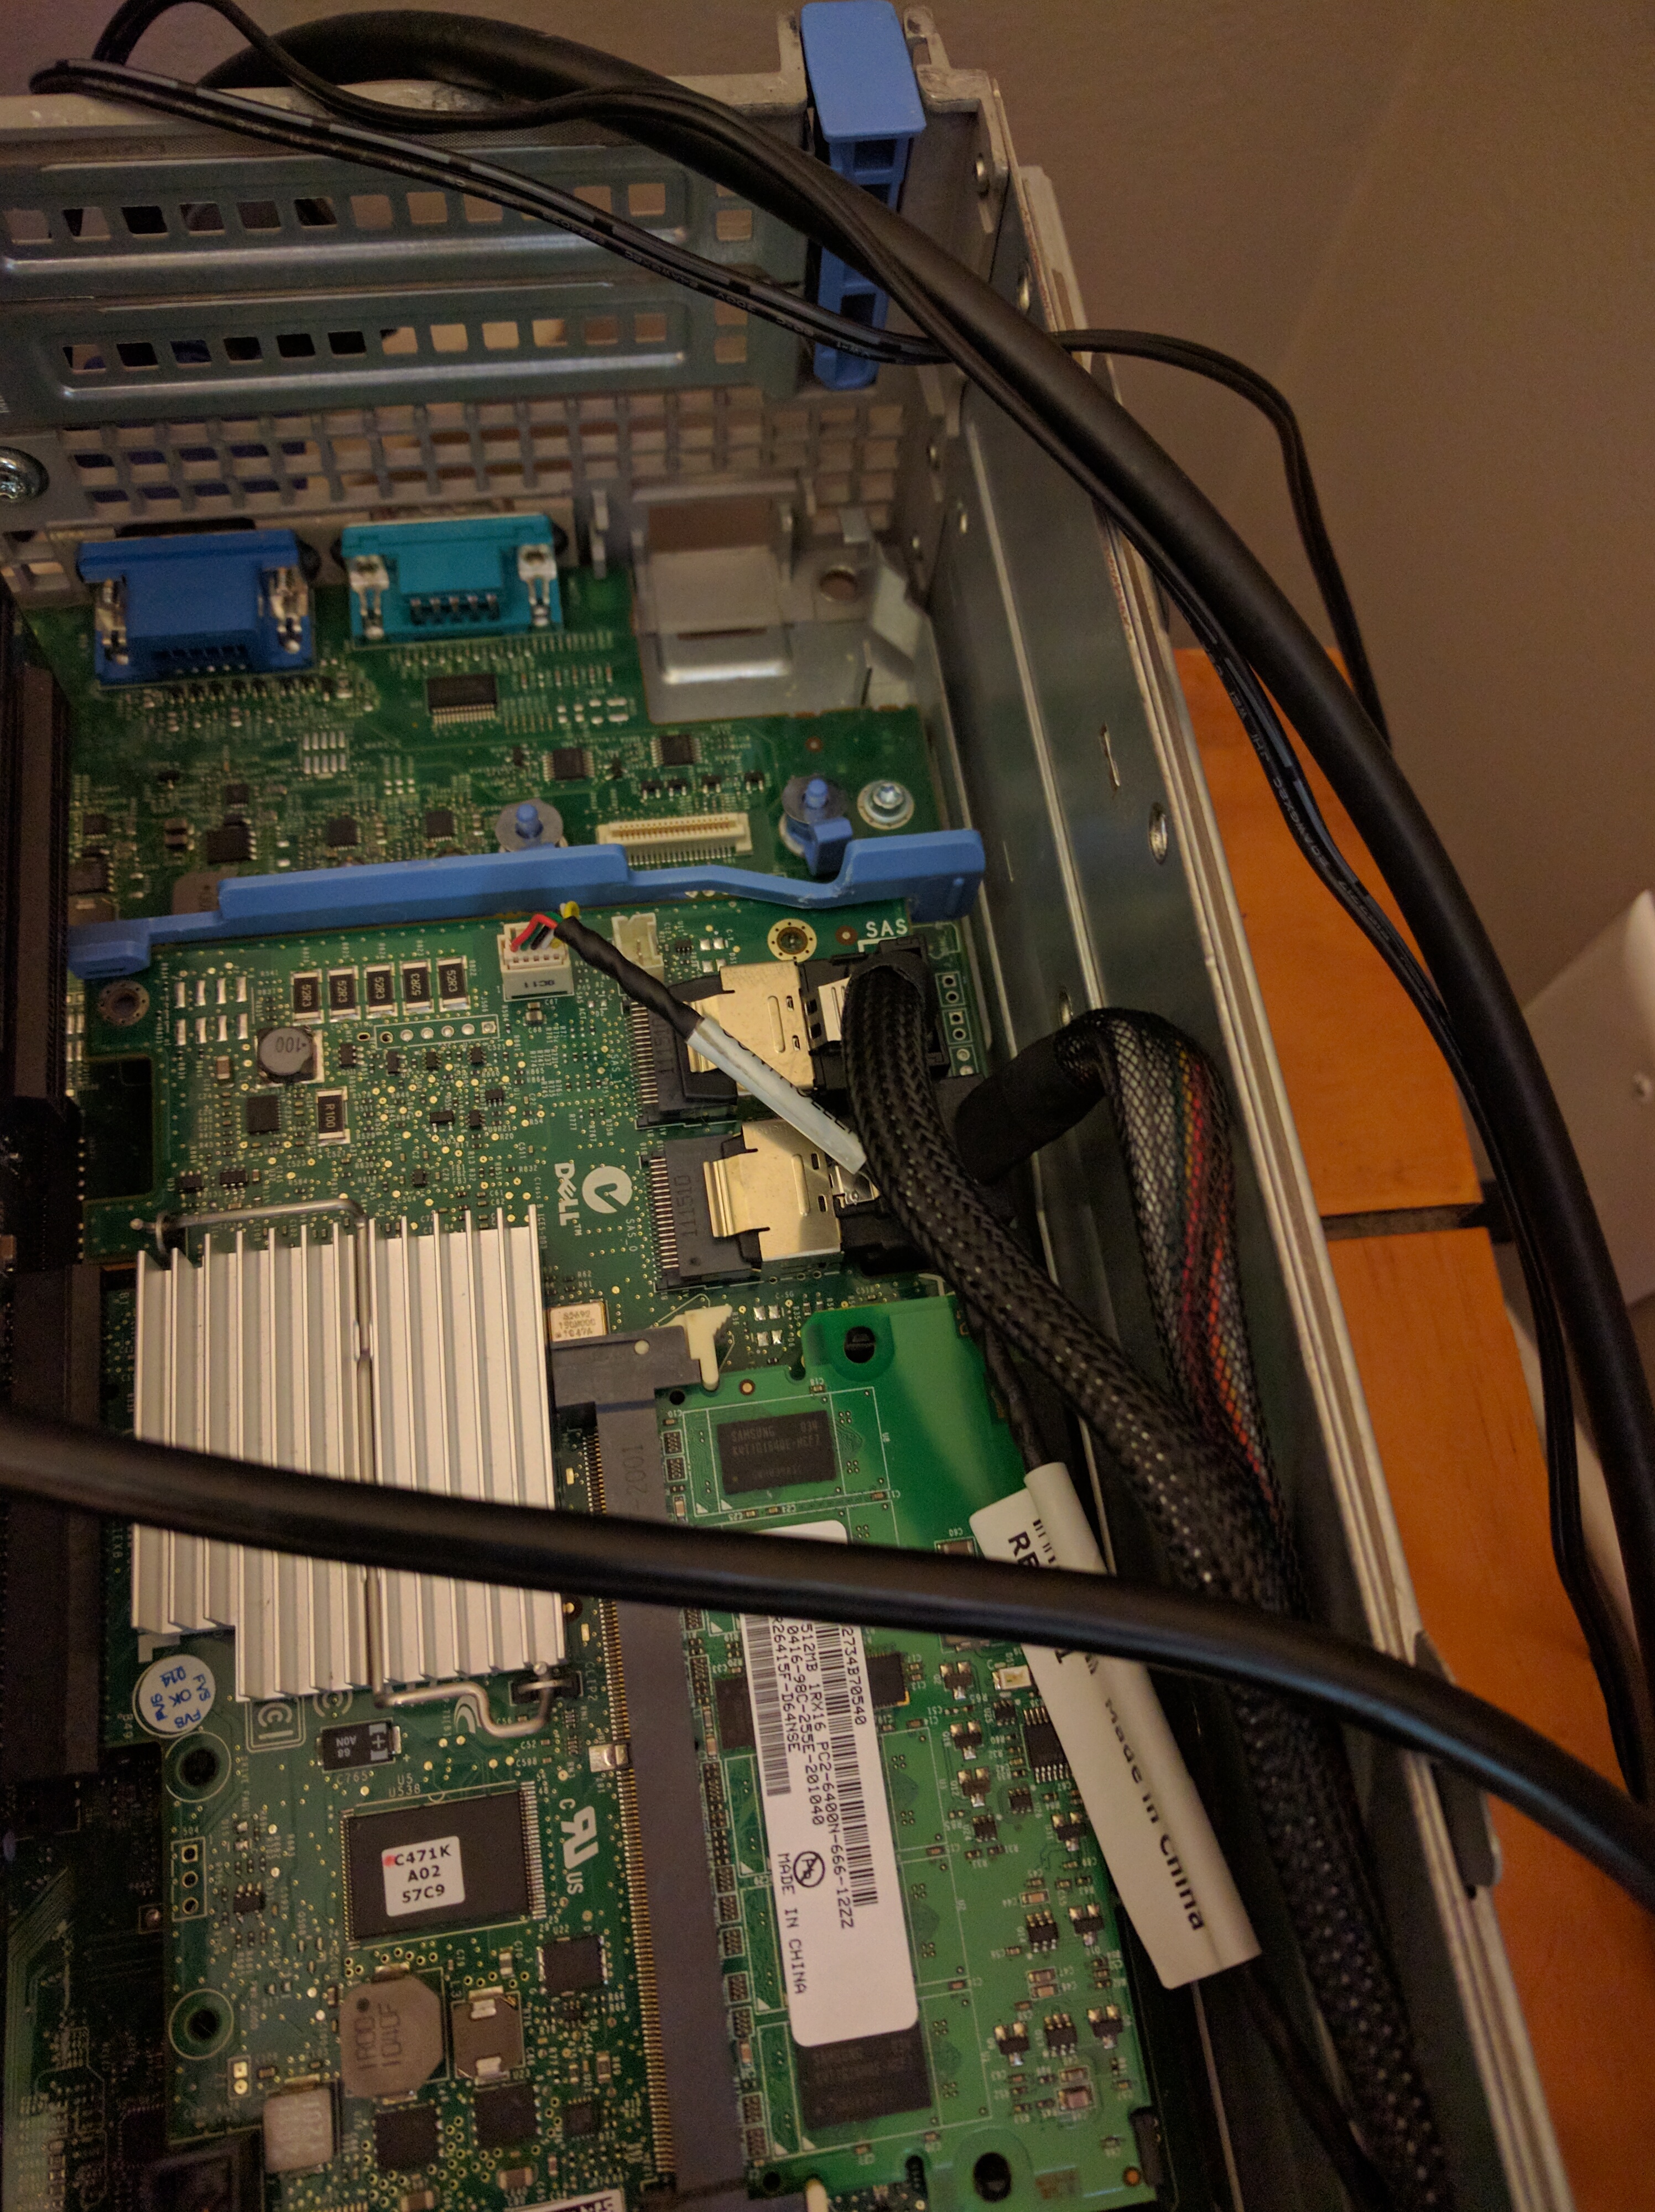
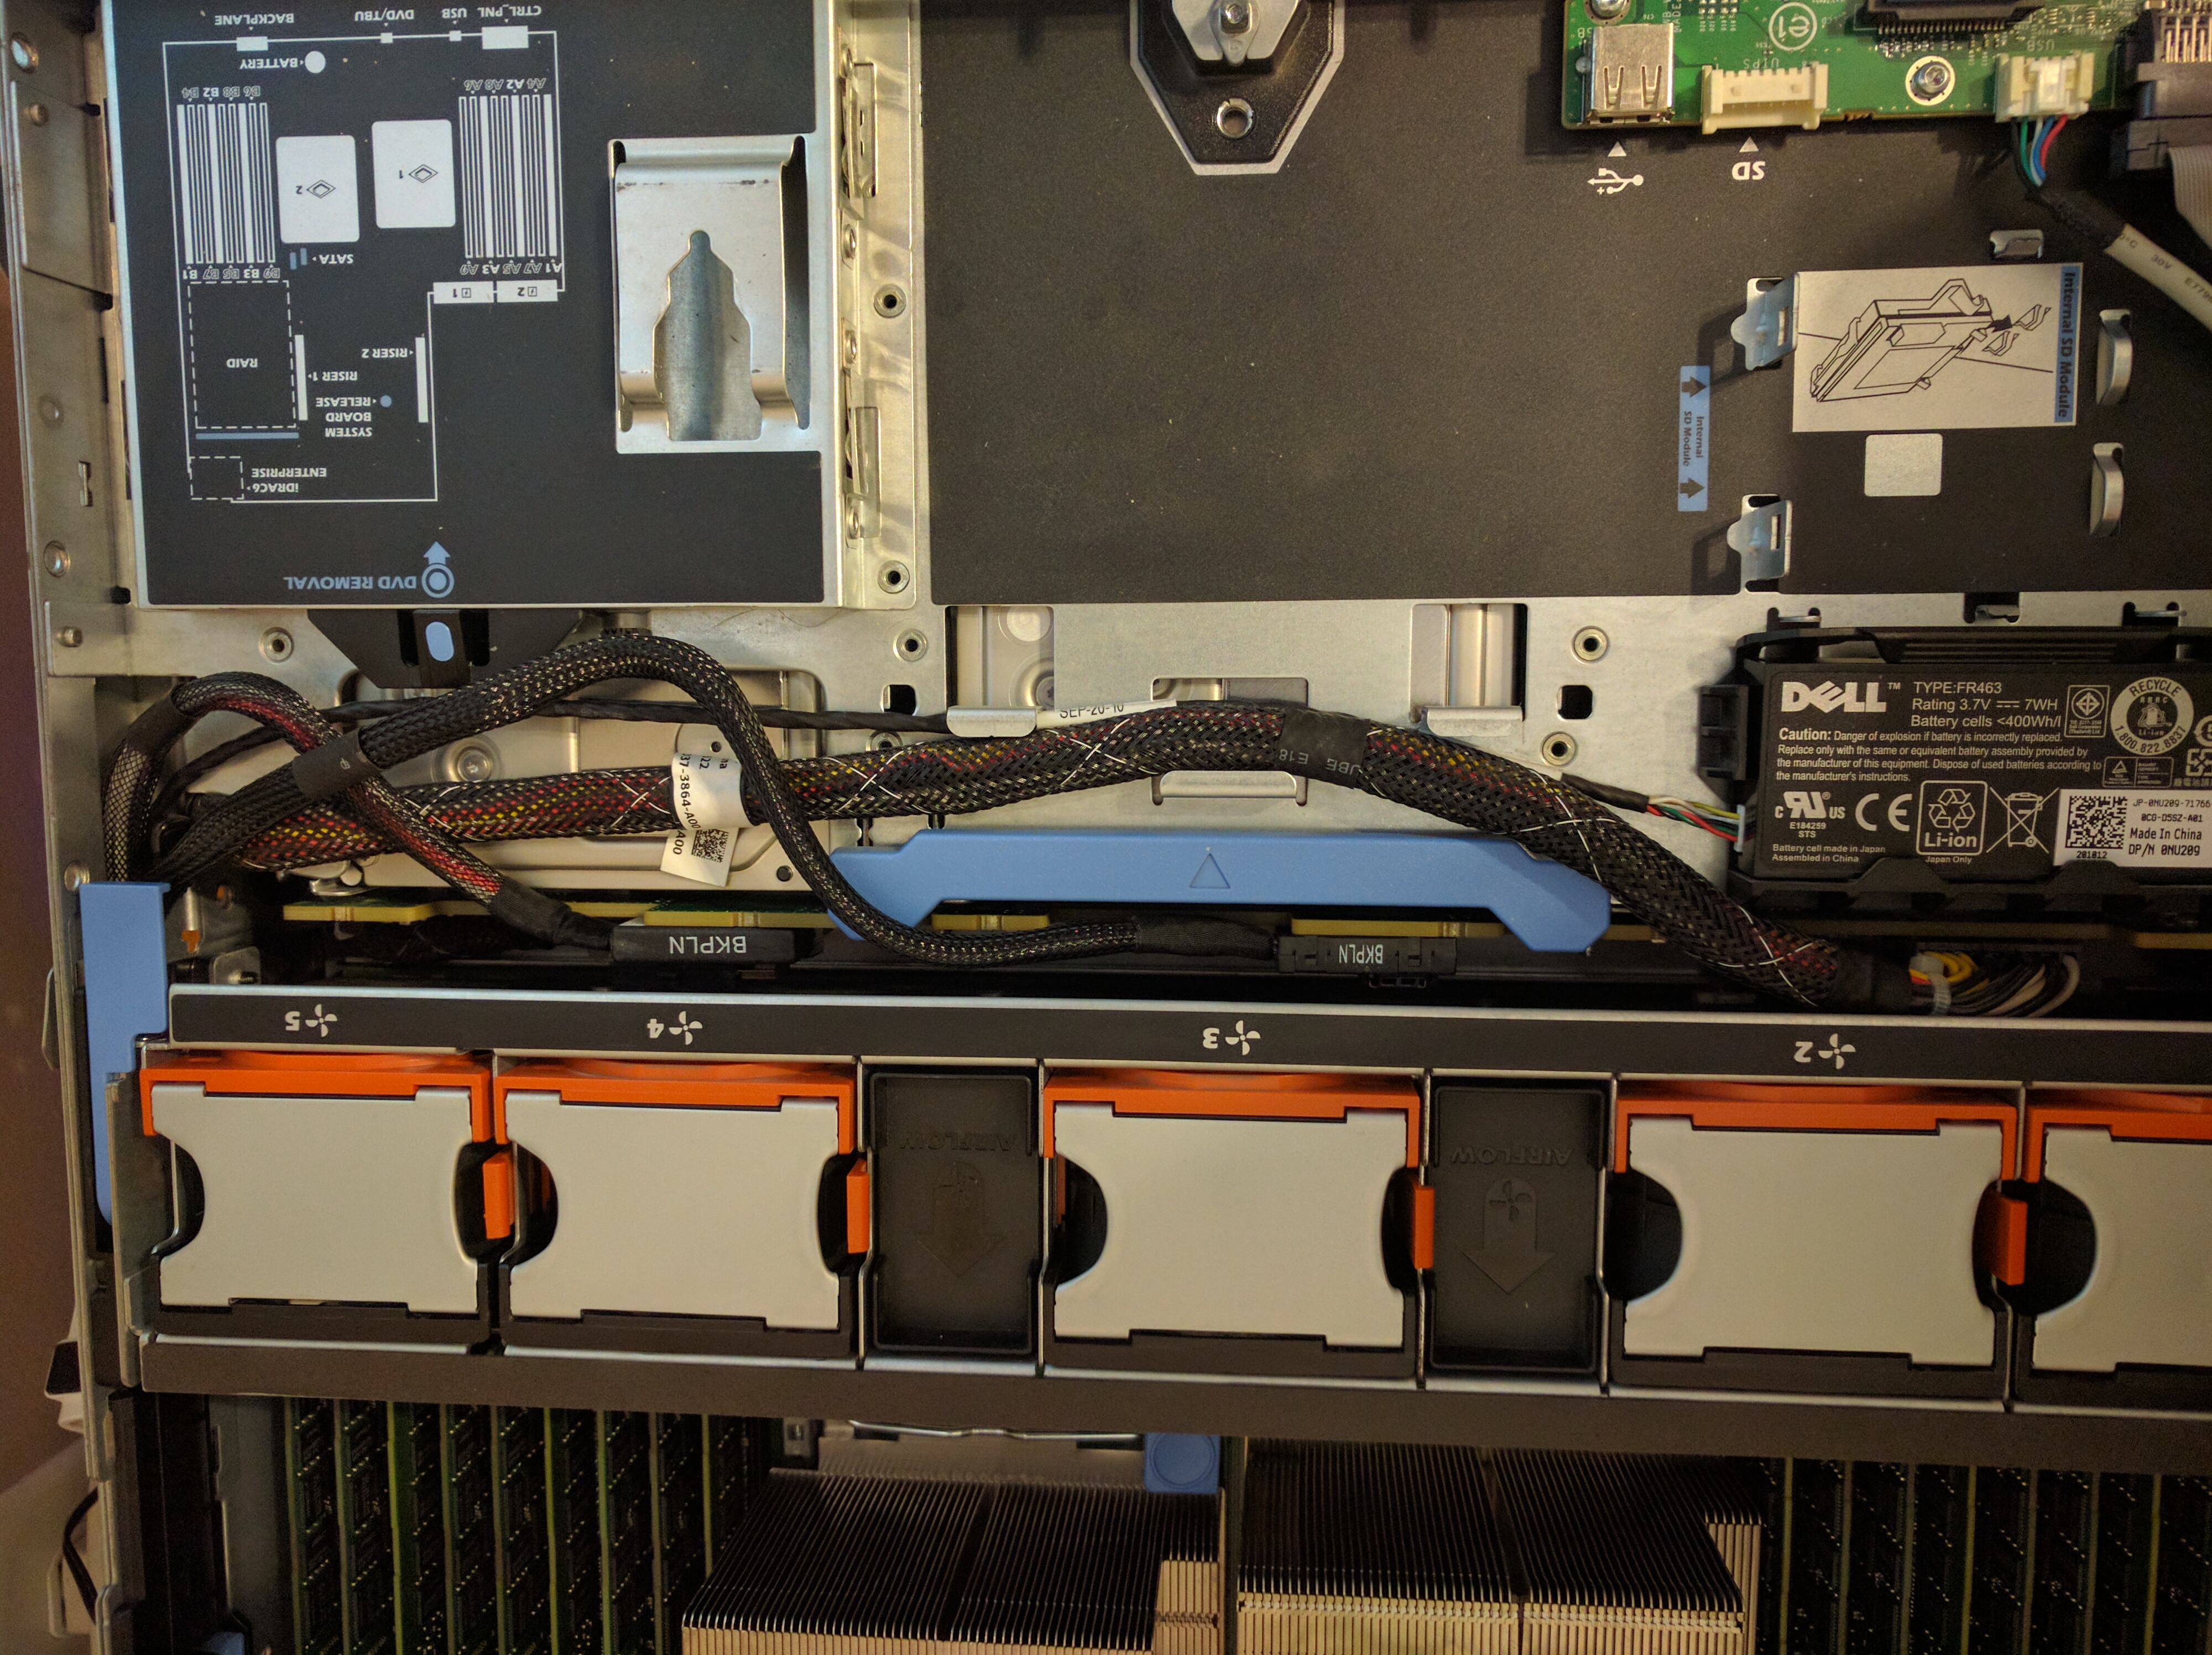
Unfortunately, I was getting an error about the SAS cable failing.
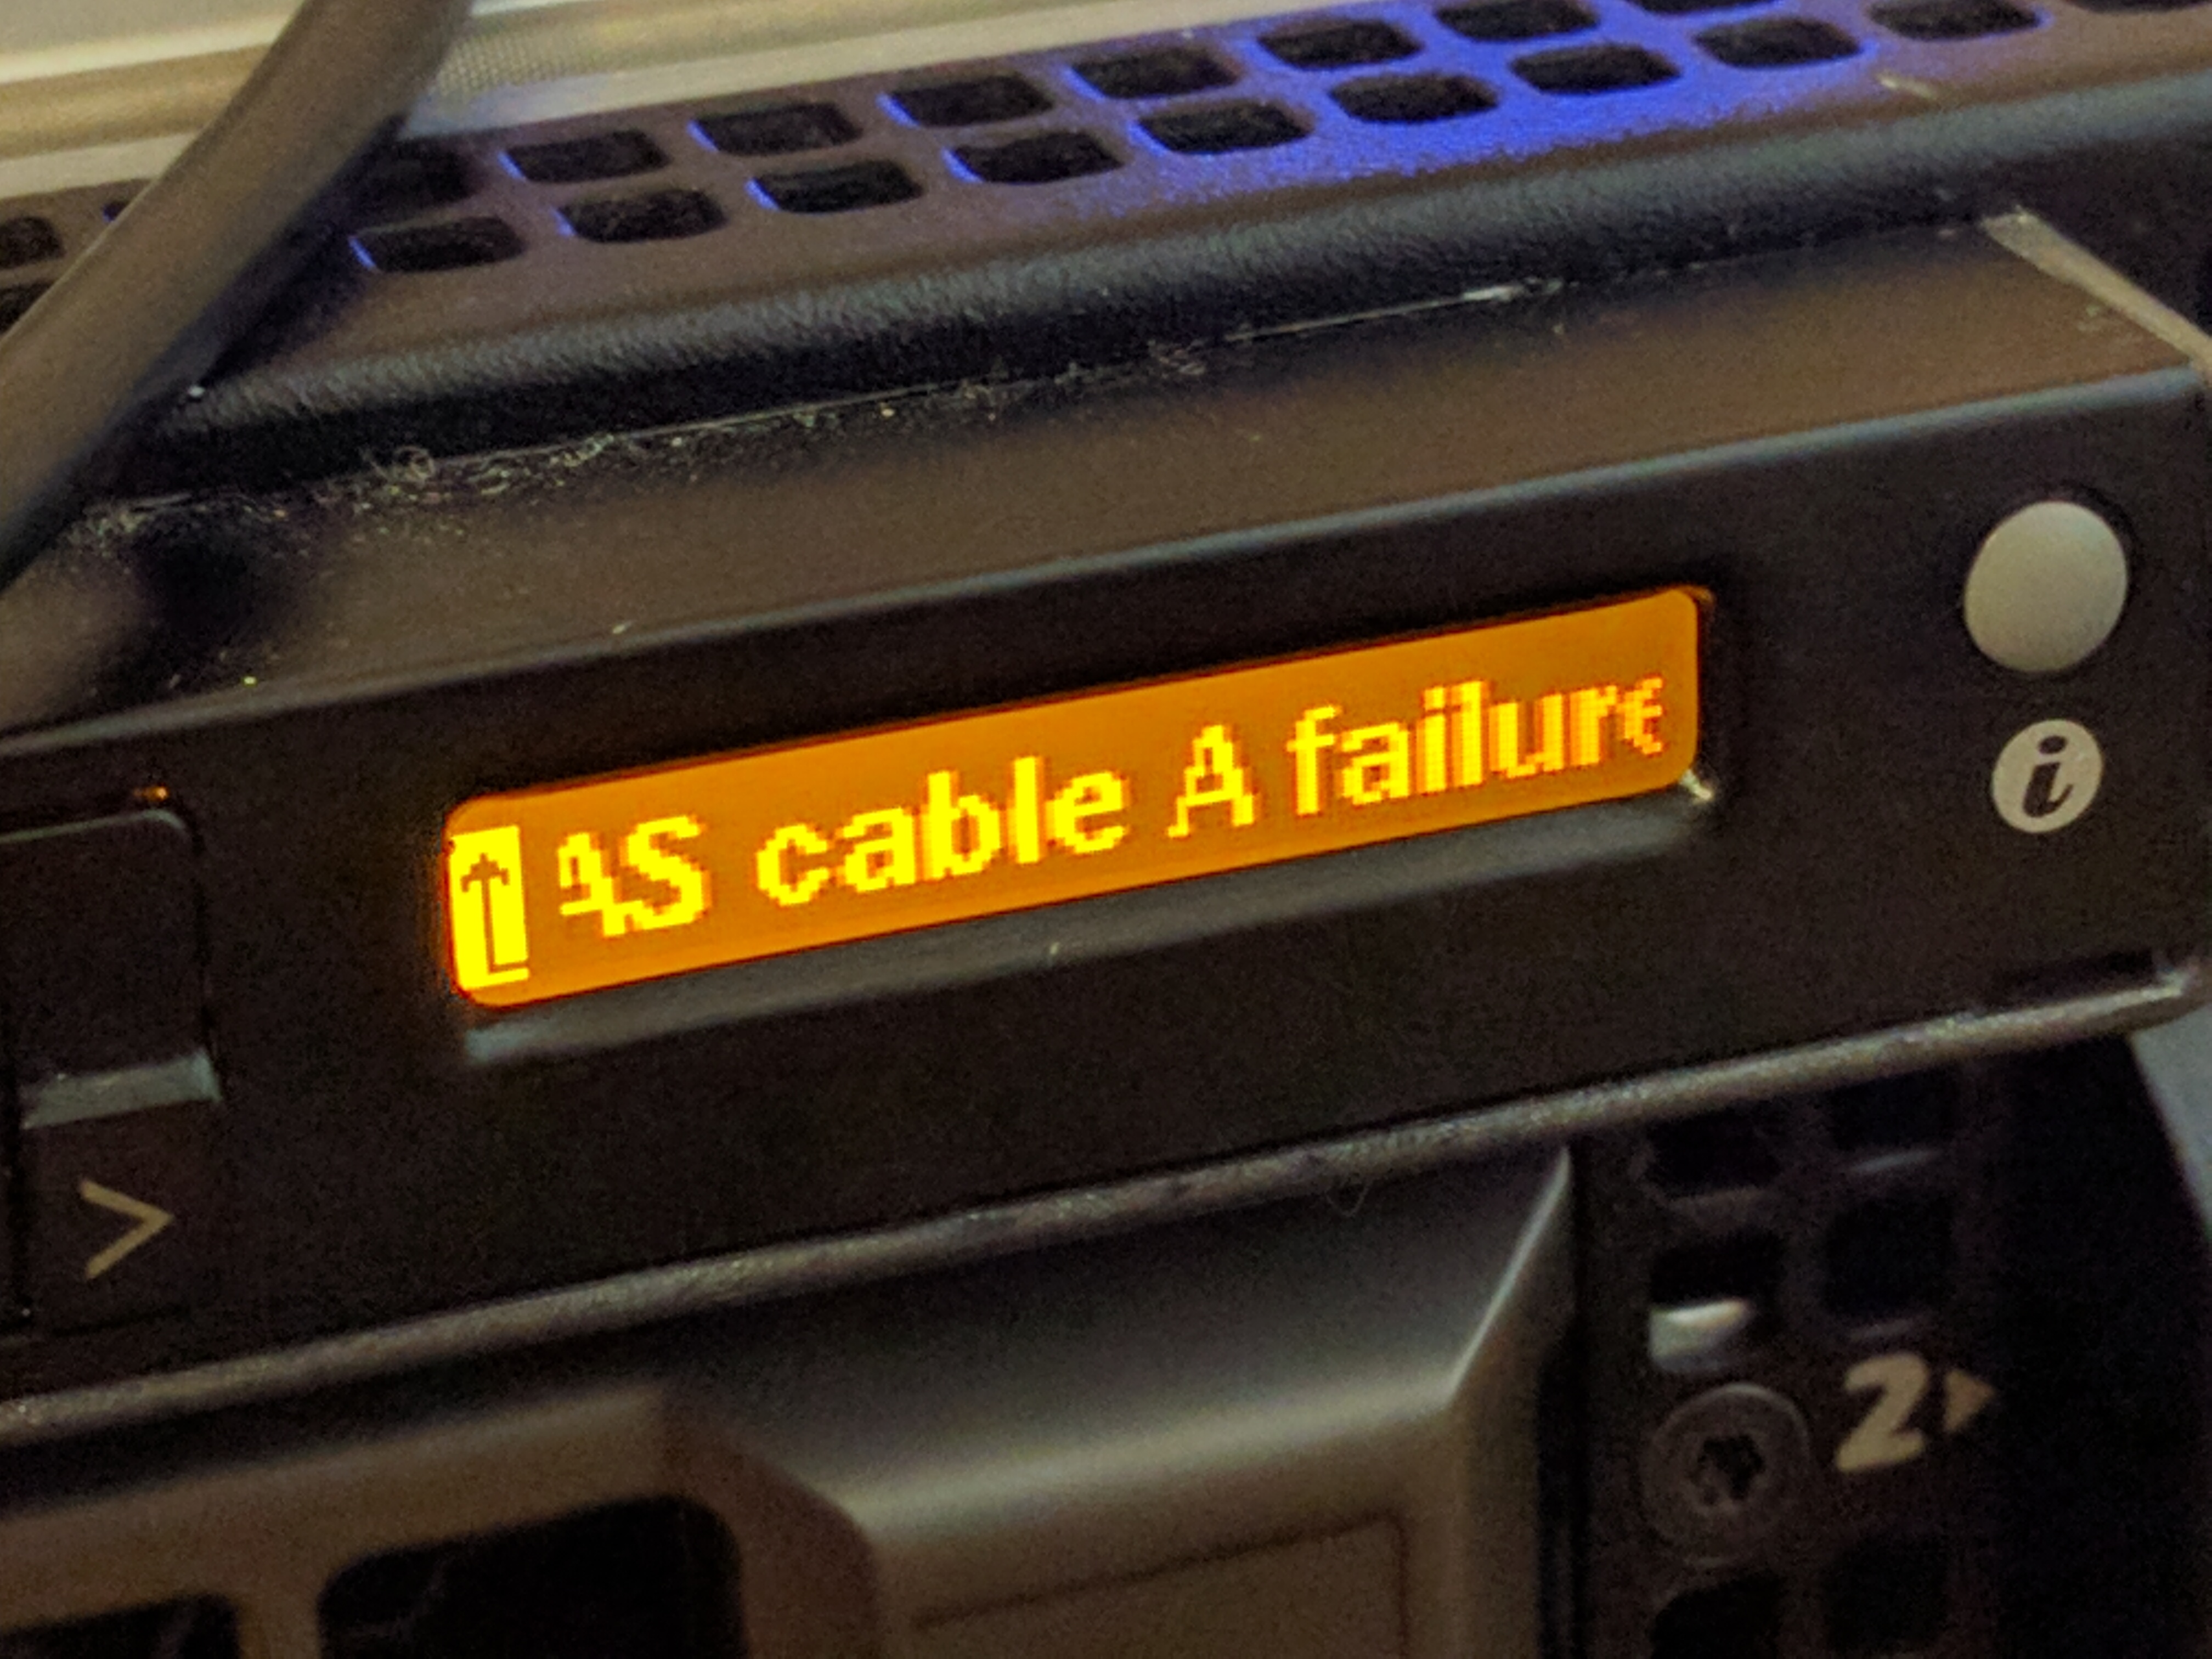
It turns out that the H700 and the 3.5″ form factor r710 actually need the cables reversed. In this case, once I swapped the A and B ends on the controller, the error went away.
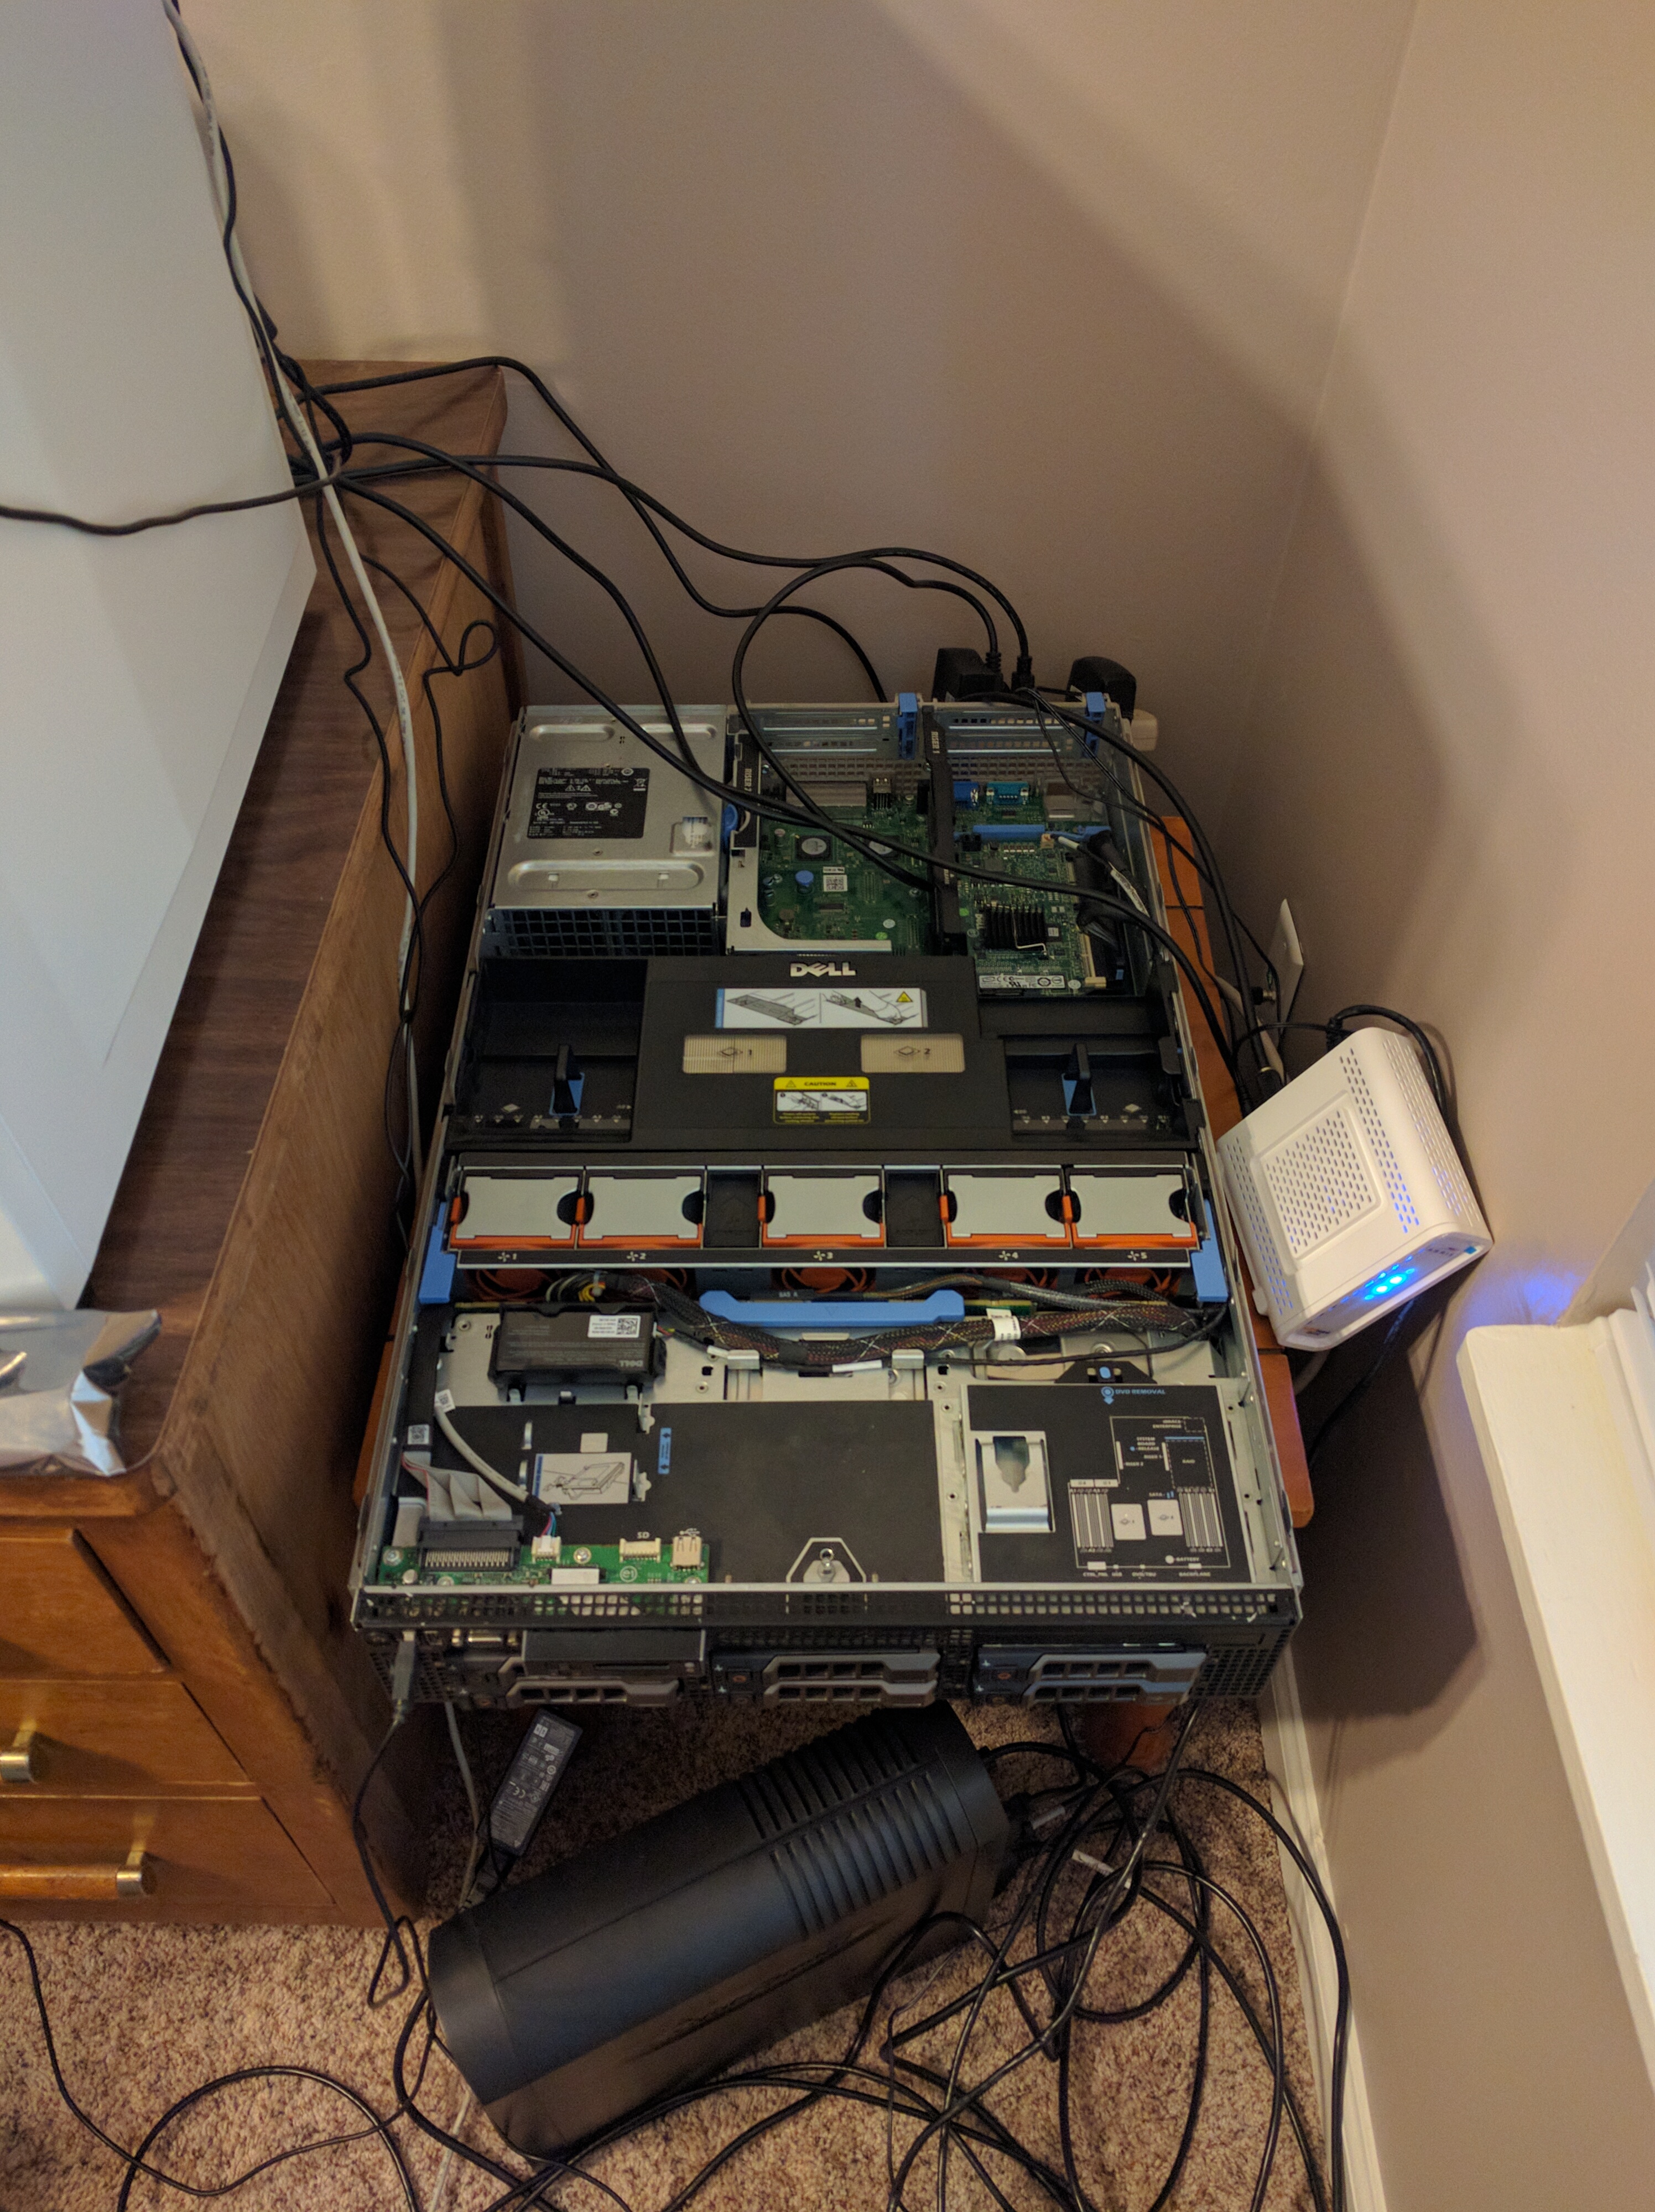
After these upgrades, I wanted to get the server running. Since bad things happen to good people, the server wouldn’t stay on very long and would get intermittent power issues.
I realized that amidst all of my hardware upgrades, I didn’t think about the fact that my current PSUs could not handle the load.
In that case, I picked up 2x 870W PSUs to upgrade the ones in the system.

Removing the old PSUs was super simple, and only took a few seconds.
Once I booted up and checked the management console, the power ratings were being properly reported.

Obviously, this was a more expensive, but also more powerful, version of the server that I originally bought.
In the end (so far), it has run me just over $1240, but that is before I sell the old PSUs.
After the r710 upgrades, the current specs are as follows, and it is now finally running 24/7!
2x Xeon X5650 (six core 2.66GHz)
96GB (8x 12GB) RAM (24GB (6x 4GB) ready for addition)
2x Intel 540s 240GB SSDs (RAID 1)
4x HGST Deskstar NAS 4TB 7200RPM HDDs (RAID 1+0)
H700
2x 870W PSU
Ray Doyle is an avid pentester/security enthusiast/beer connoisseur who has worked in IT for almost 16 years now. From building machines and the software on them, to breaking into them and tearing it all down; he’s done it all. To show for it, he has obtained an OSCE, OSCP, eCPPT, GXPN, eWPT, eWPTX, SLAE, eMAPT, Security+, ICAgile CP, ITIL v3 Foundation, and even a sabermetrics certification!
He currently serves as a Senior Staff Adversarial Engineer for Avalara, and his previous position was a Principal Penetration Testing Consultant for Secureworks.
This page contains links to products that I may receive compensation from at no additional cost to you. View my Affiliate Disclosure page here. As an Amazon Associate, I earn from qualifying purchases.


Did you end up upgrading to low powered XEON Ls?
I am in the middle of upgrading mine with similar upgrades.
I haven’t yet, although maybe that will help with the power draw/heat and even increase the power. I was almost thinking of downgrading to a non-rack mounted setup, but it will depend on what my new apartment looks like and how the cooling is. Having this thing in my 2nd floor office of a town house makes things pretty hot.
[…] so much easier, and definitely gave my office new life. I also ended up running a VGA cable from my server to the top-right monitor, if I need to see […]